The Plan
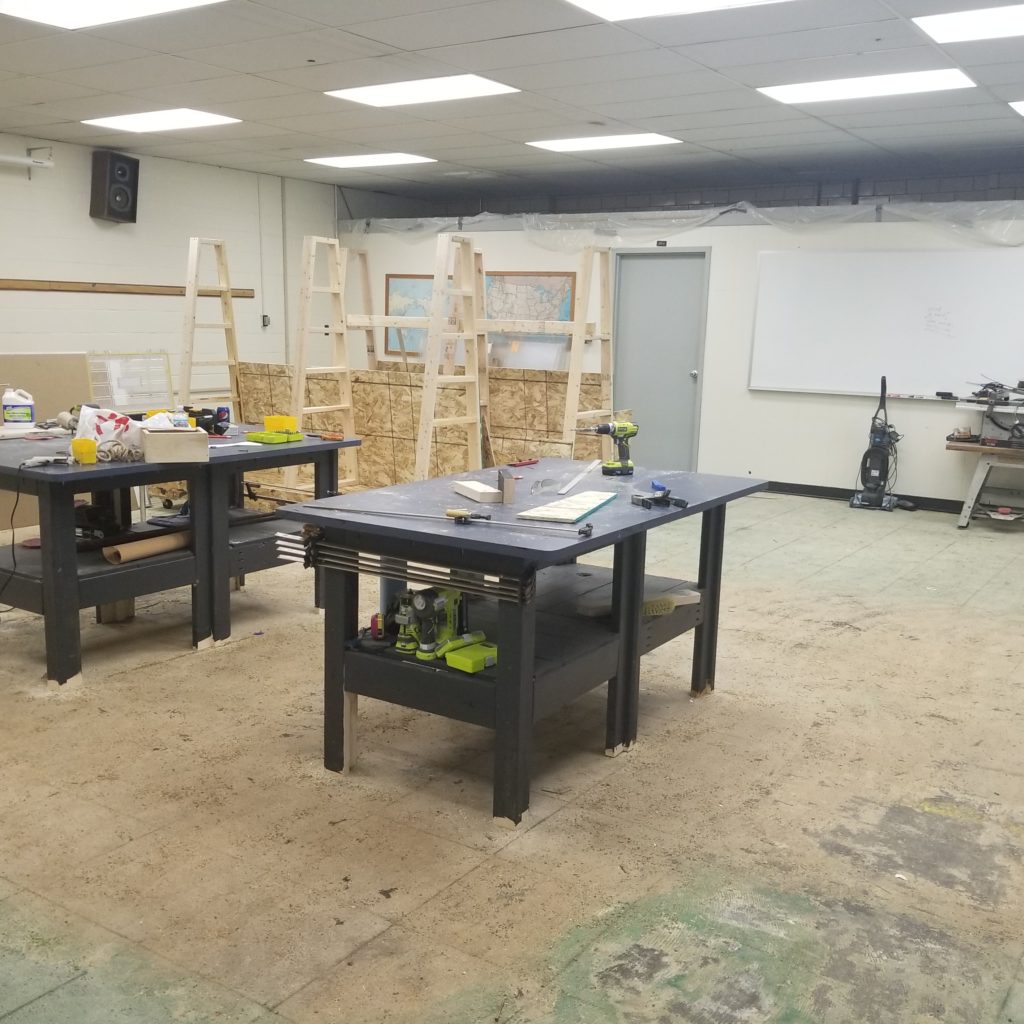
These tables had no plan and were 100% a child of creativity and necessity. In the Co-Lab’s old woodshop we used the rickety out-feed table for the table saw and a cobbled-together, very light, and unlevel table for assembling all of our projects. Needless to say, all of our members that utilized the woodshop were eager for a change.
When I started this project I knew we didn’t have much of a budget, The QC Co-Lab is a non-profit; however, we did have a large number of 2x4s and some very heavy Formica tabletops that we had inherited from the previous owners of the building. This meant that the whole assembly table could be built for the cost of just the fasteners which ended up just being regular pocket hole screws!
The Build
The build for this project ended up being fairly straight forward. I built the base that would support a shelf and then union two of the 4×4 Formica tops. I knew I was going to use pocket hole joinery for the majority of the project since it was what I had and didn’t need to look exceptionally nice. For the legs, I did end up using a dado that ran down the entire length of the 2×4 leg. I then seated another 2×4 into that dado making a kind of T shape. This gave the whole table way more rigidity and made me more confident in its ability to hold up to some abuse.
Lessons Learned
I do enjoy using reclaimed materials and keeping the budget low, but when it comes to shelves MDF is not the right material. About a week after I cut them and placed them on the table you could tell they had started to sag a bit. I am not that worried about it since I can just replace them with some cheap 3/4 ply when needed but, still should have considered it during the planning process of the build.
In addition to choosing the wrong material for the shelves, I also wish I would have built the base in a format that would have been easy to adapt drawers. These shelves are just horizontal surfaces that as in any shop, seem to always get filled with random items and sawdust.
Upgrades
These tables are going to be a living project and I am sure you will see the upgrades on here as they come. Here is a list of just some of the upgrades I have thought of in the time since I have built the tables.
- Bench vise with dog holes running down the length of the table.
- Paper roll holder/cutter for large glue-ups and paint jobs.
- integrated power or dust collection for sanding and finishing.
- Drawers instead of shelves to keep dust off of projects and tools
Conclusion
This was my first assembly table build and I learned a lot from it. My biggest take away is that all projects run smoother and end up with less rework and waste if you spend a little more time in the planning process. Additionally, I learned the pocket holes will do just about anything. I will be upgrading this table soon but I think this is a good frame to start working from.