
Sit/stand computer desk built from reclaimed lumber
Posted on August 27, 2014 by Mark Riedesel
We had a heap of wood. Mark needed a desk. It seemed like the reasonable thing to do.
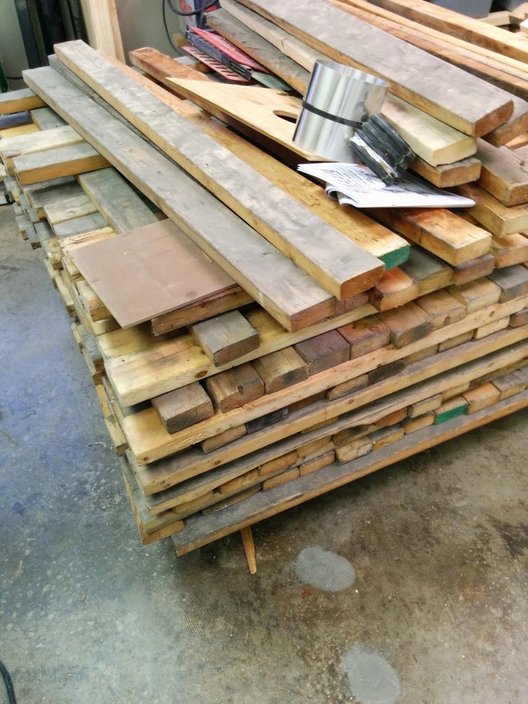
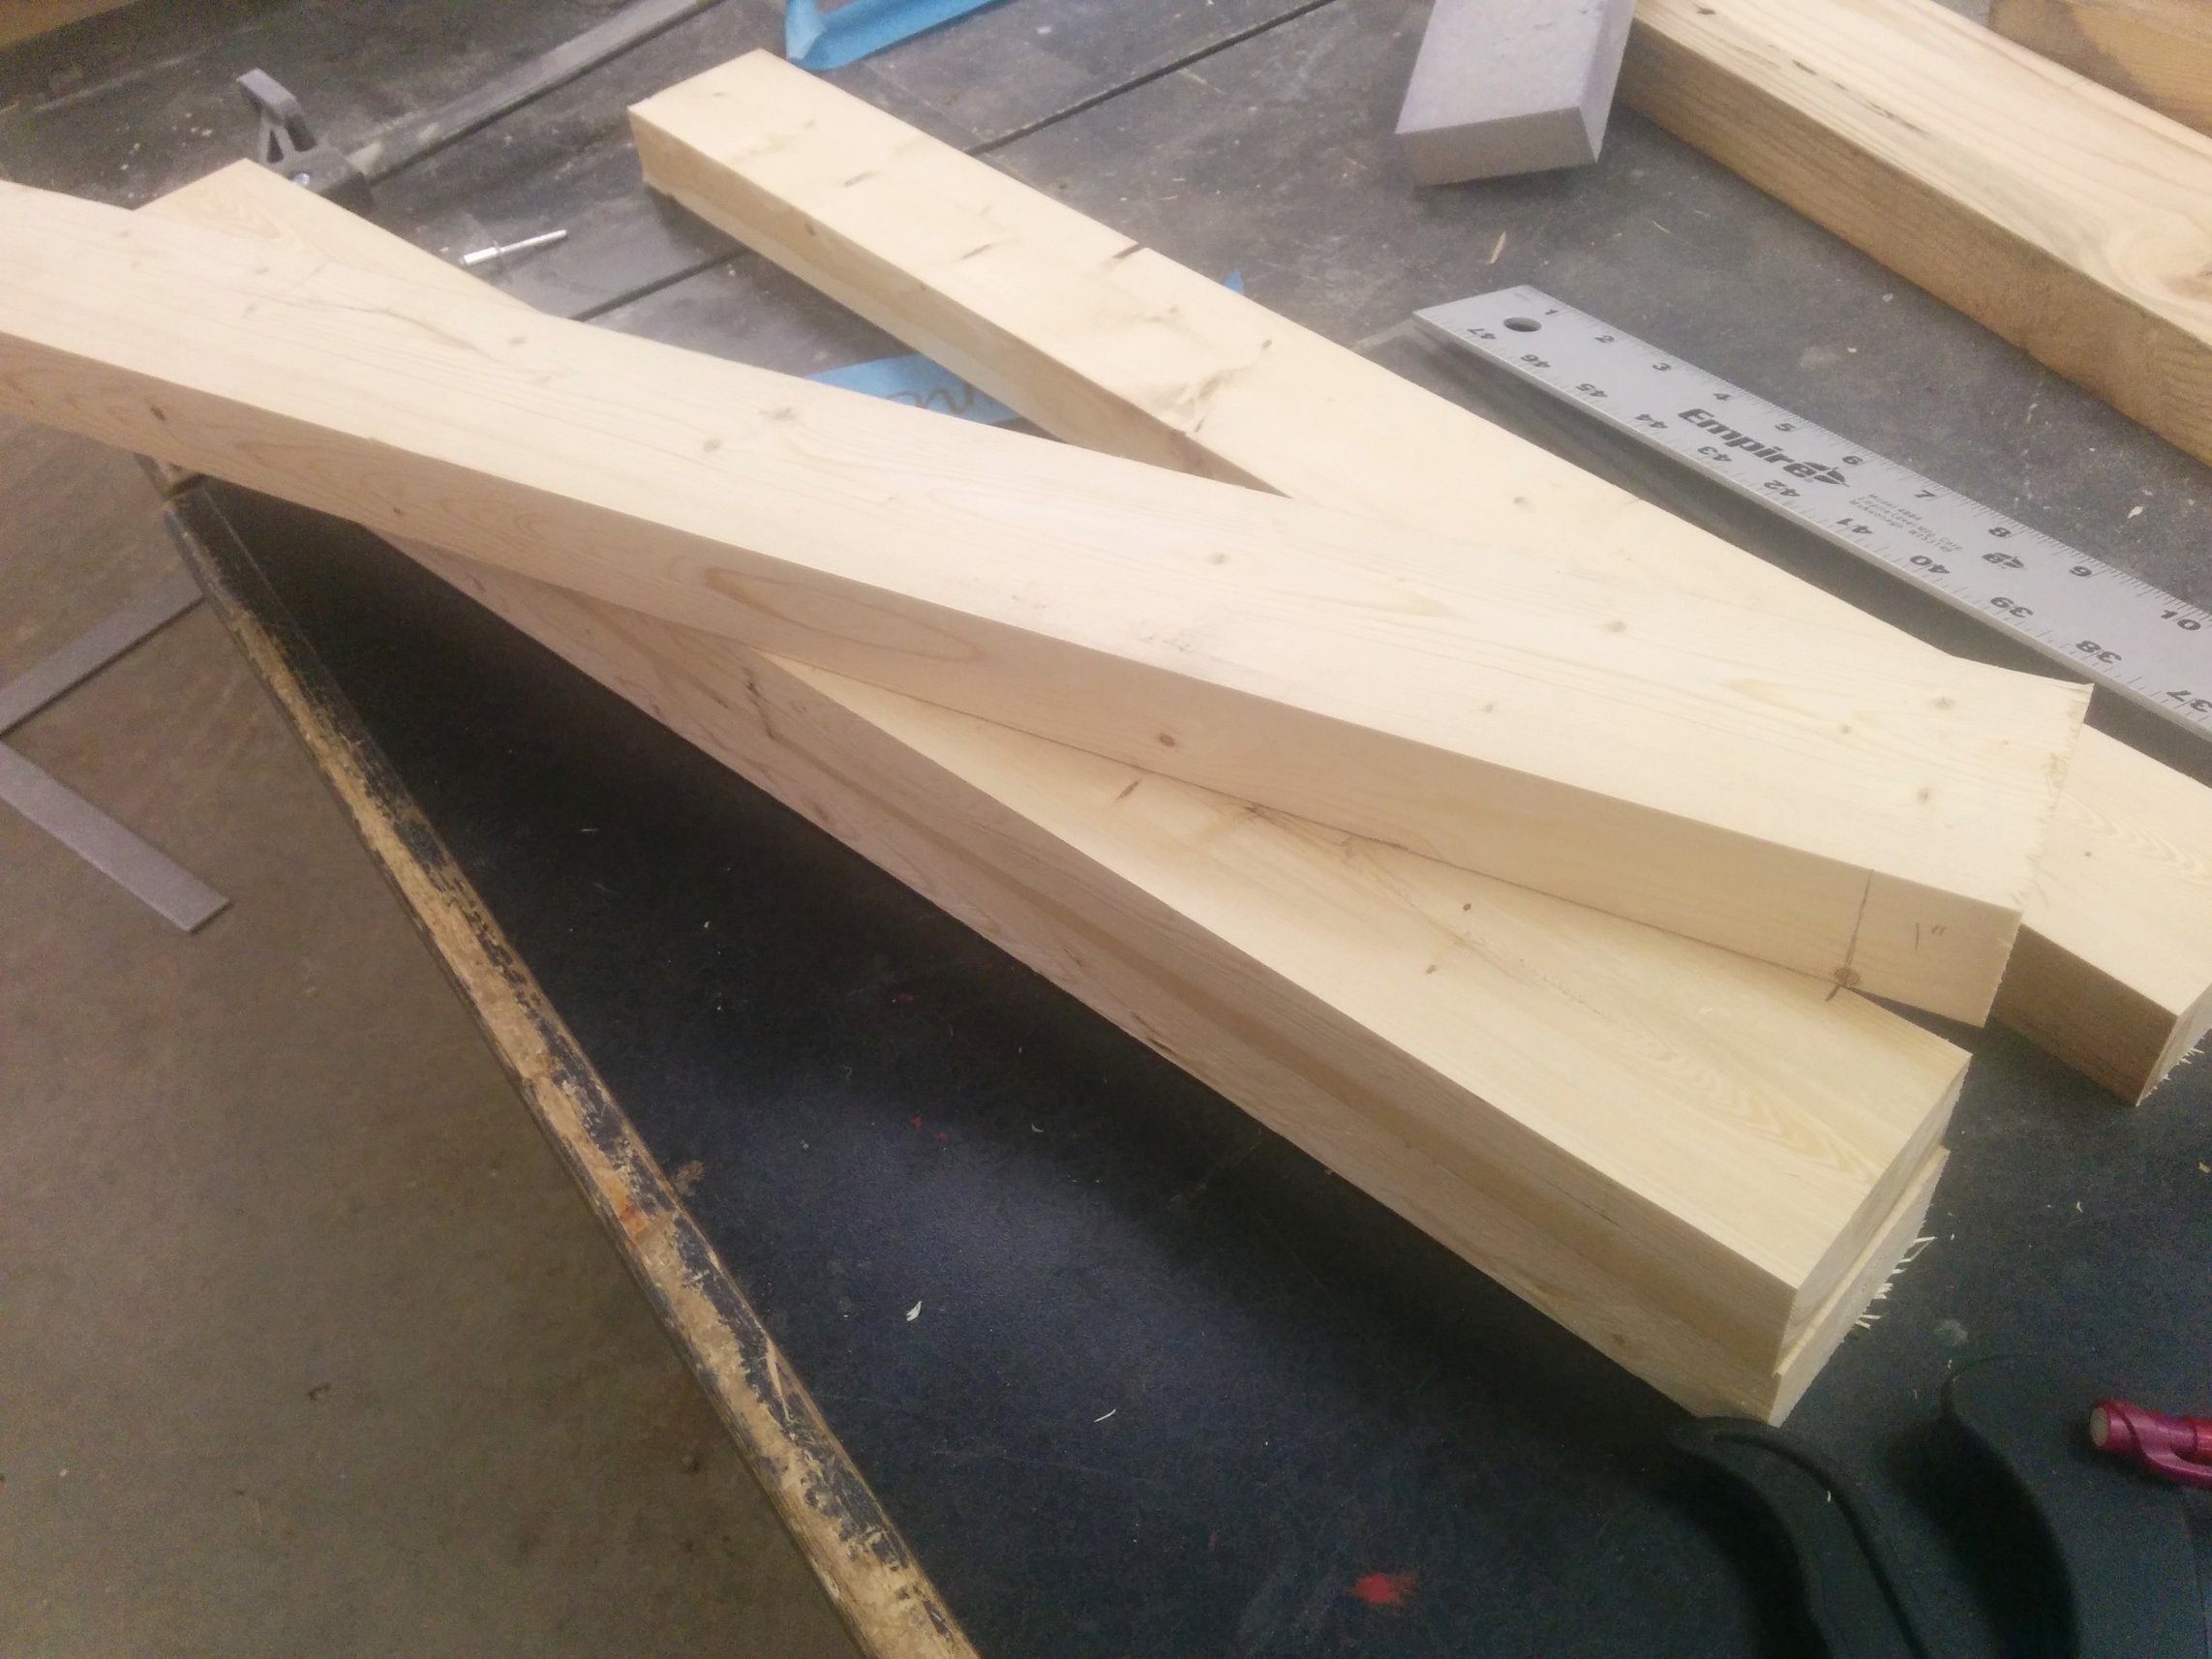
When Menards closed their old store we purchased this big pallet of pretty rough 2x4s for $10.
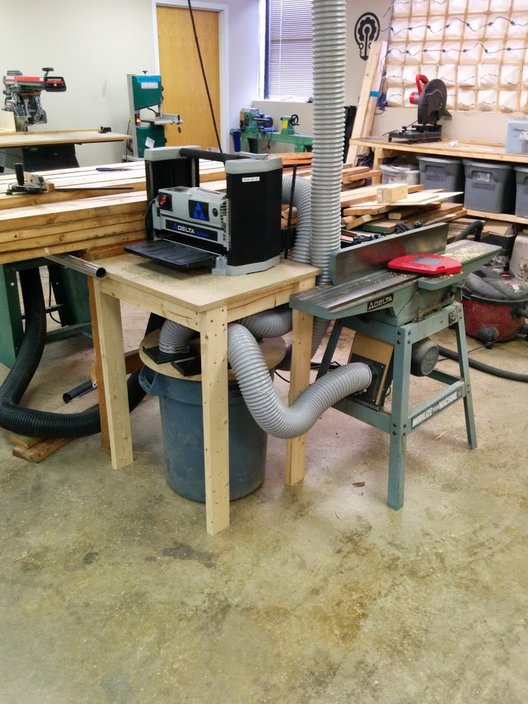
I’ve built small things from wood over the years, but this was my first experience using a planer and jointer, and also the first time I’ve created anything of this magnitude.
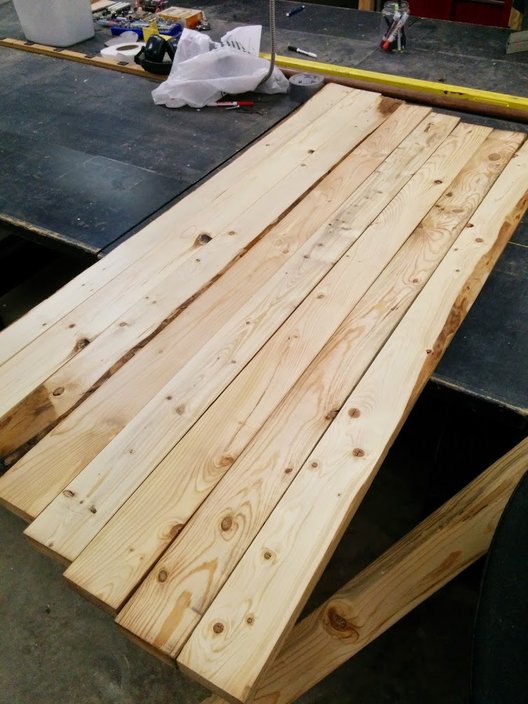
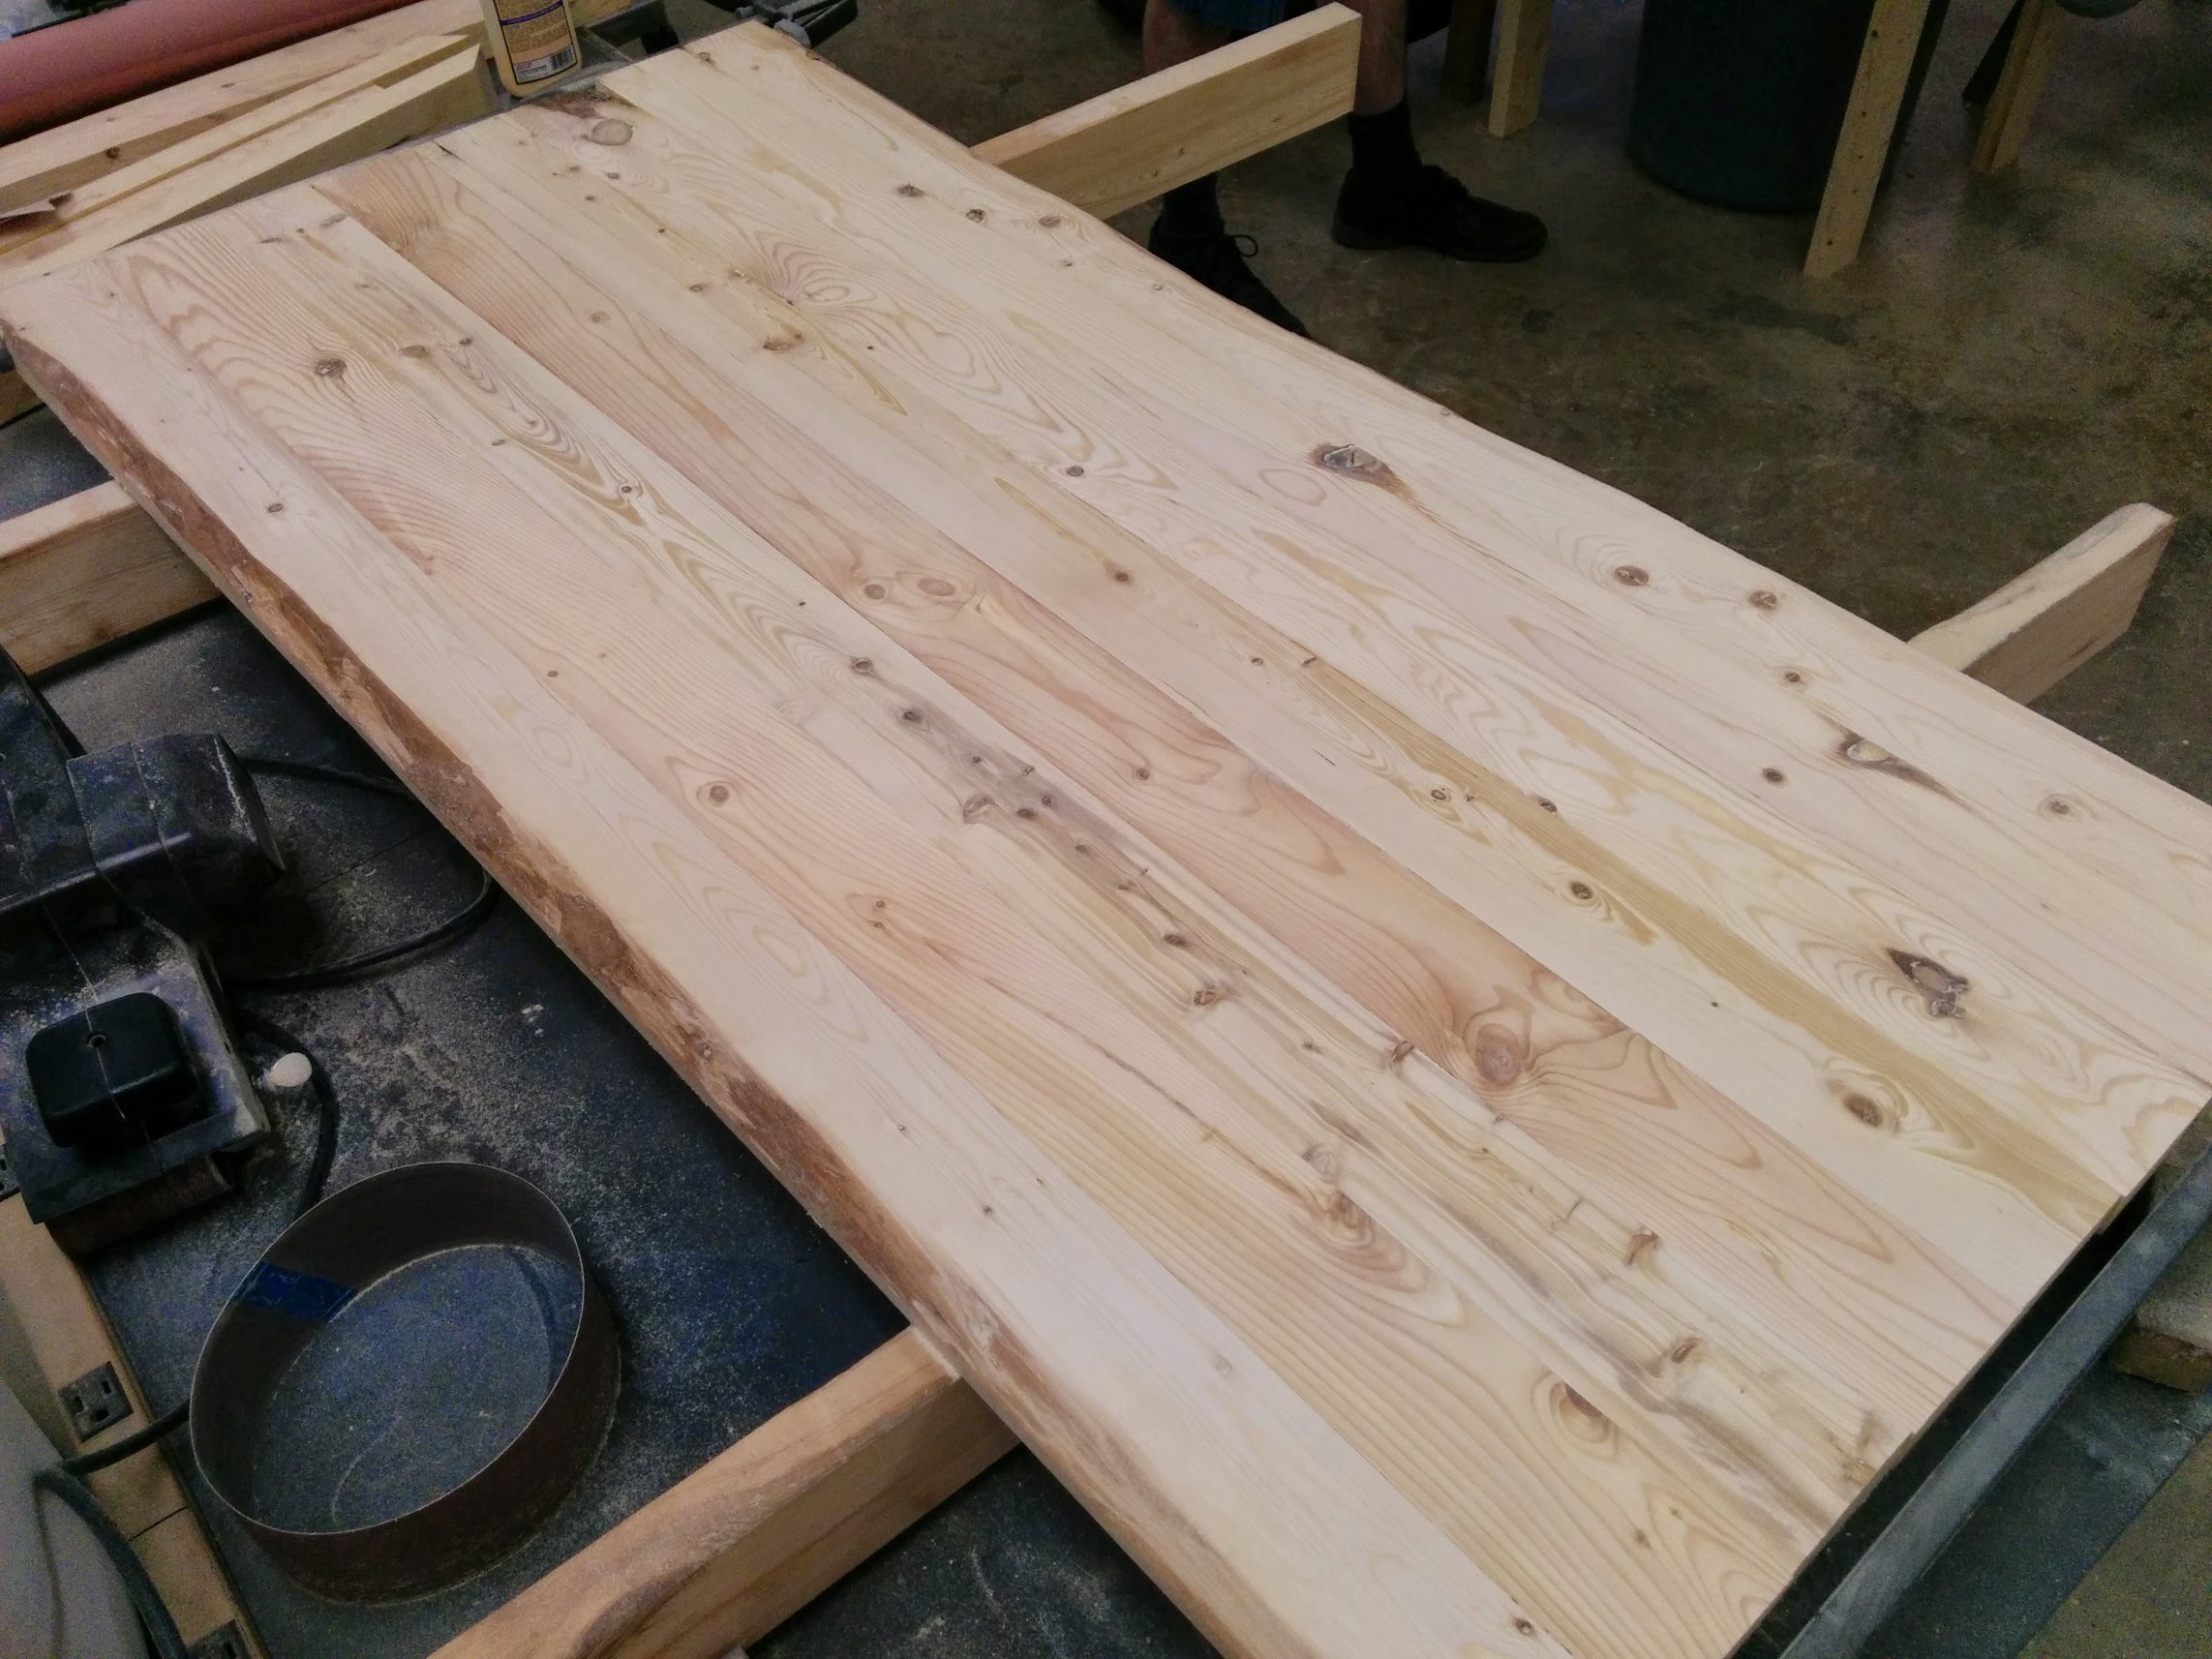
fter jointing and planing the nasty old boards I had some pretty decent looking planks. These were some very rough 2x4s and a few had nice natural edges (some with bark). I decided to use those for the end peices.
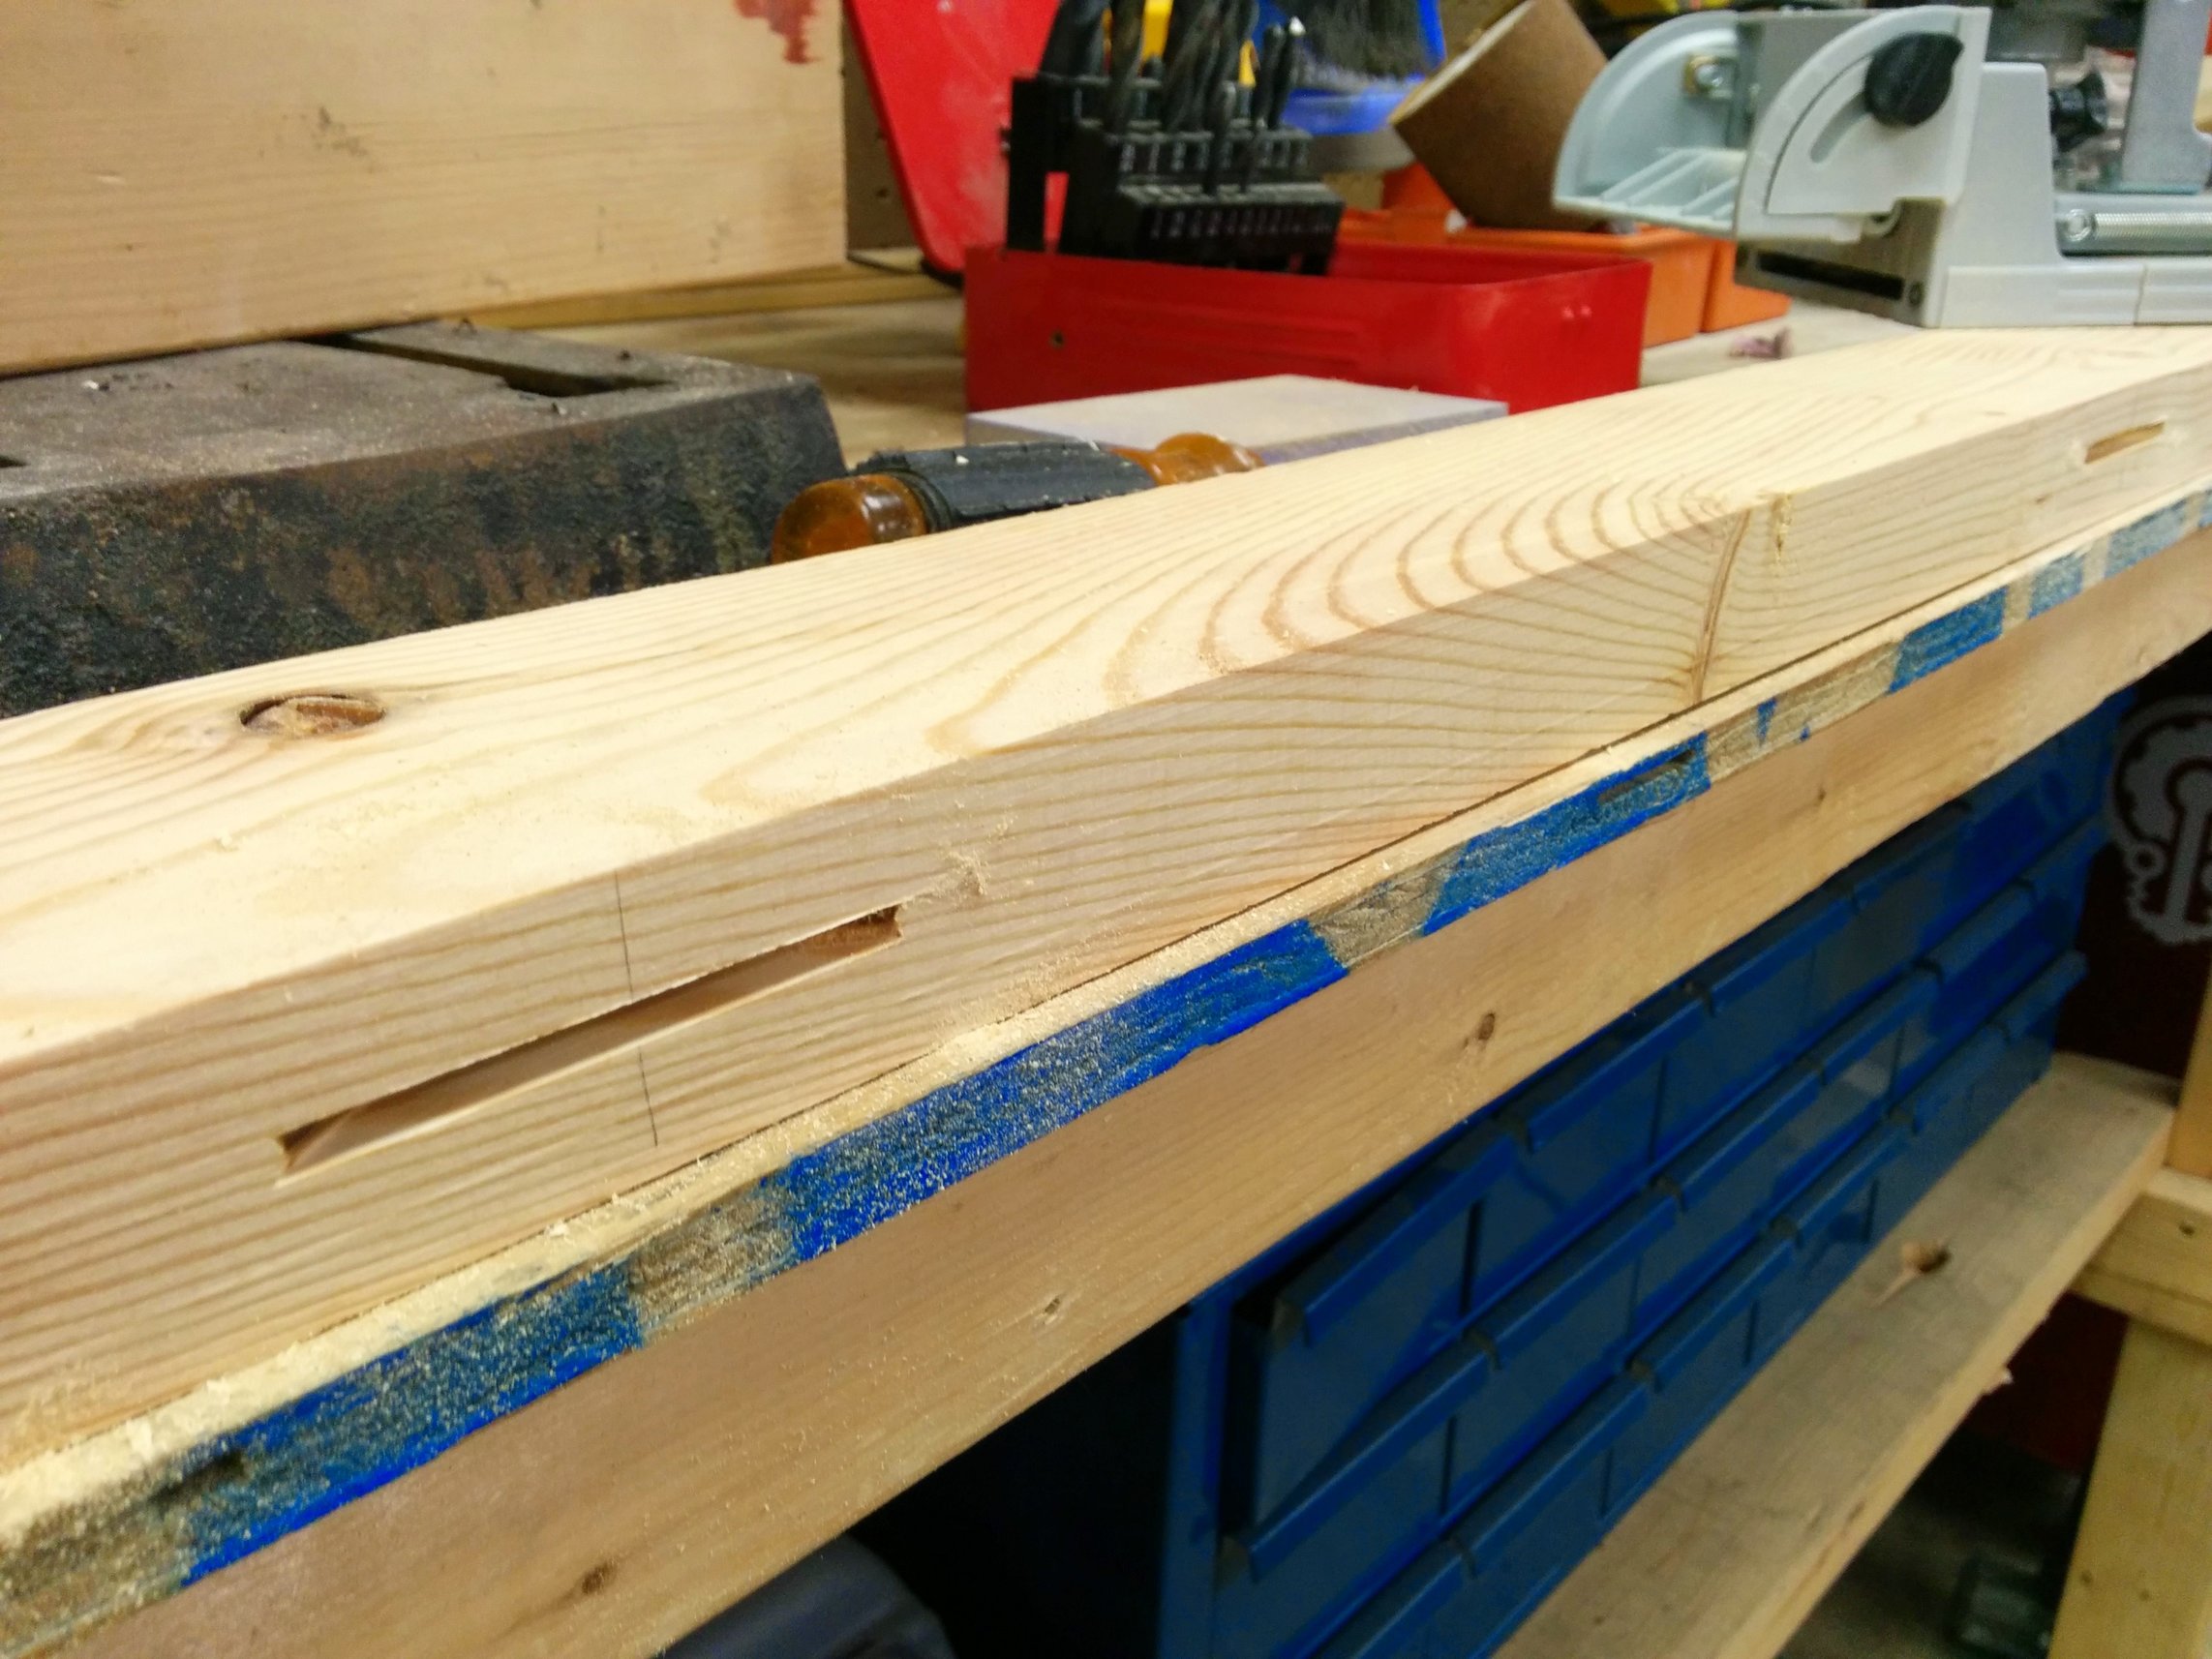
A few of our more experienced wood workers suggested I try biscuit joints. This was my first attempt at biscuit joints.
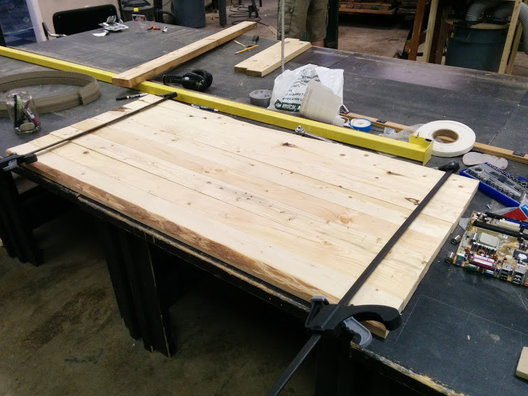
All clamped together with wood glue and biscuit joints. I believe I used 3 biscuits between each board.

Clamp all the things
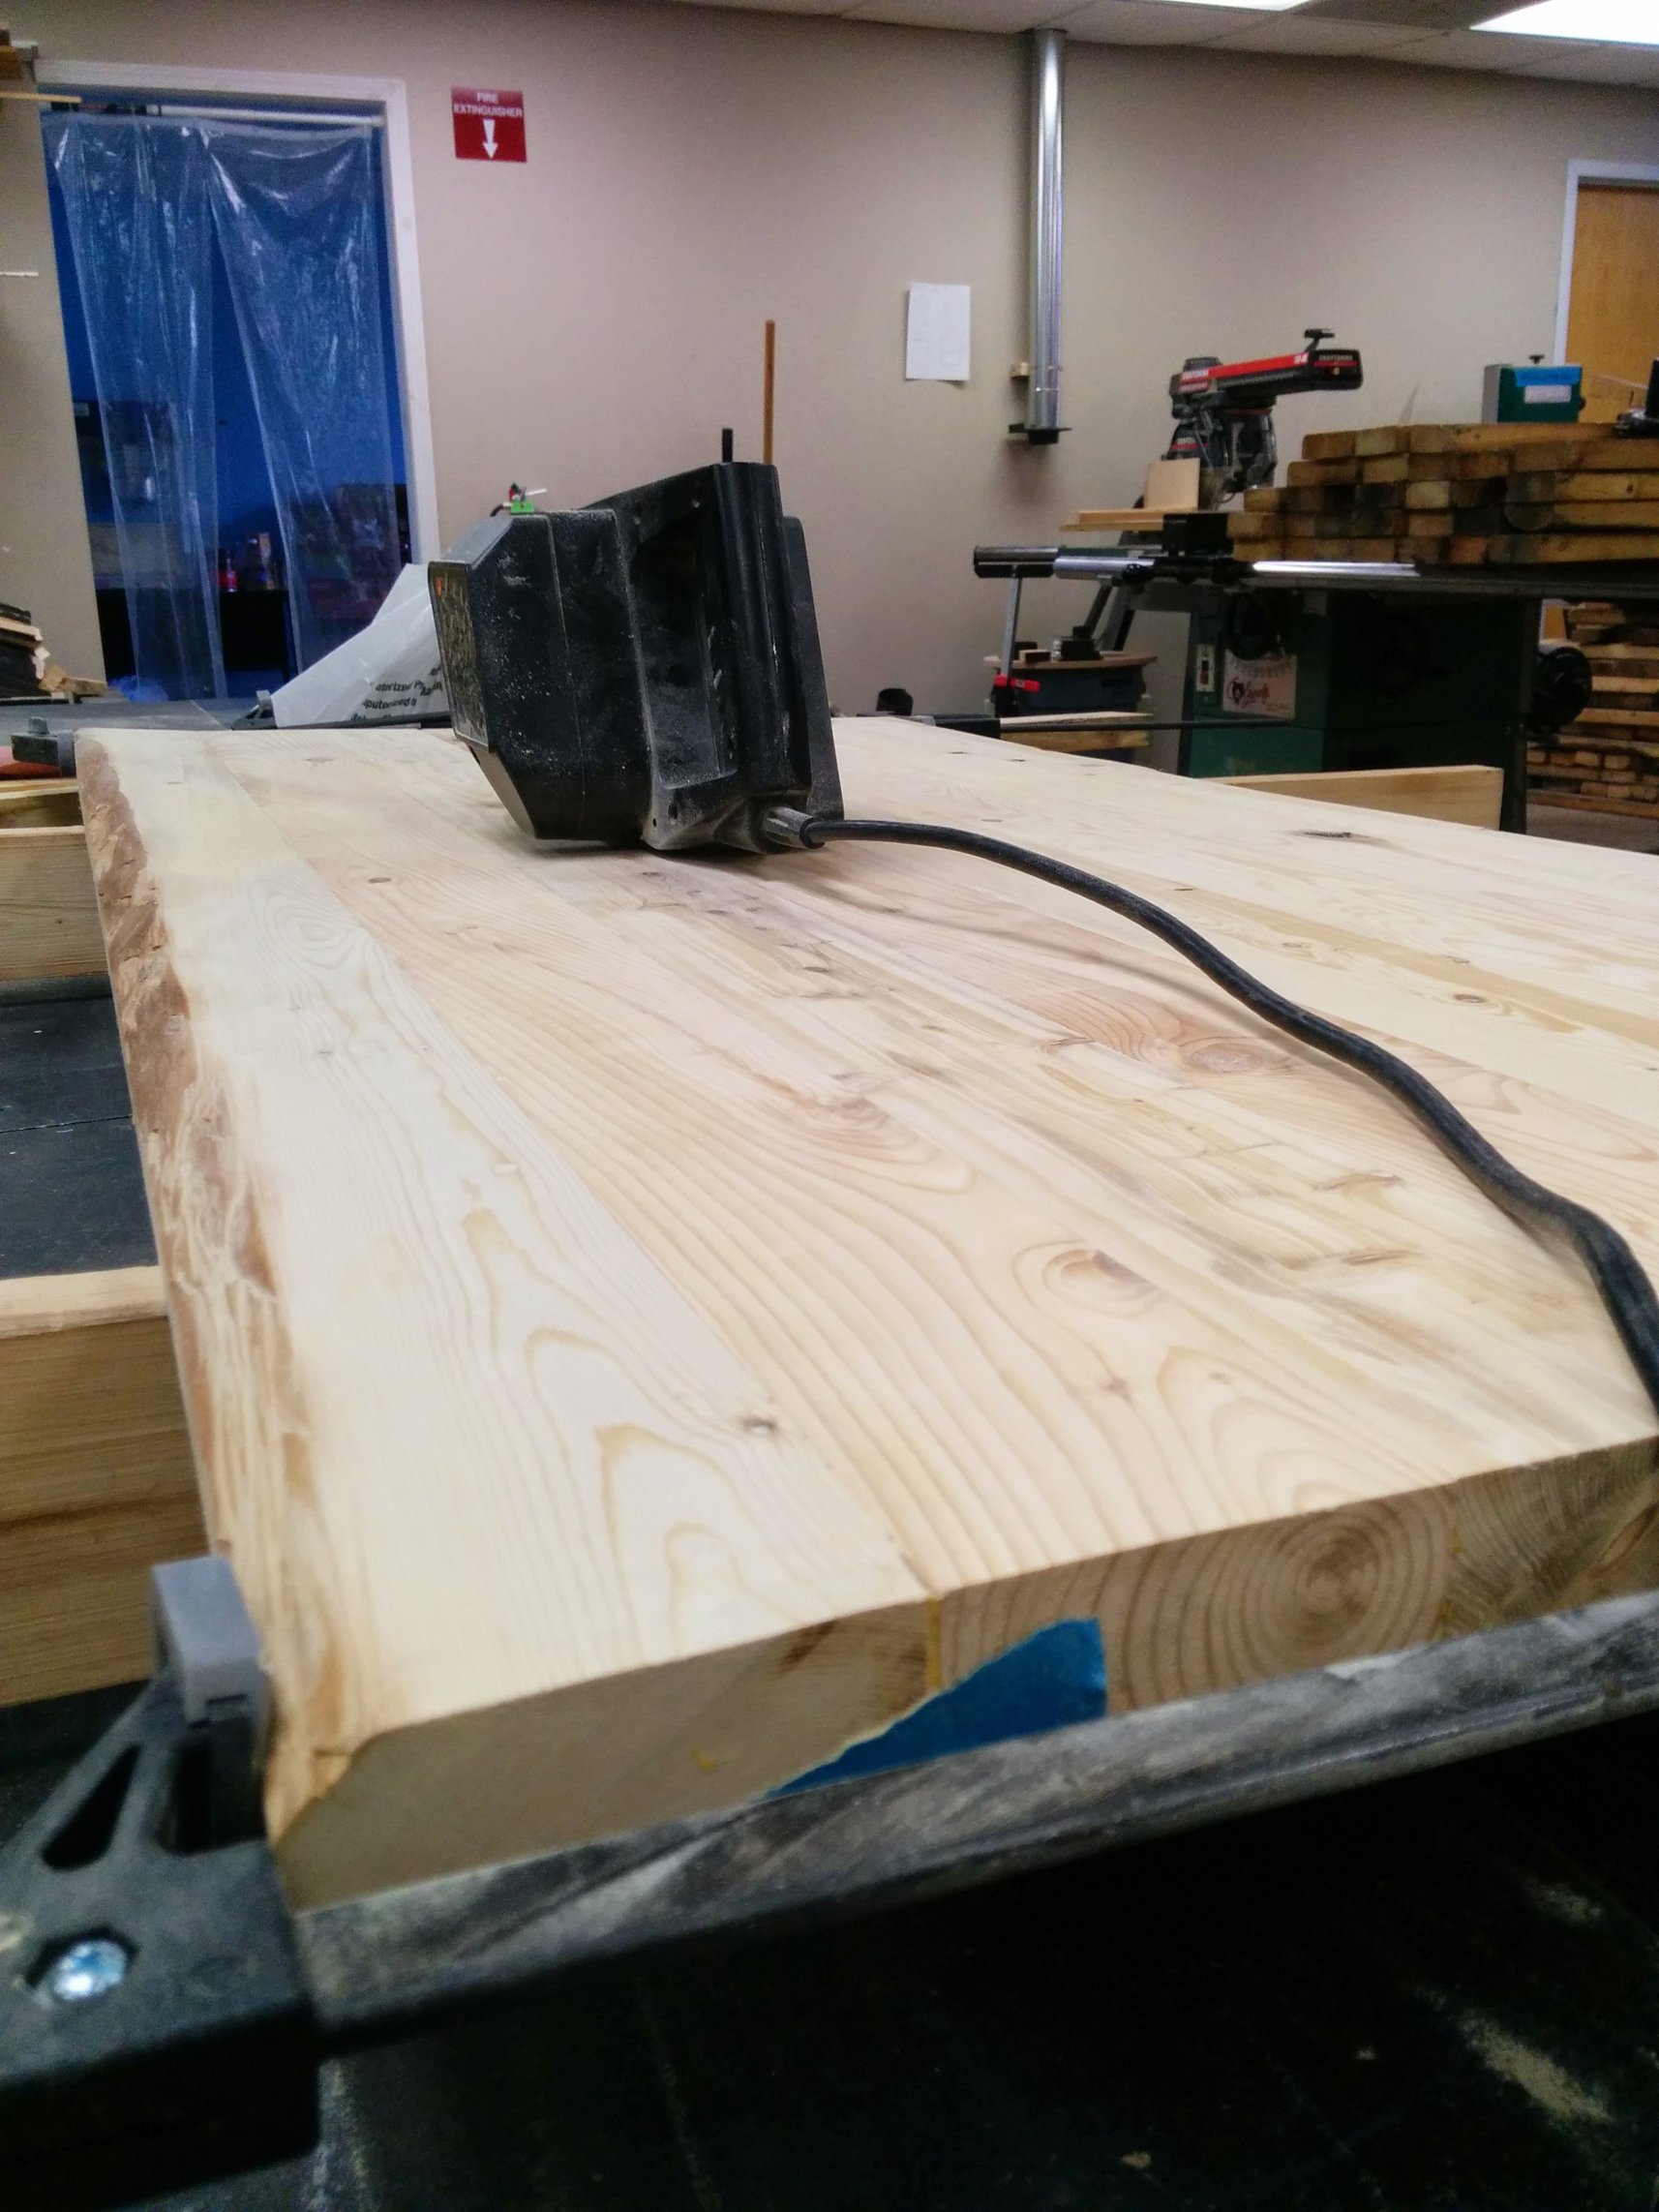
After the glue had a couple days to dry, I took to it with the little belt sander.
Nice and smooth! I did a bit of hand sanding to finish.
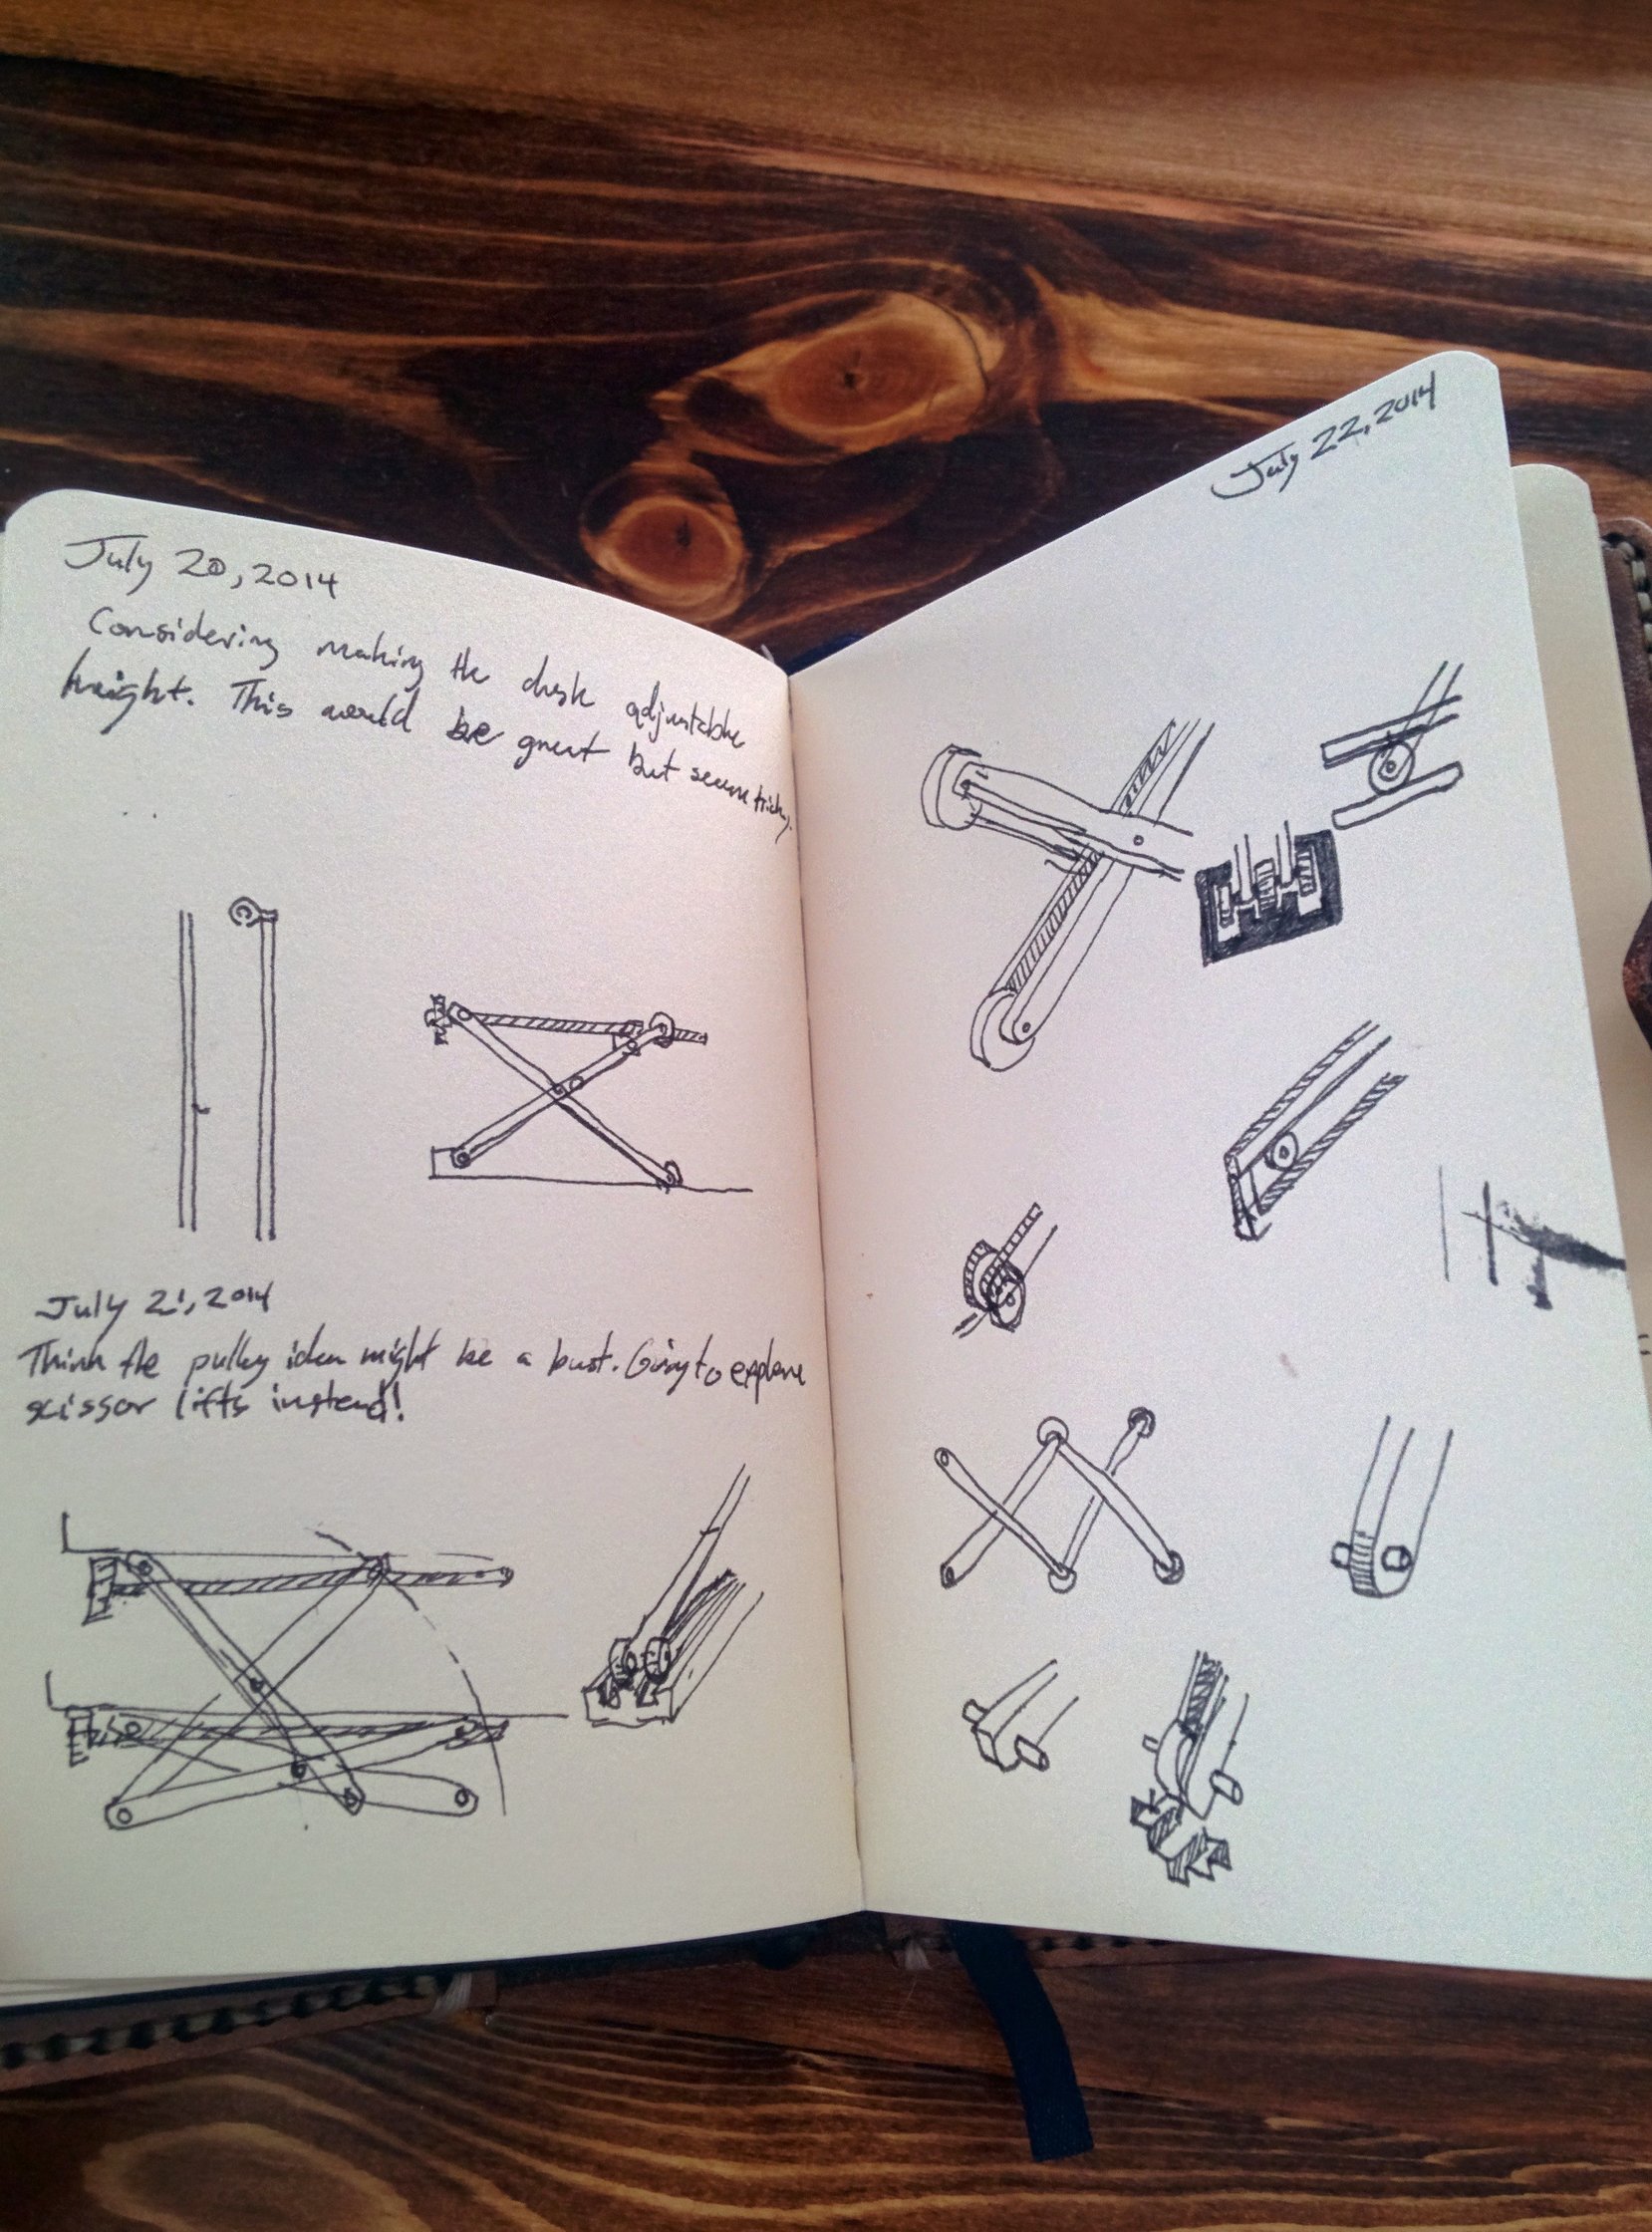
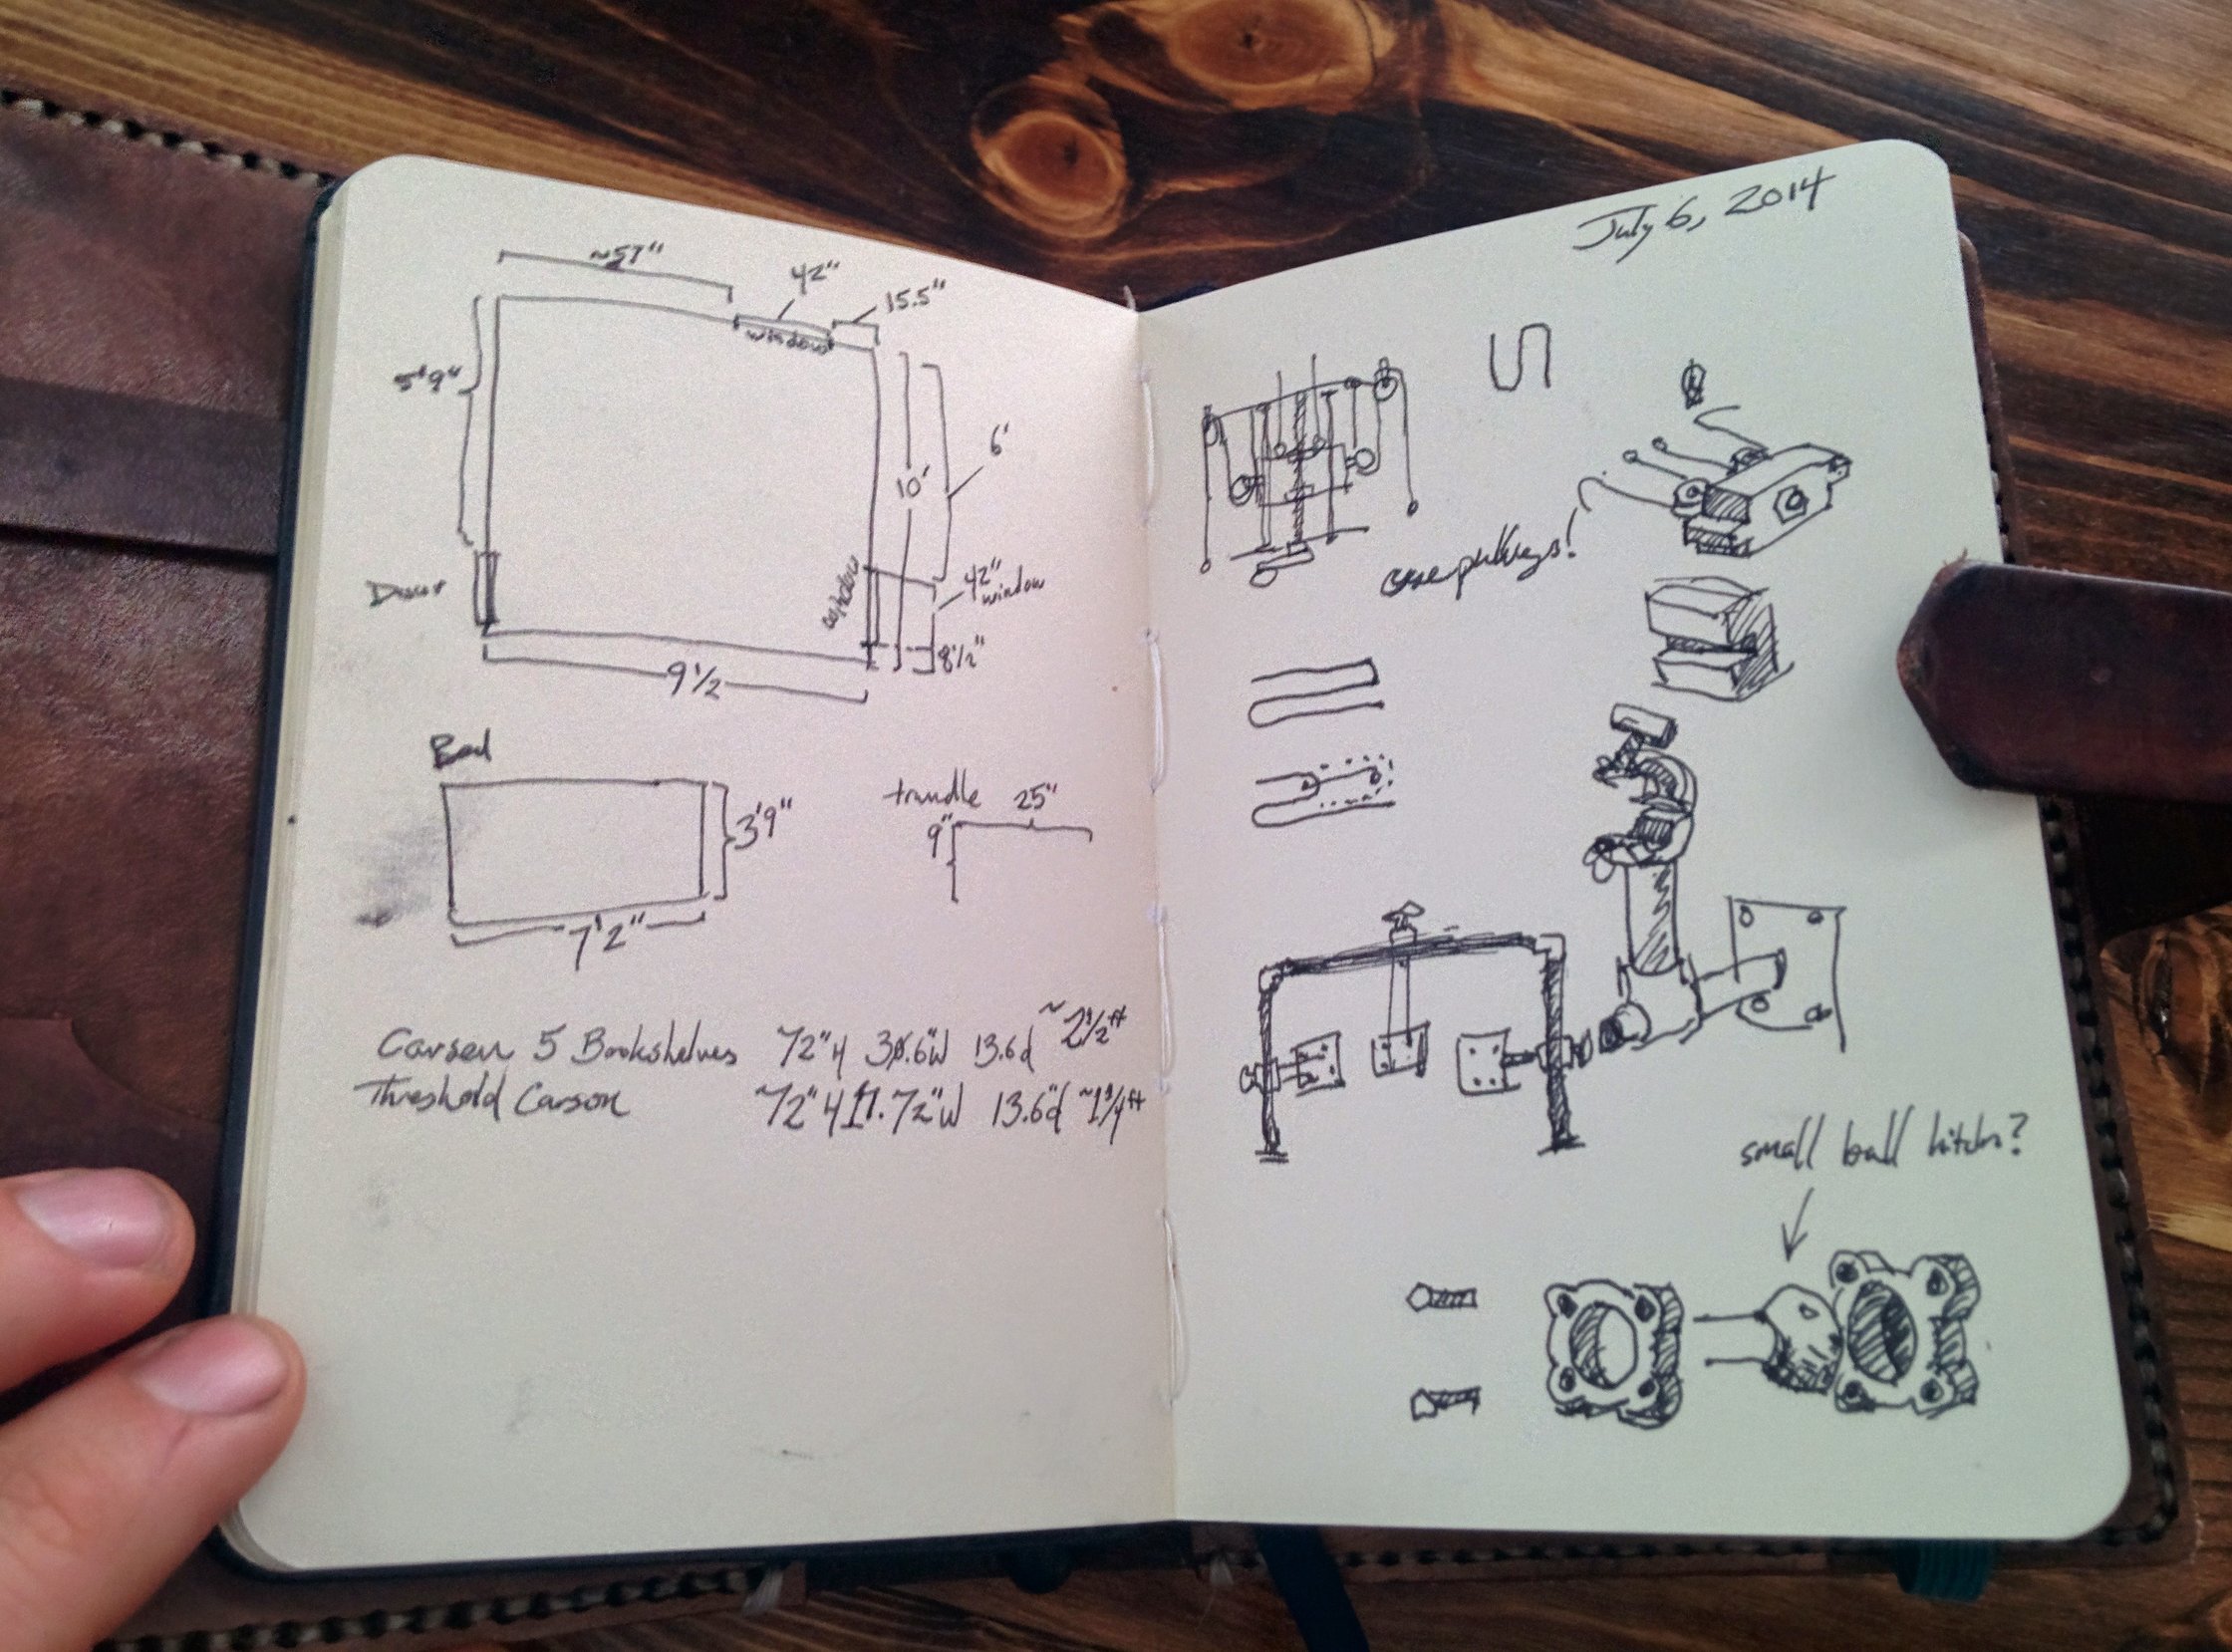
A few sketches in my journal, working through scissor concepts

More scissor concepts, and also I attempted making wheels by soaking and wrapping wood, this turned out to be a nightmare and I ended up just slicing the wheels and gluing them together with alternating grain patterns for strength per Coop’s recommendation.
This photo shows the scissoring pieces lying atop eachother in their resting state, I eyed stuff up and added some pencil markings.
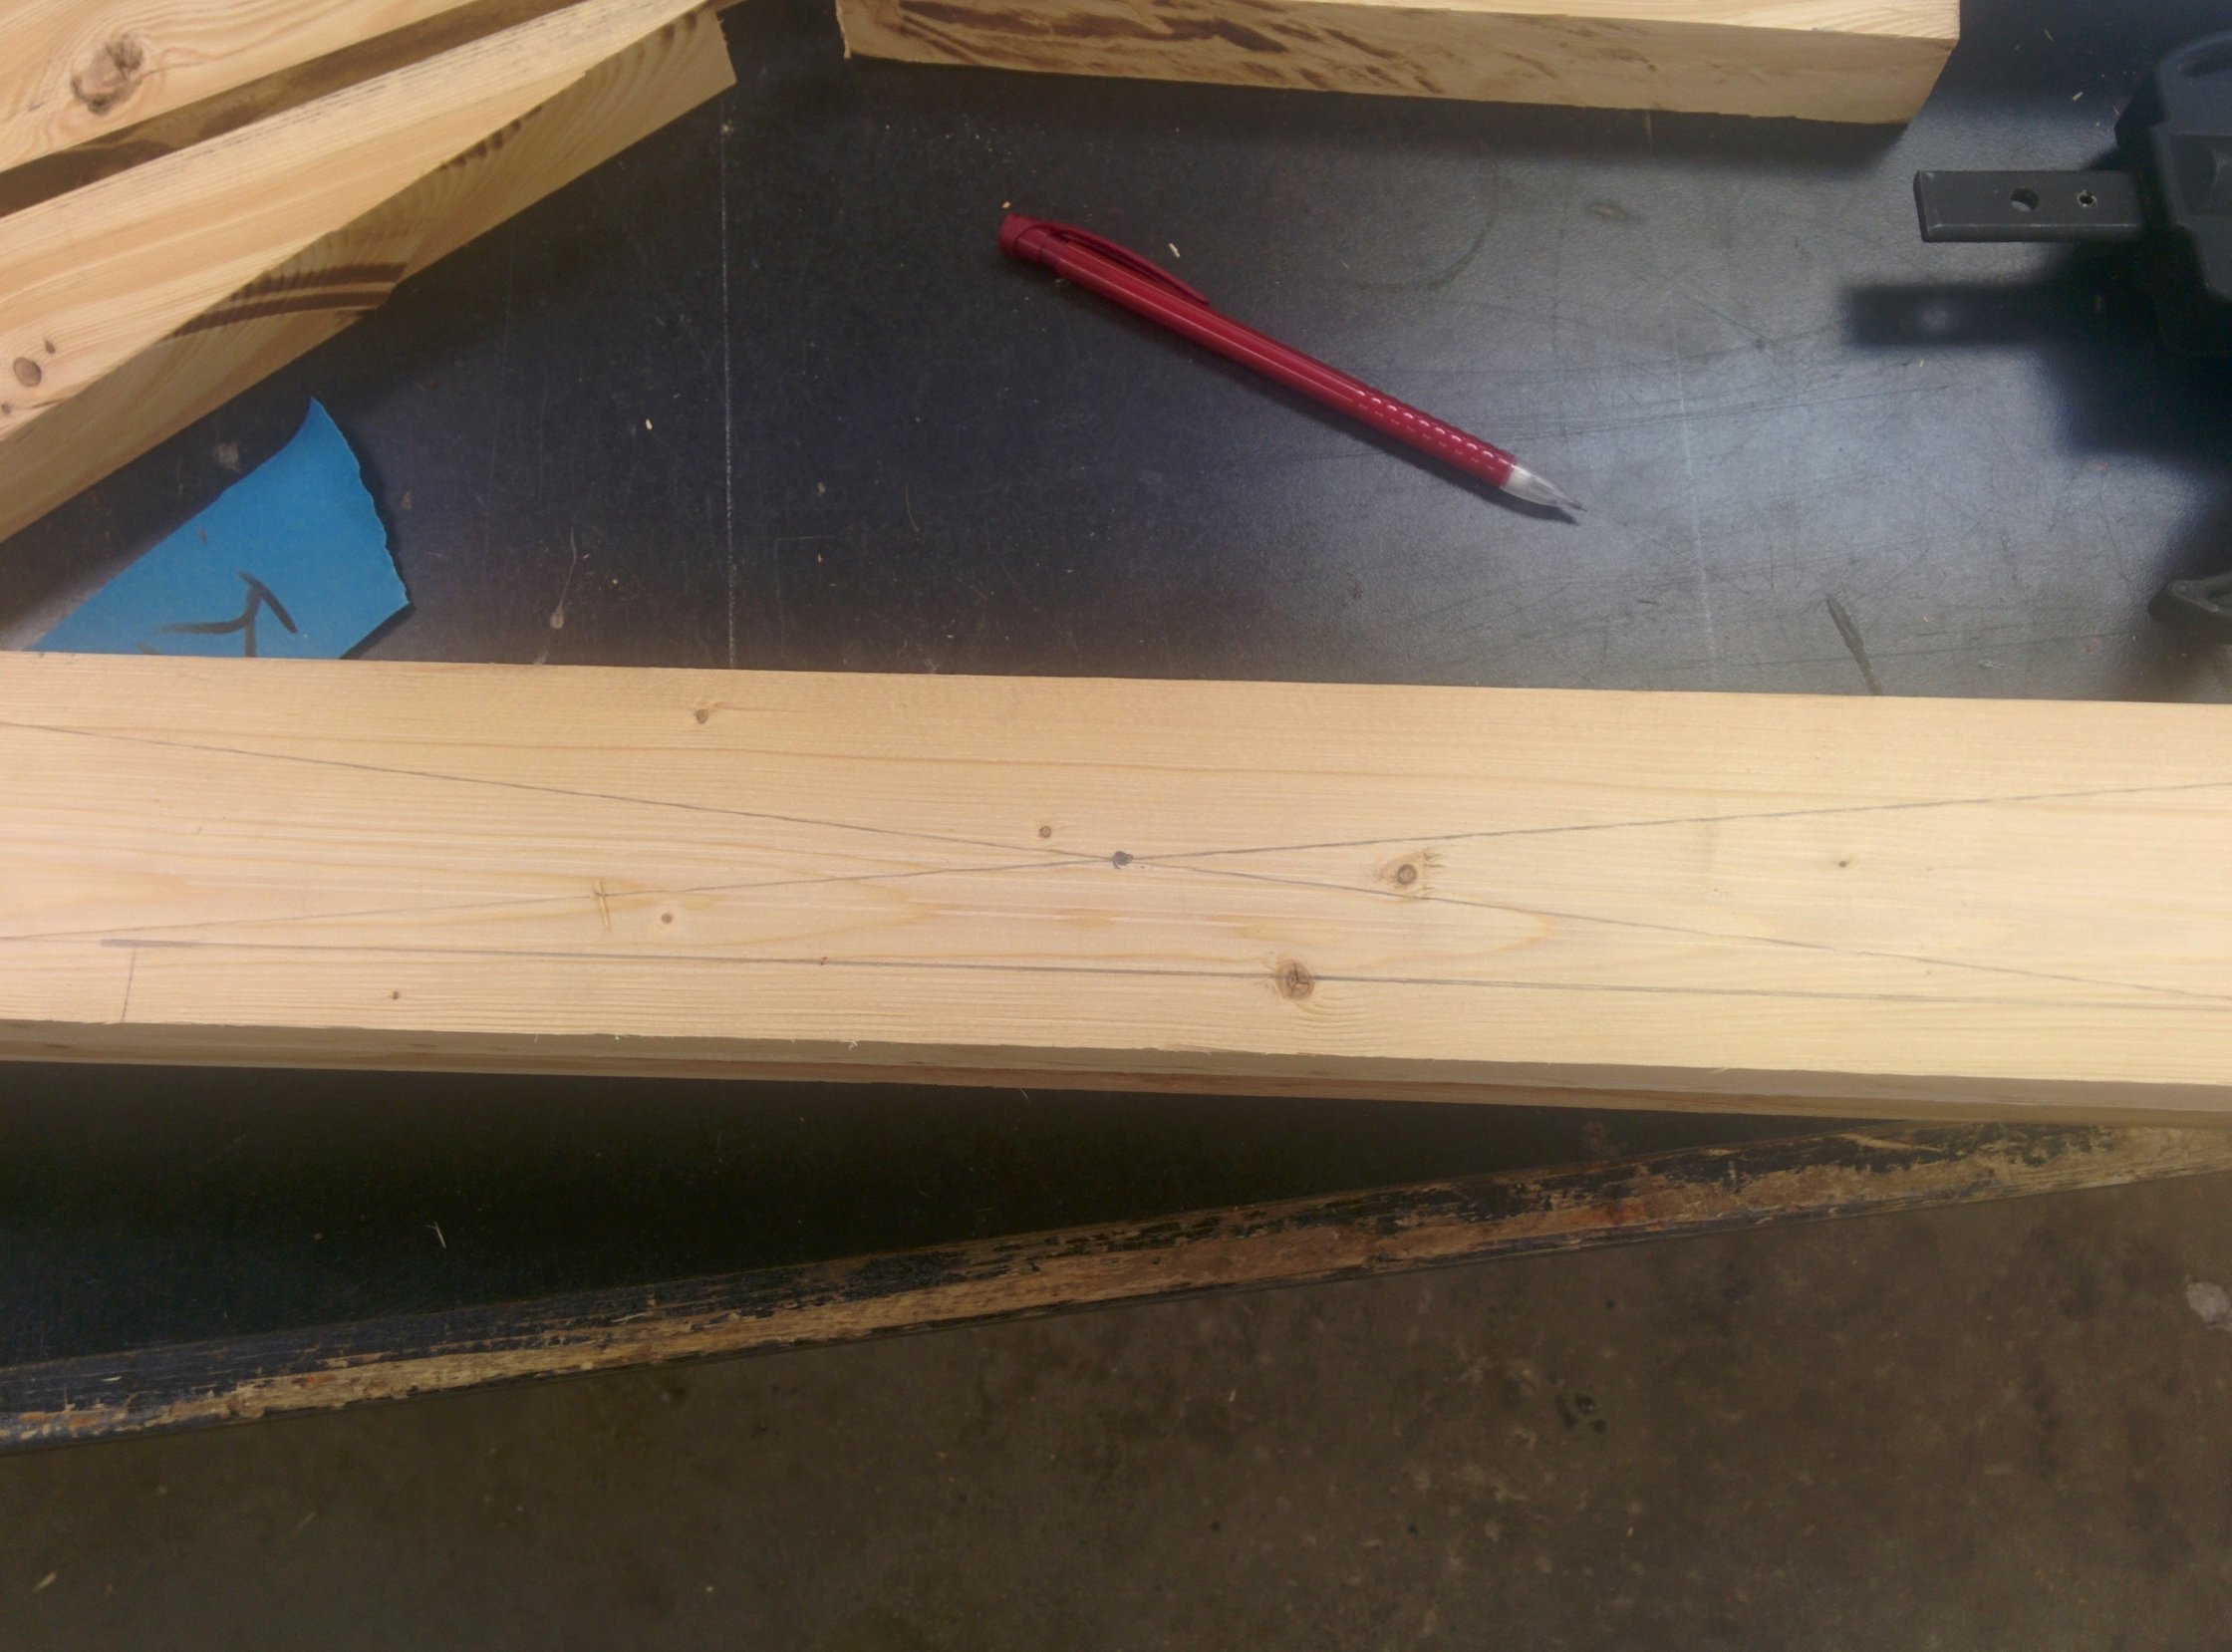
Scissor scribbles

Draw the rest of the owl.
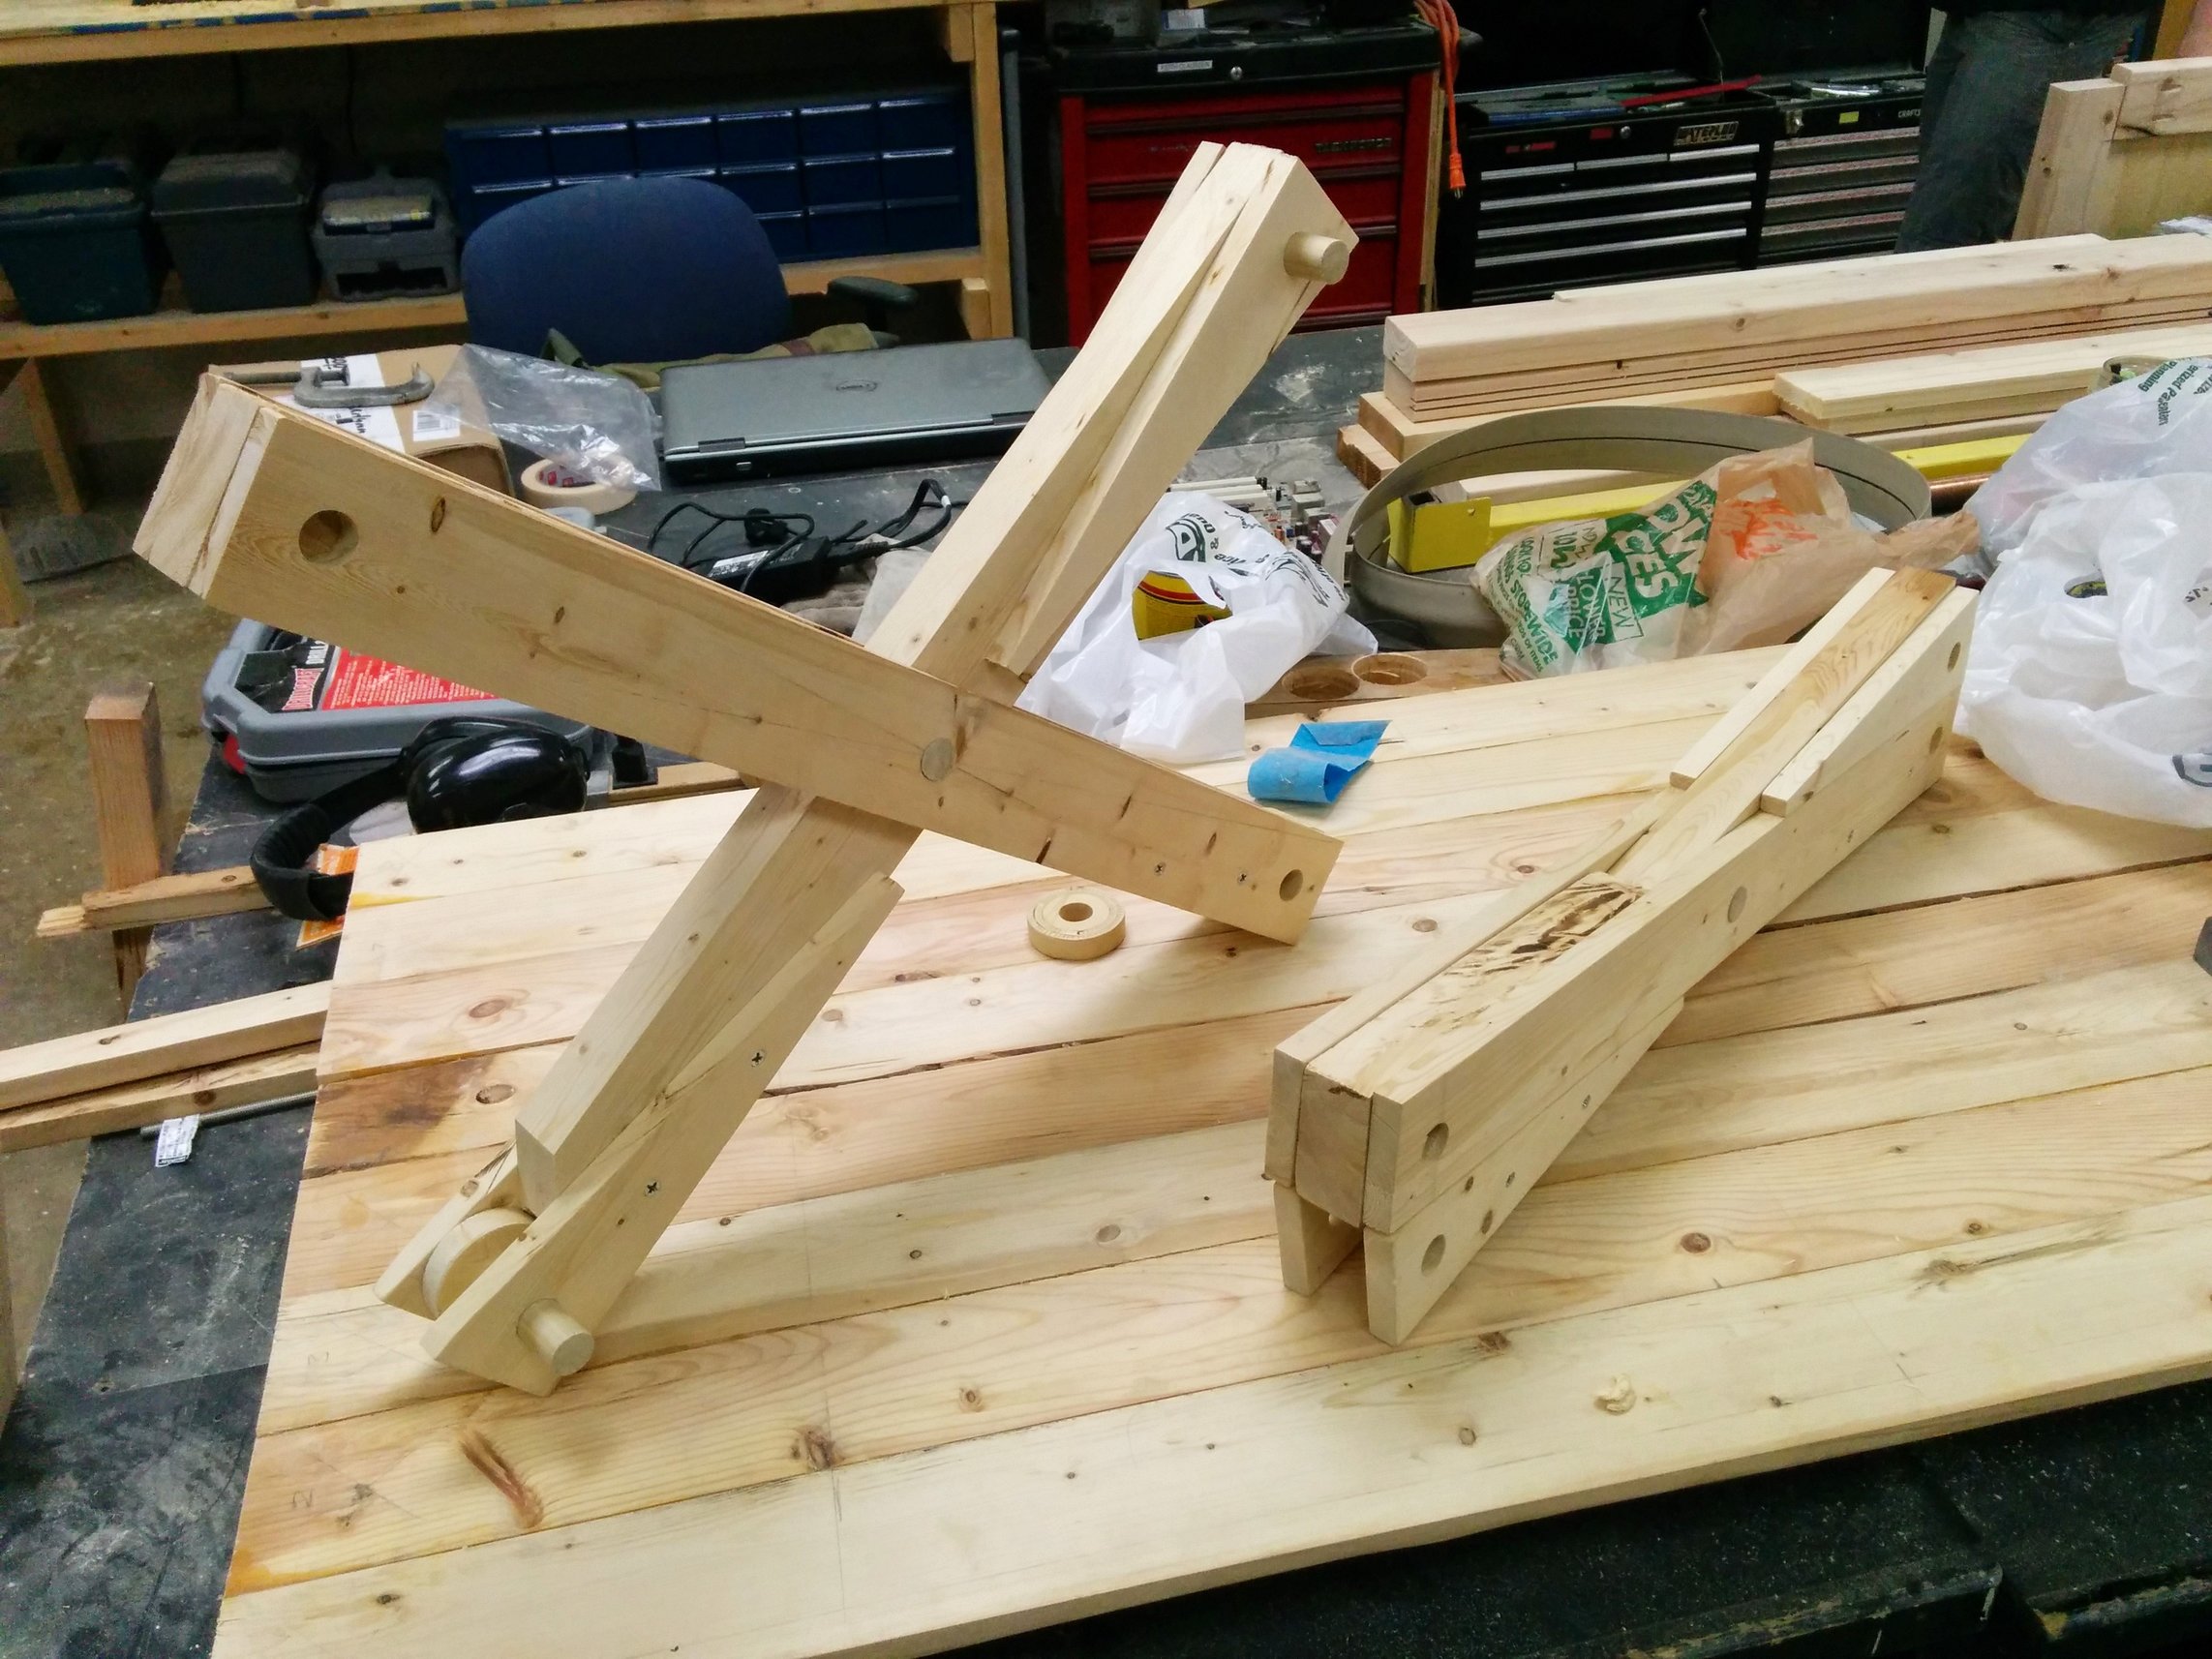
A second scissor appears.
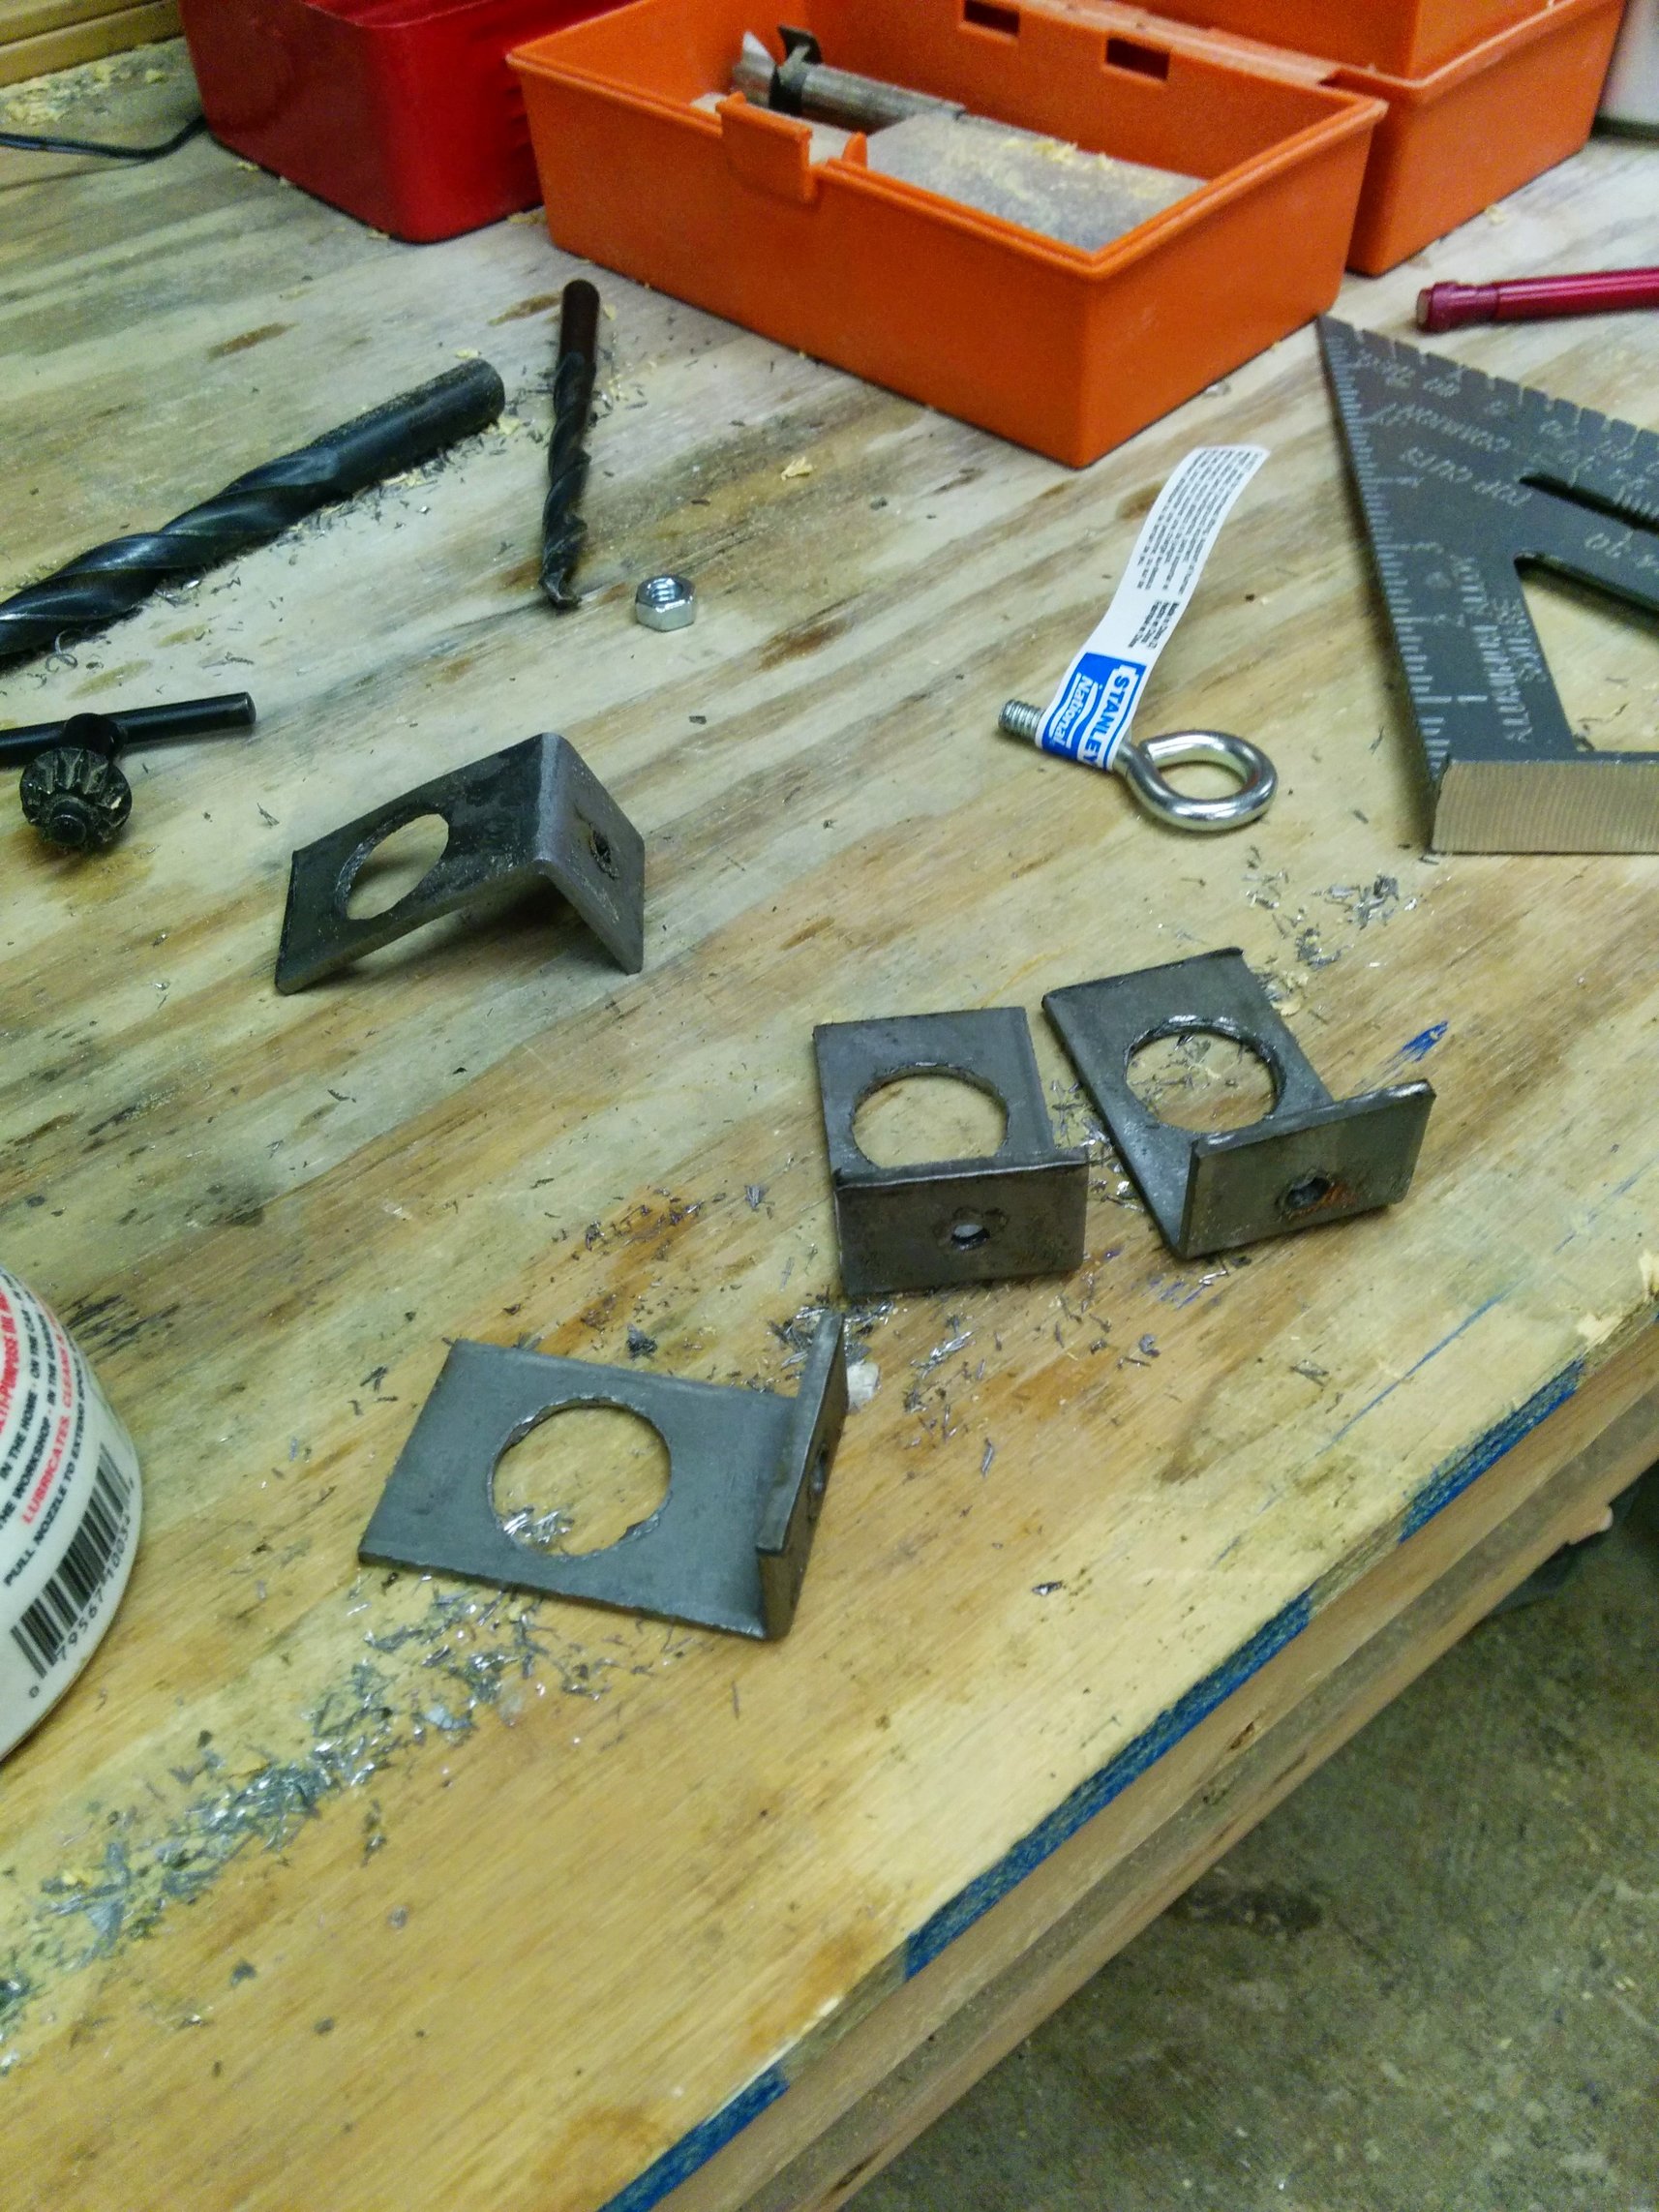
Then I had to figure out how to mount these.

Actually looks like something that could lift something!
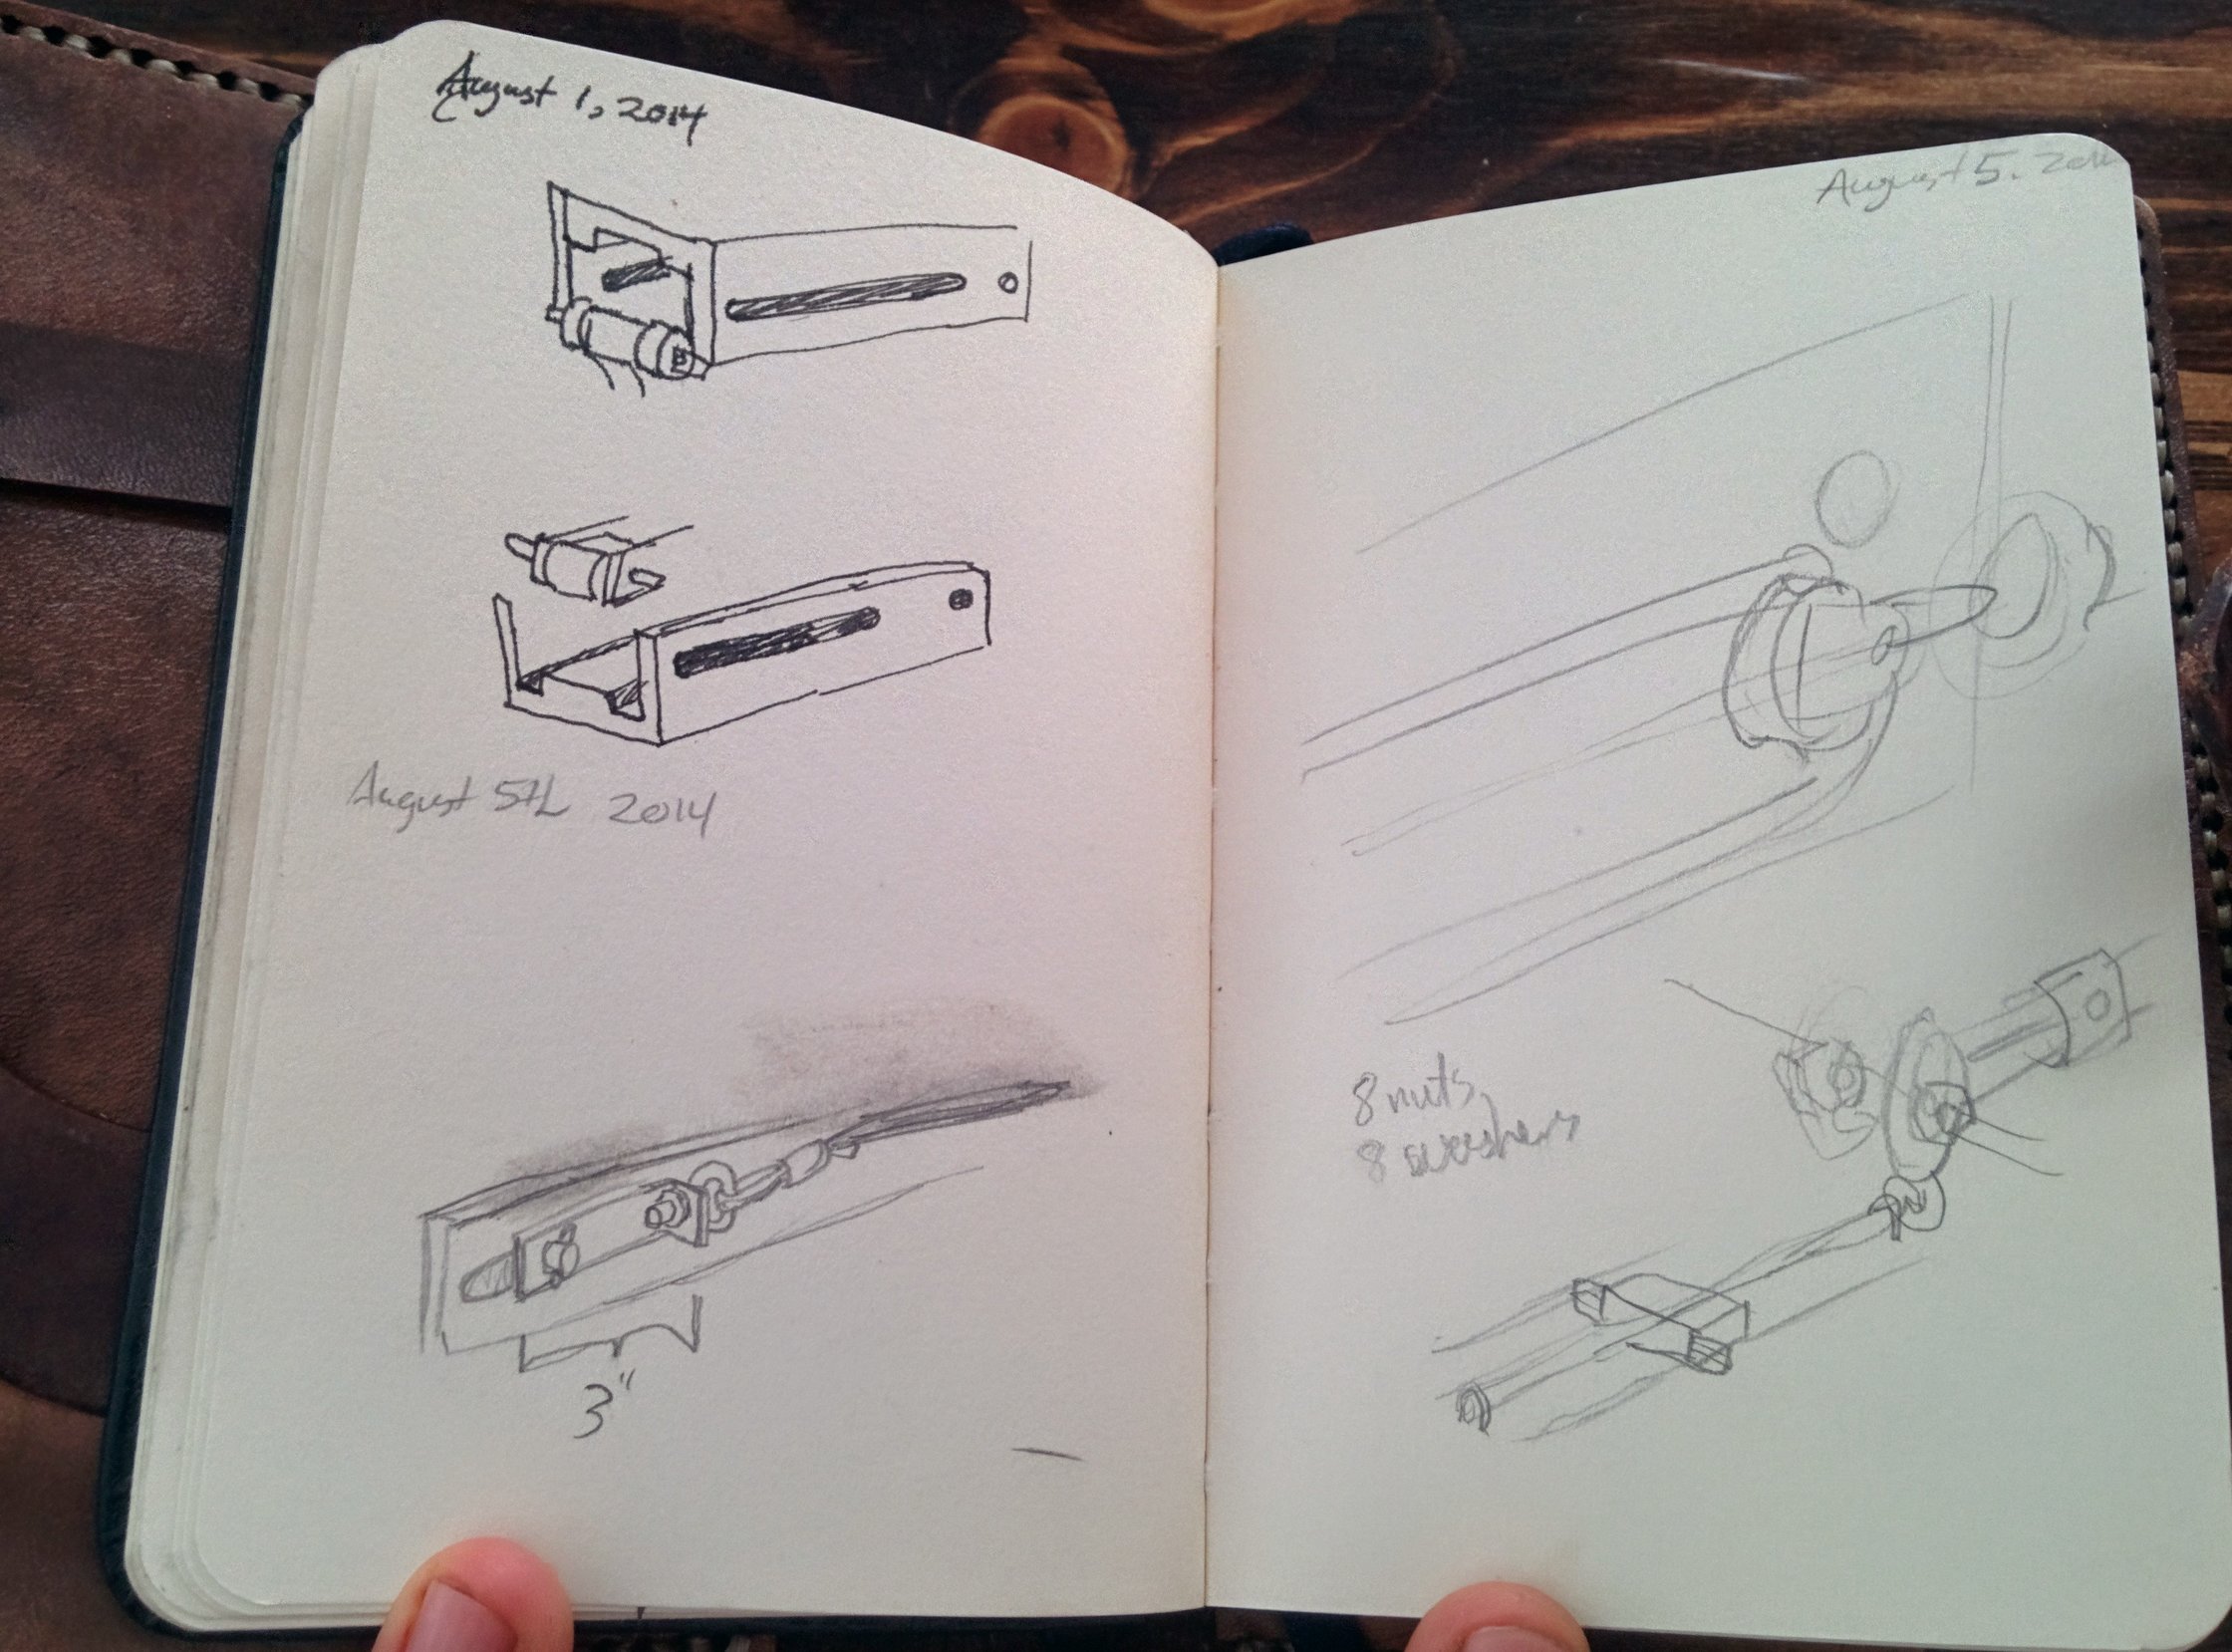
Concept sketches for ways to mount these things so one end is fixed while the other slides.
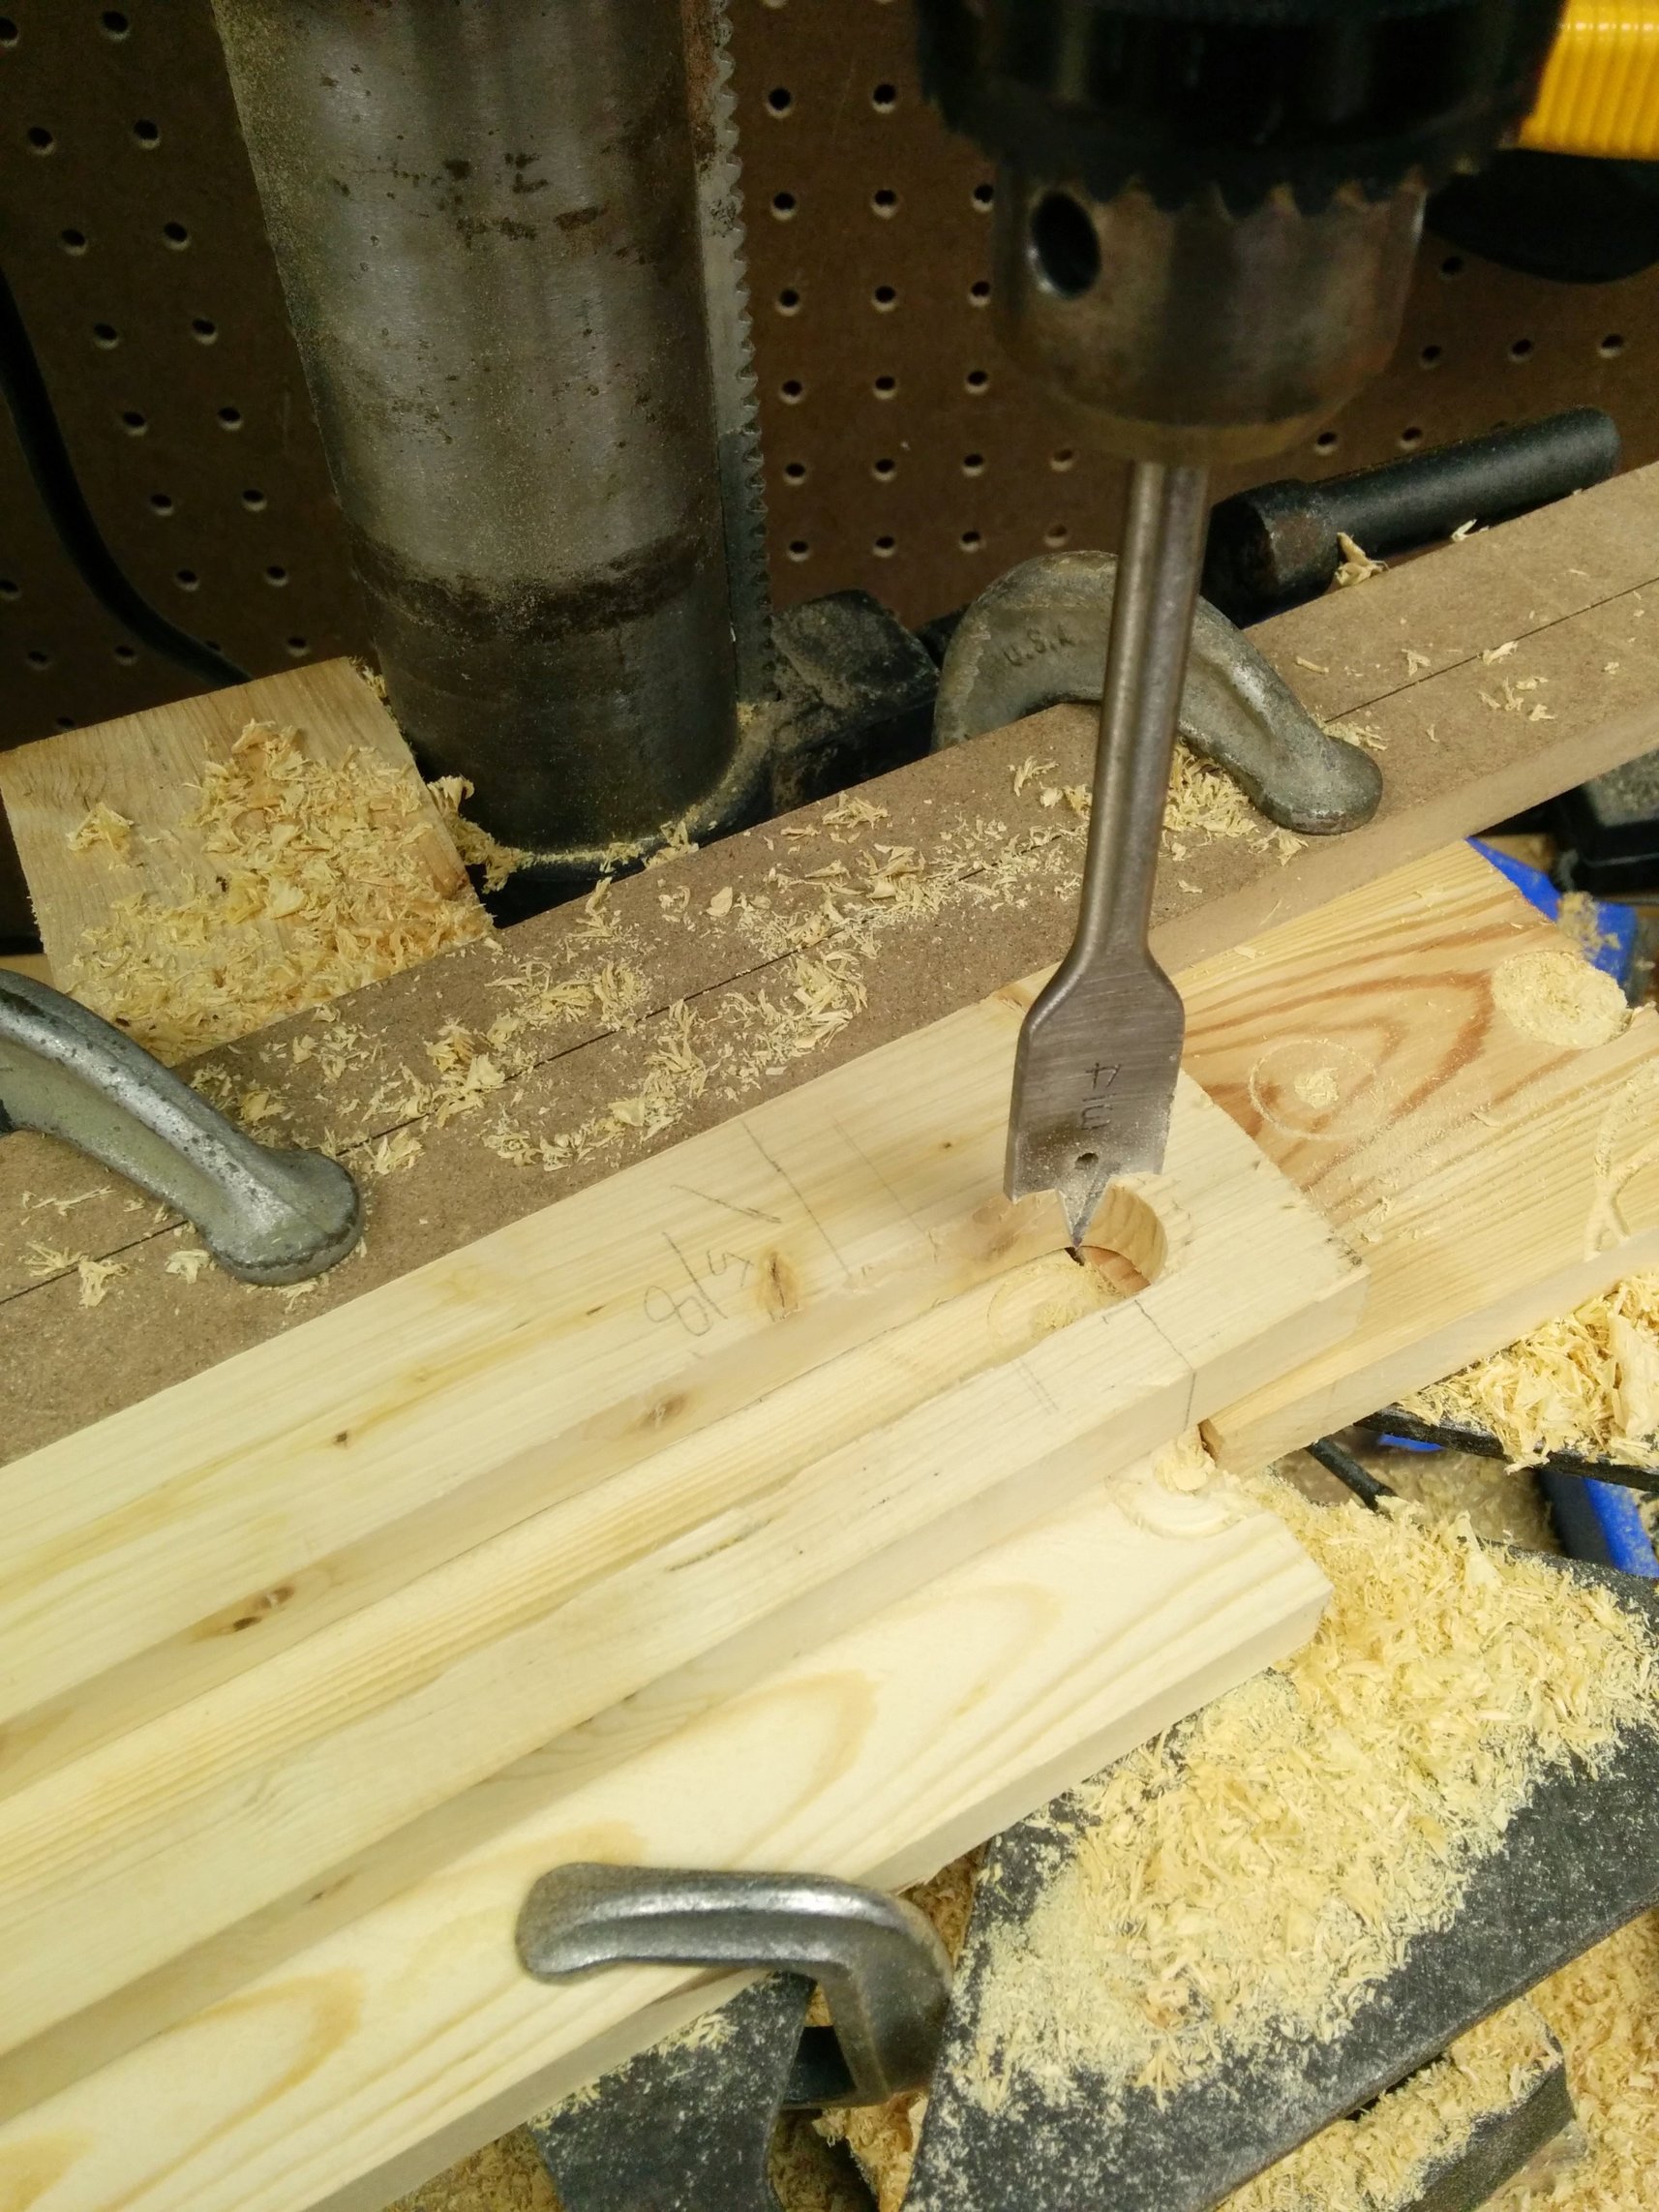
Started by drilling 3/4″ holes, holes to match my 3/4″ dowels in the scissors.
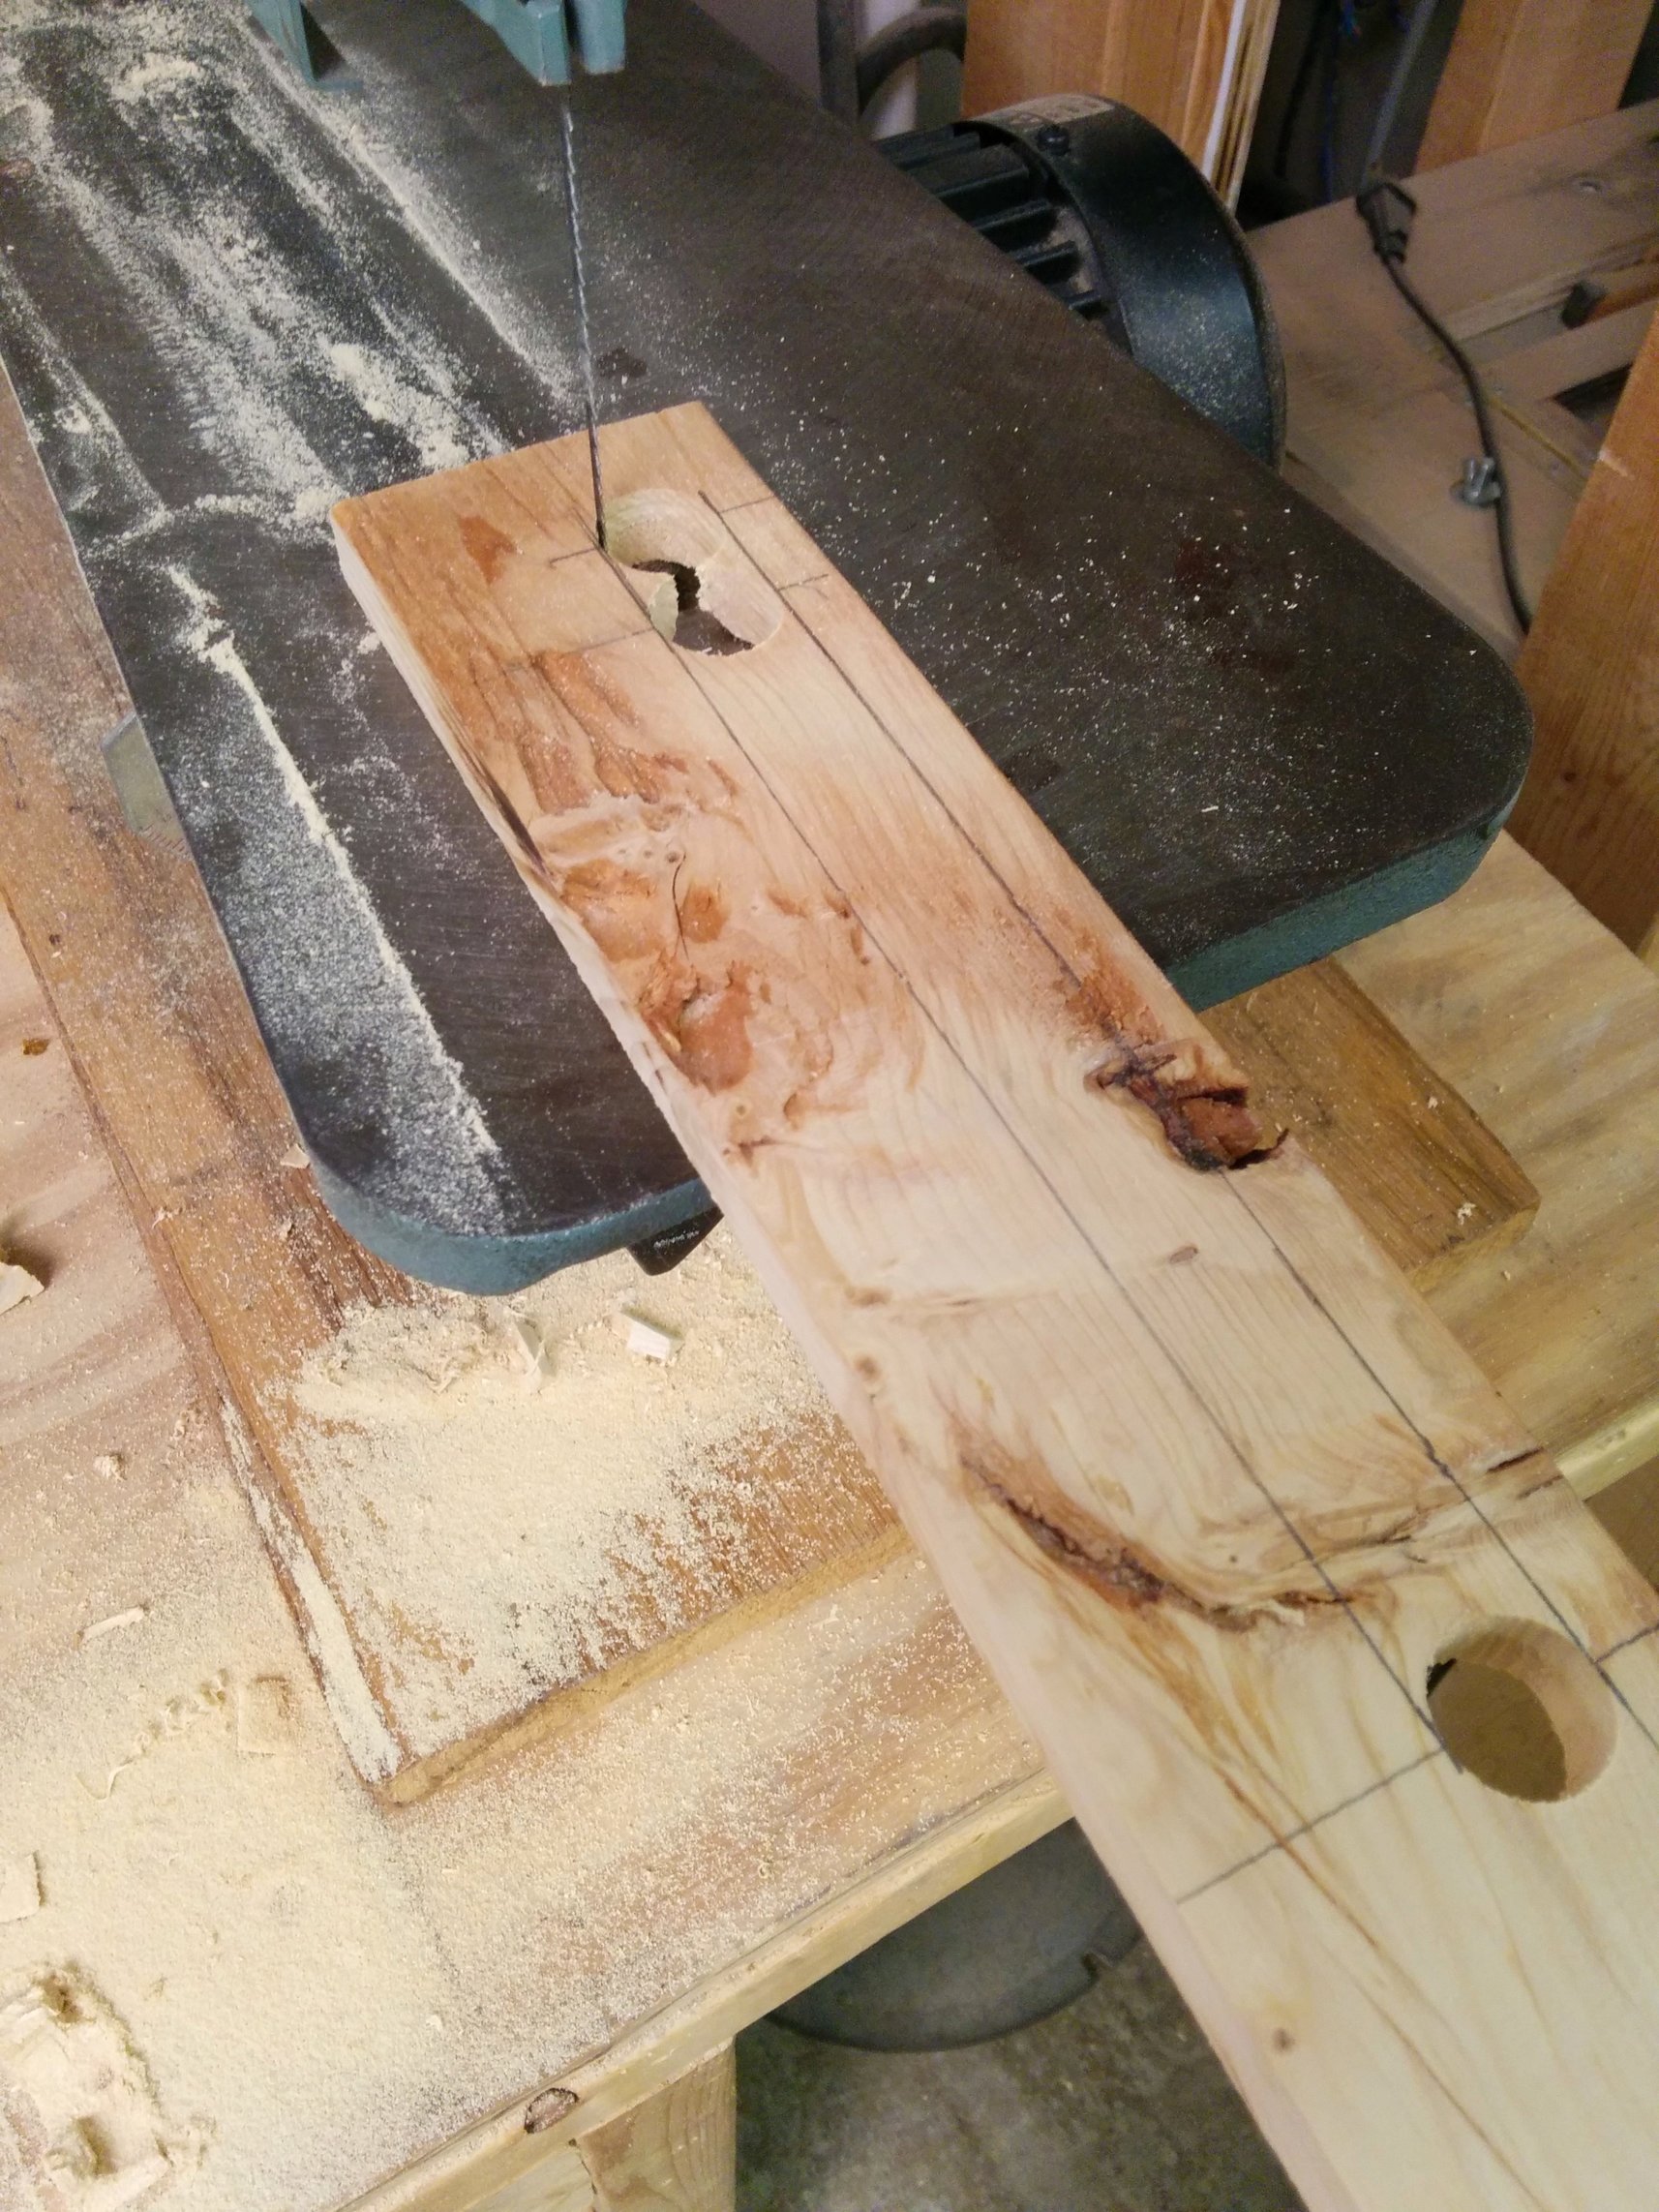
Cutting out the slots, an irritating task.
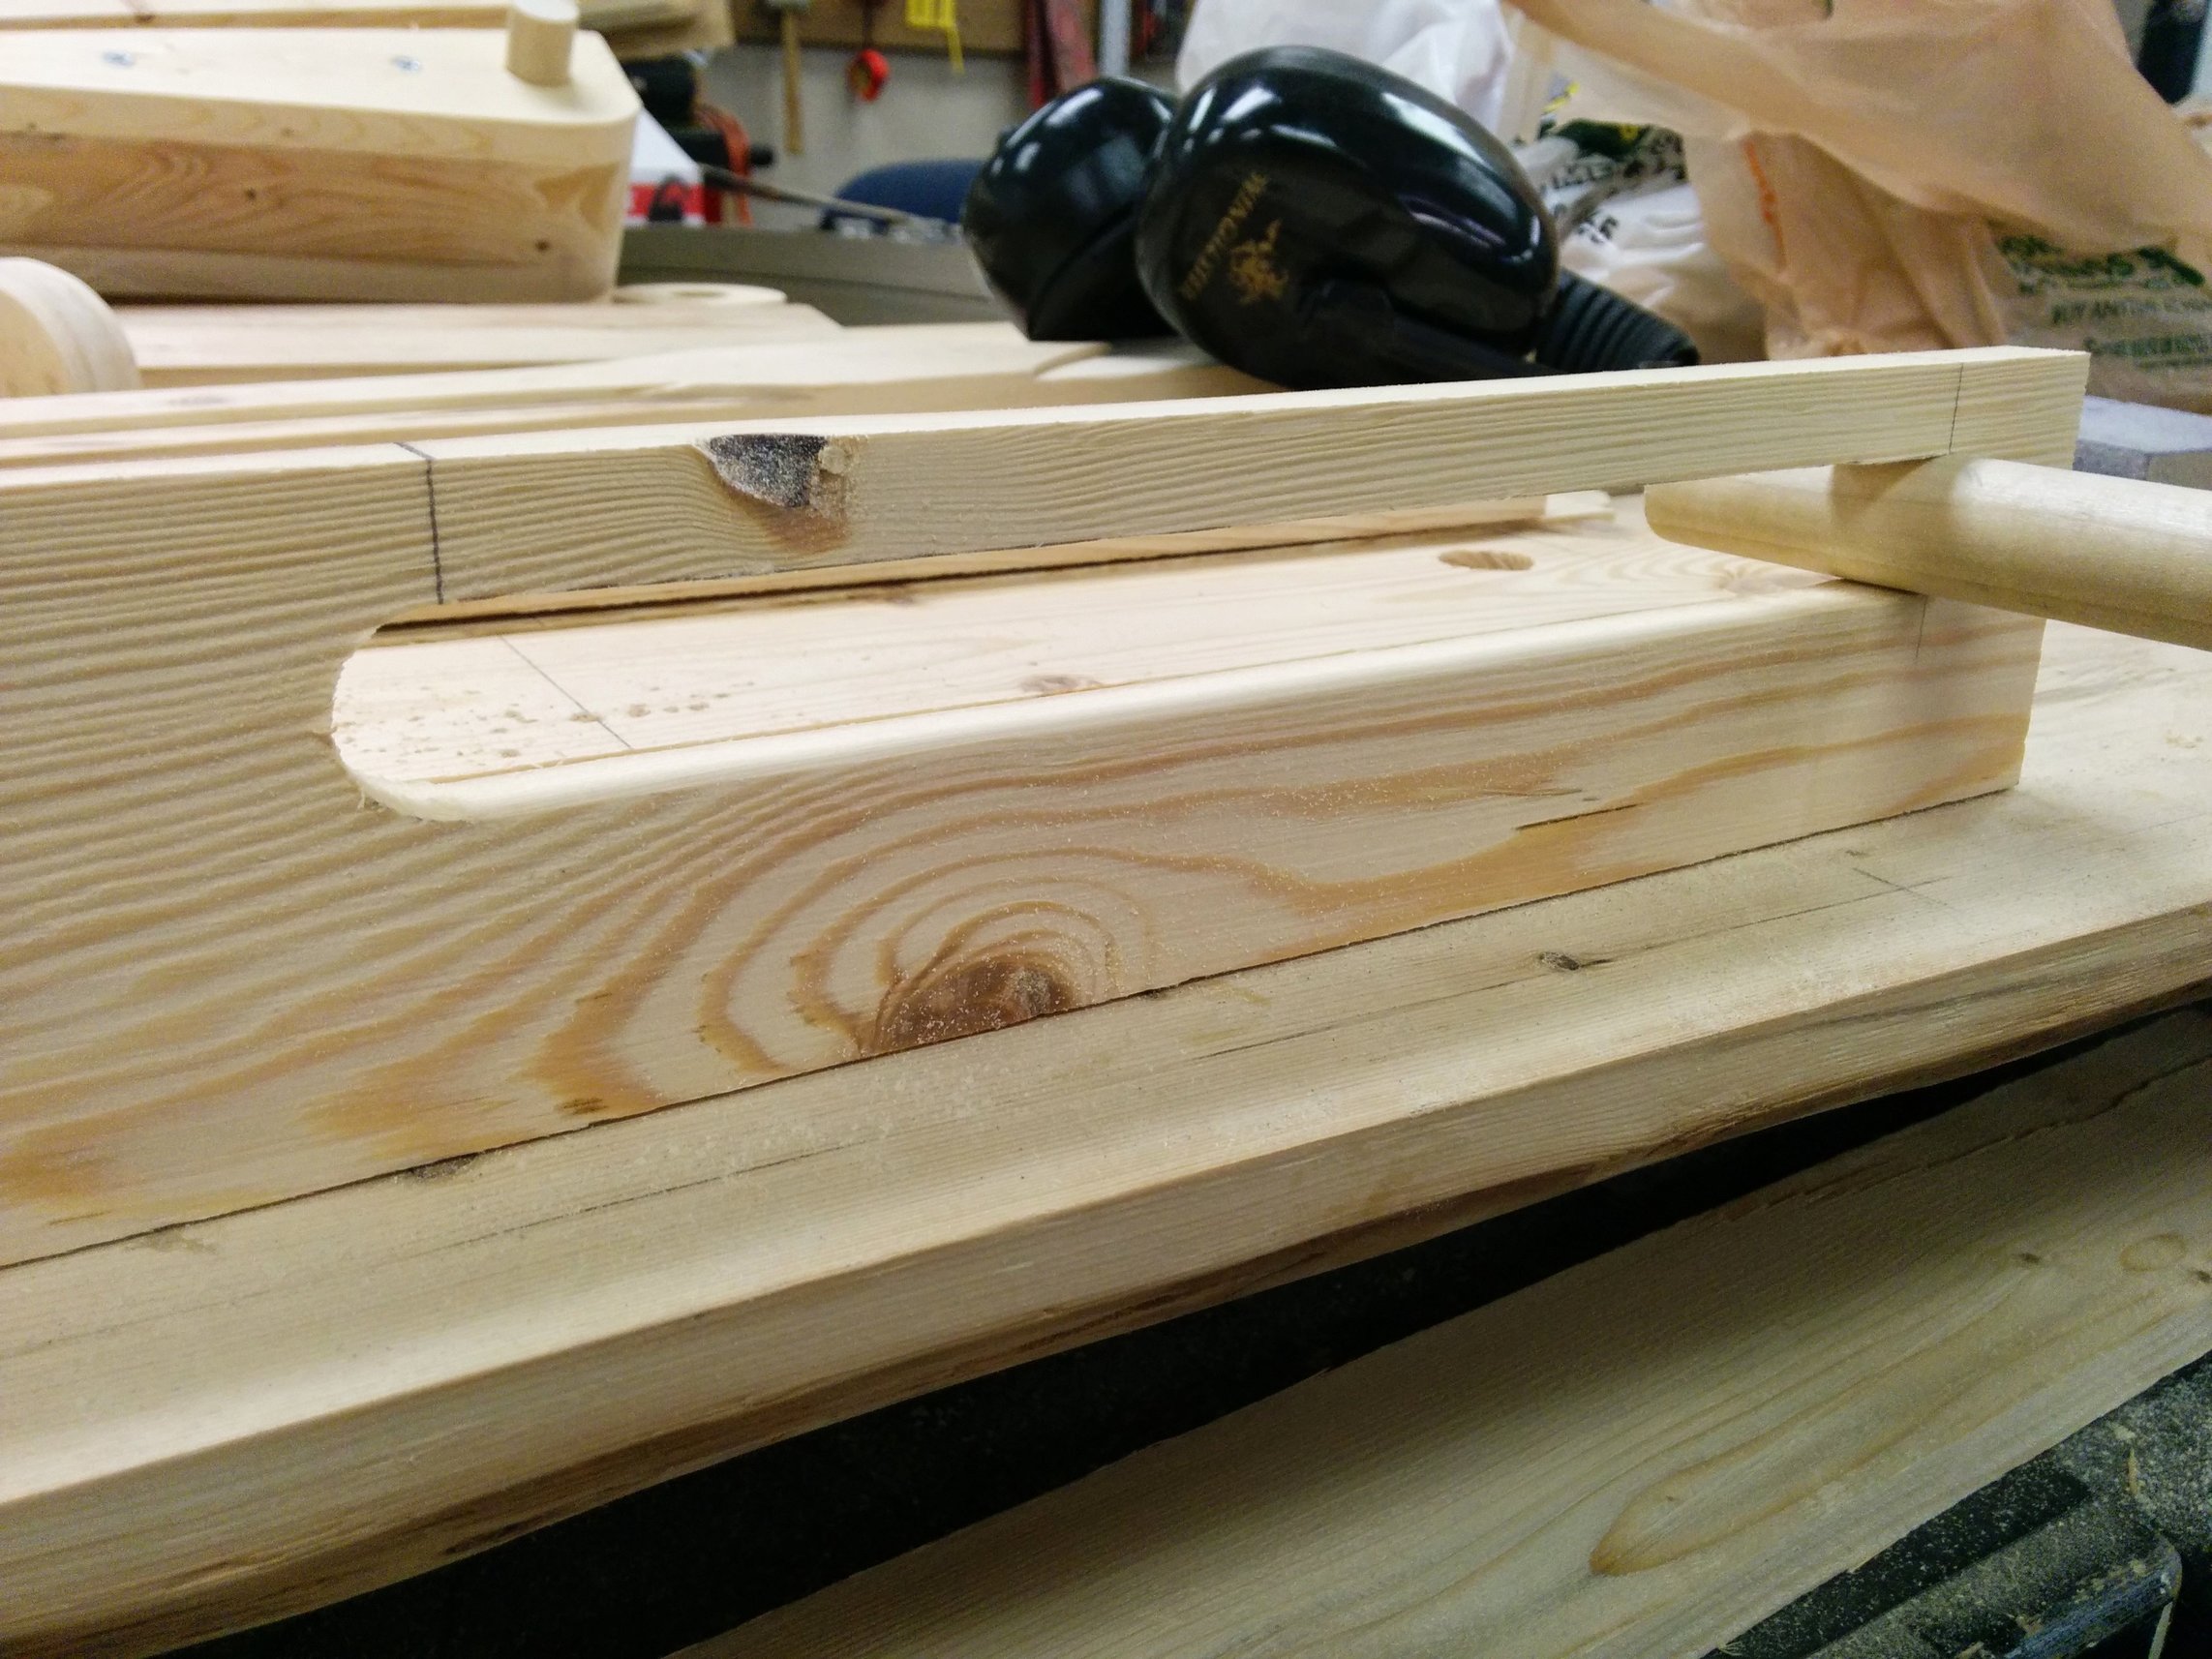
Snug fit, but it slides!

#1 flat iron
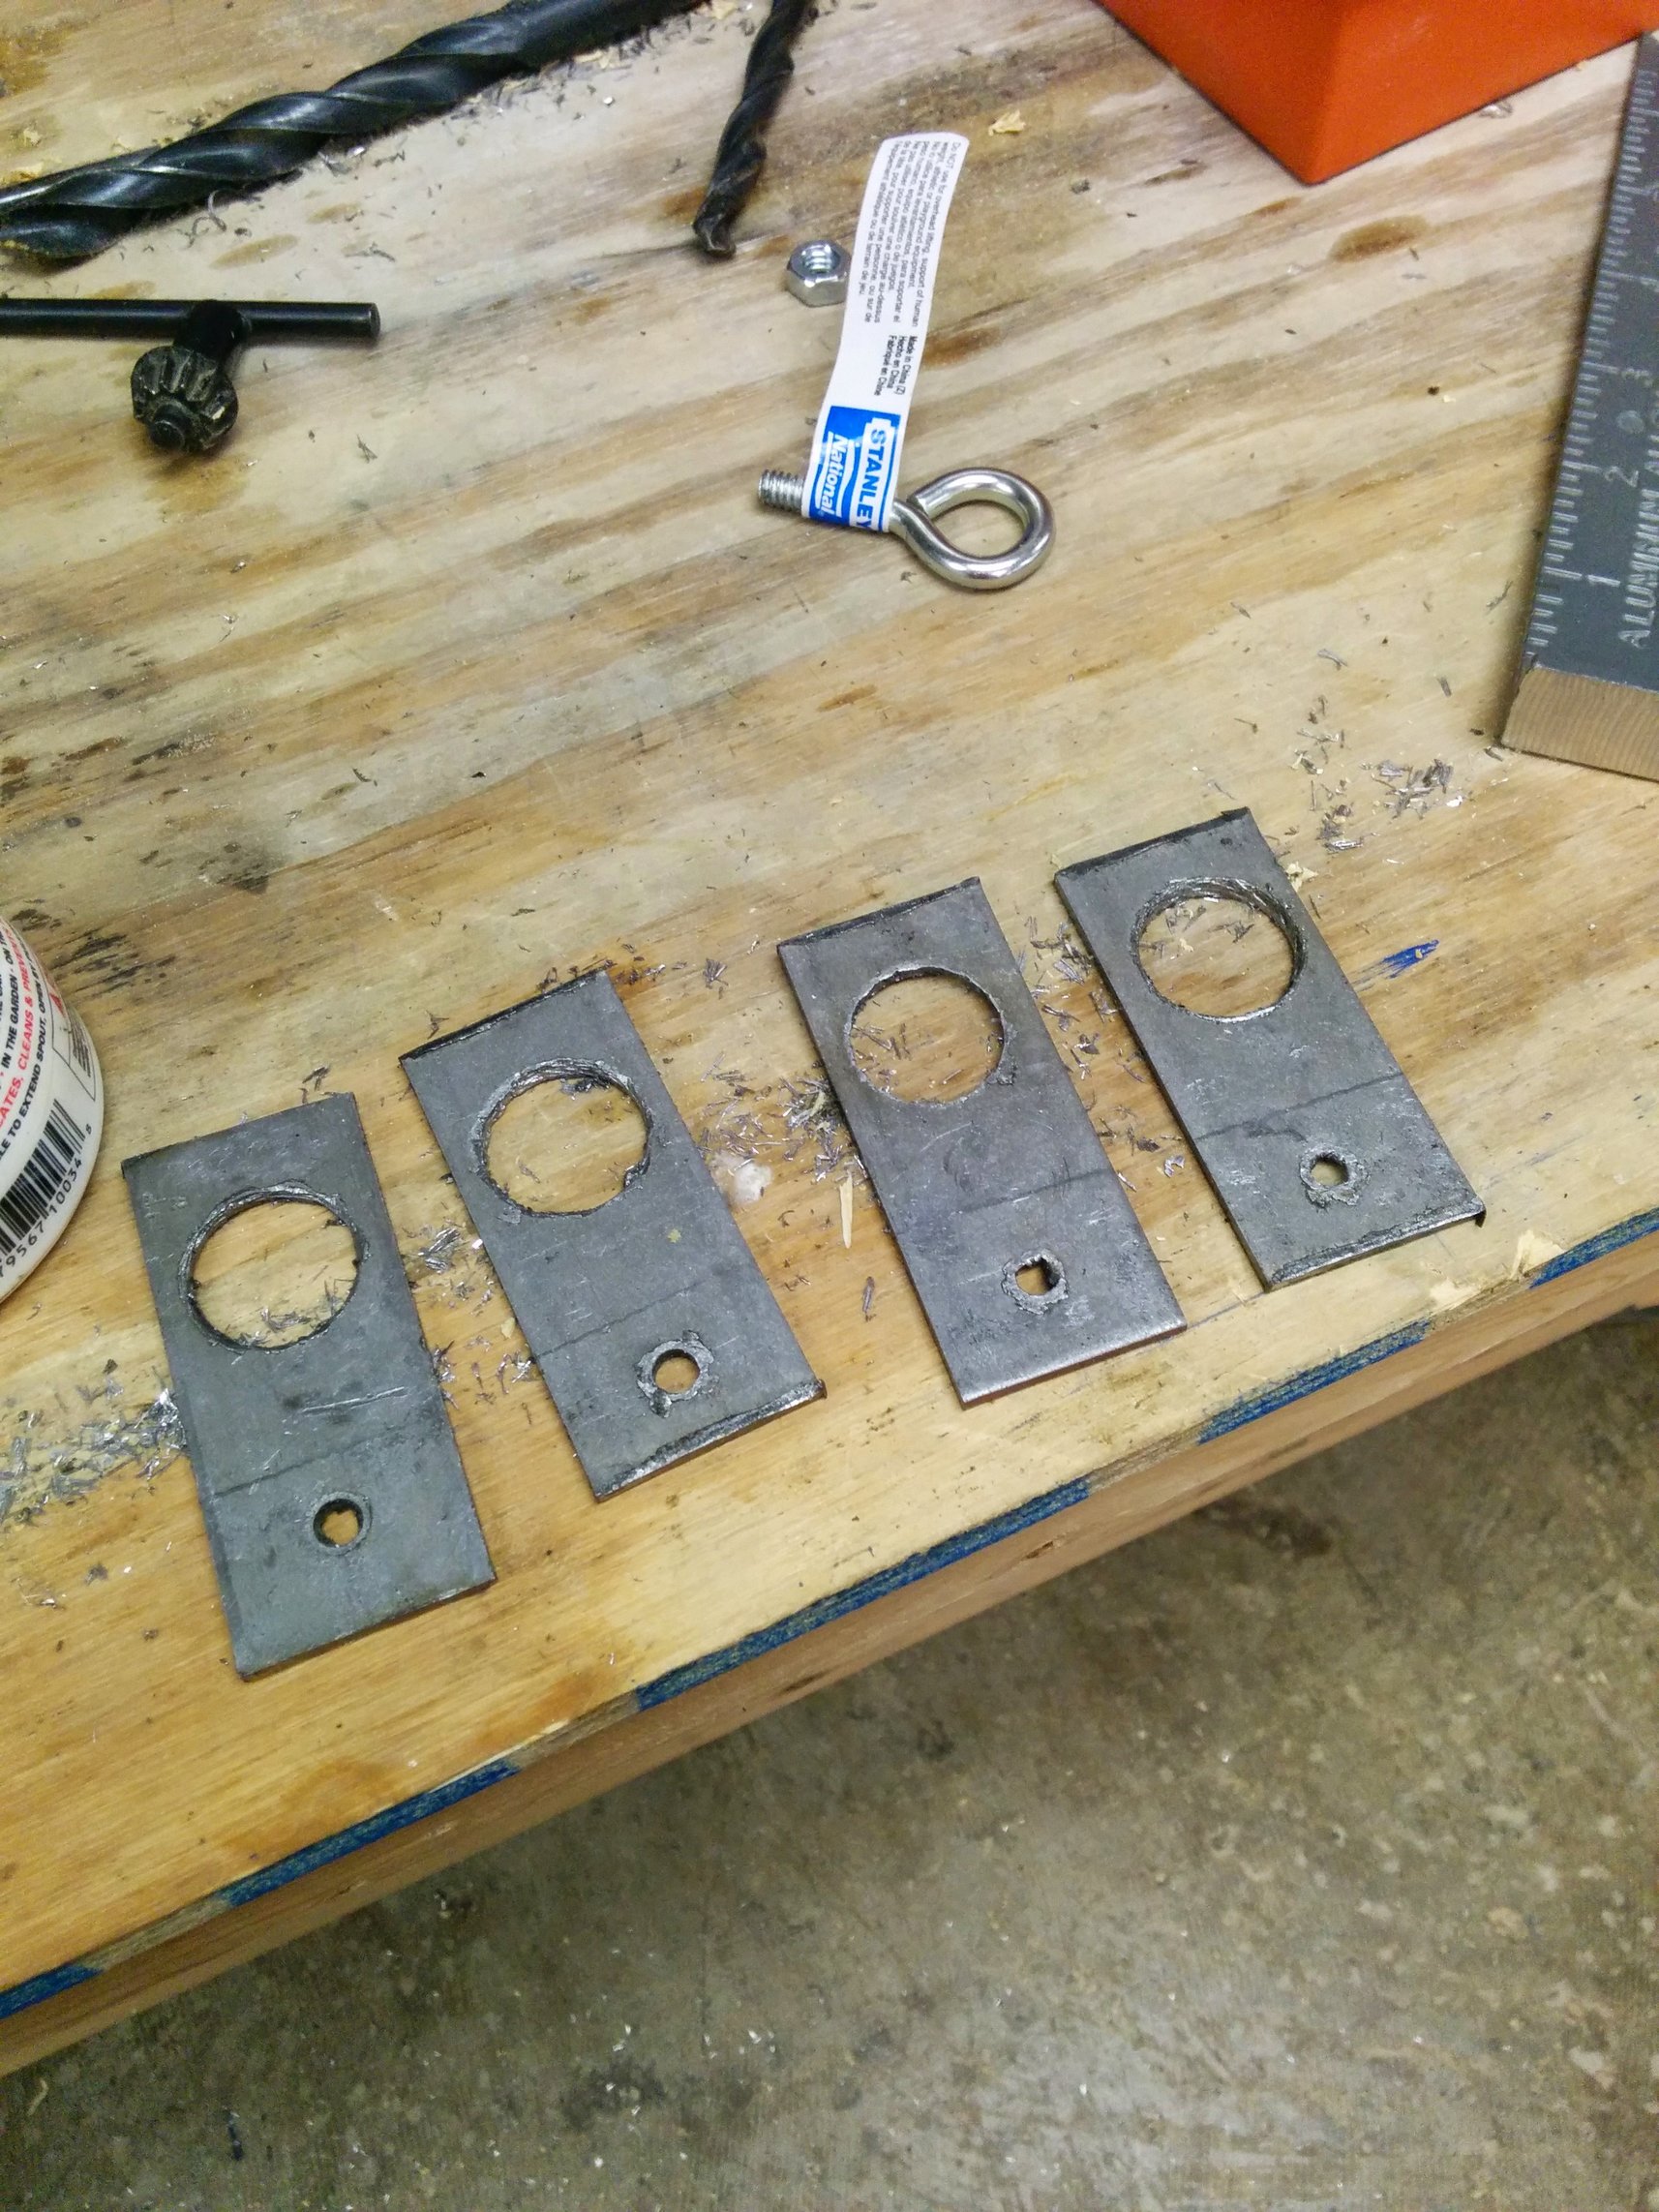
#2 cut holes in that iron
#3 bend the iron
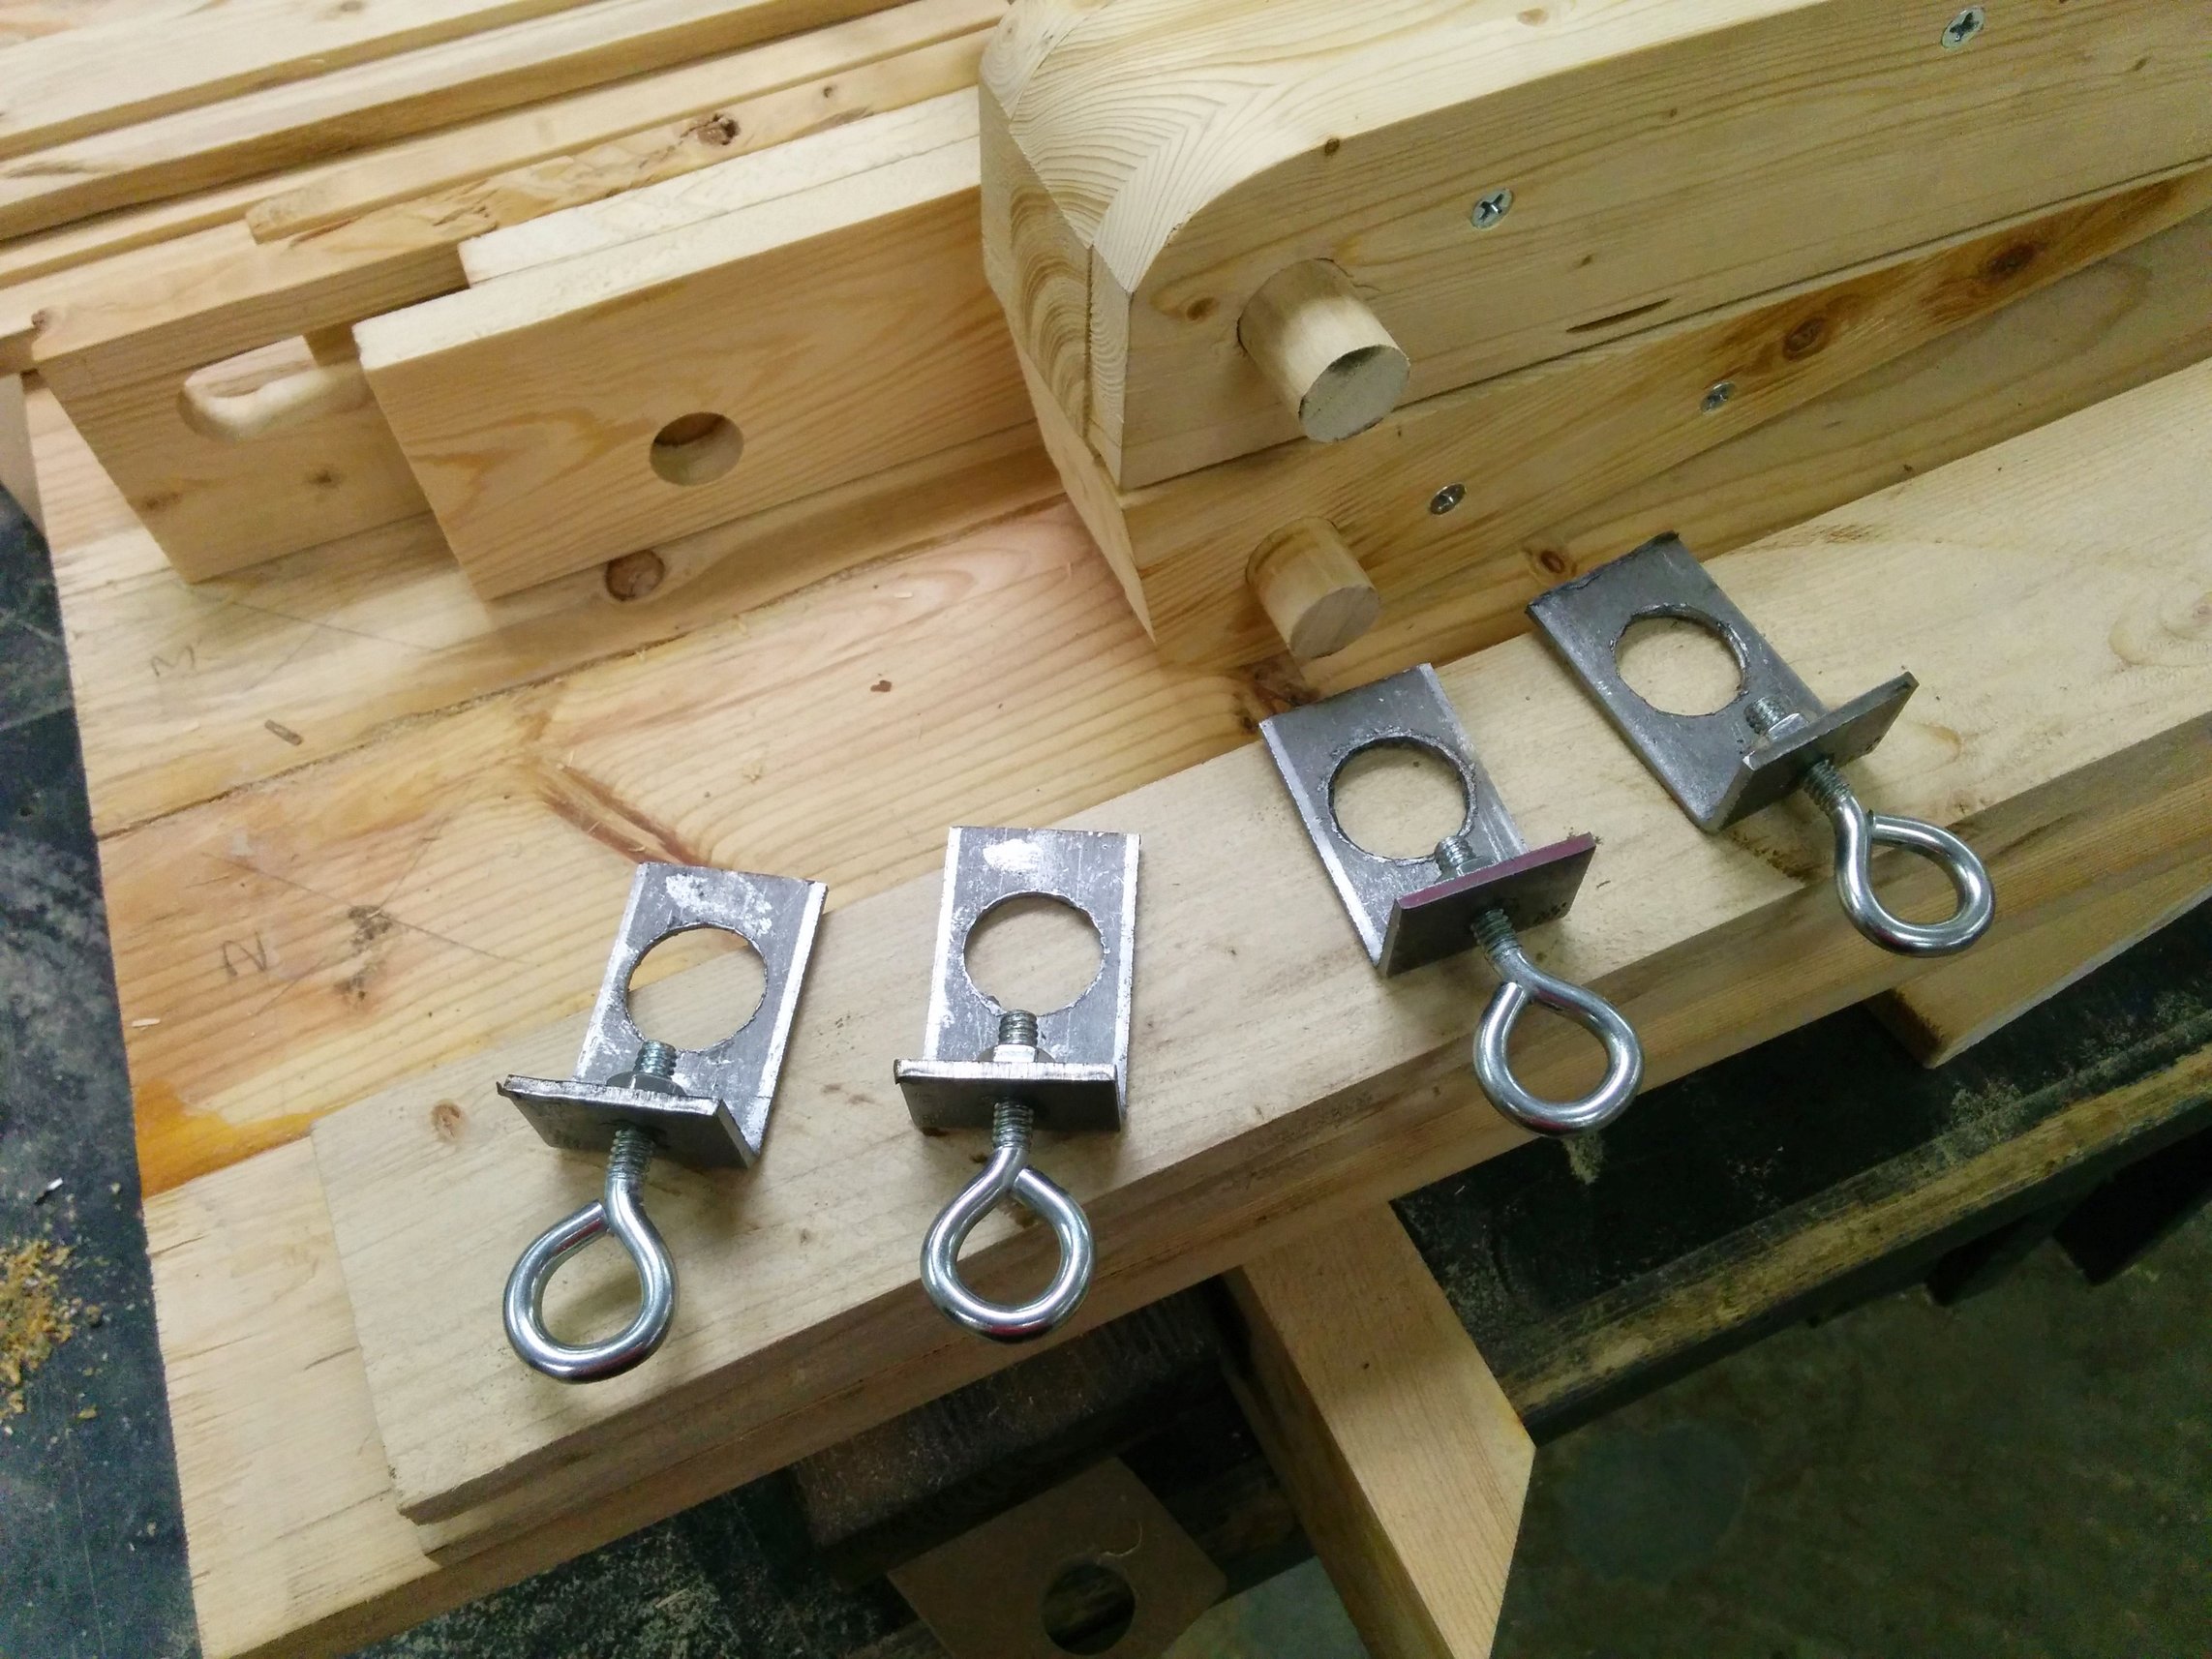
#4 add eye loops
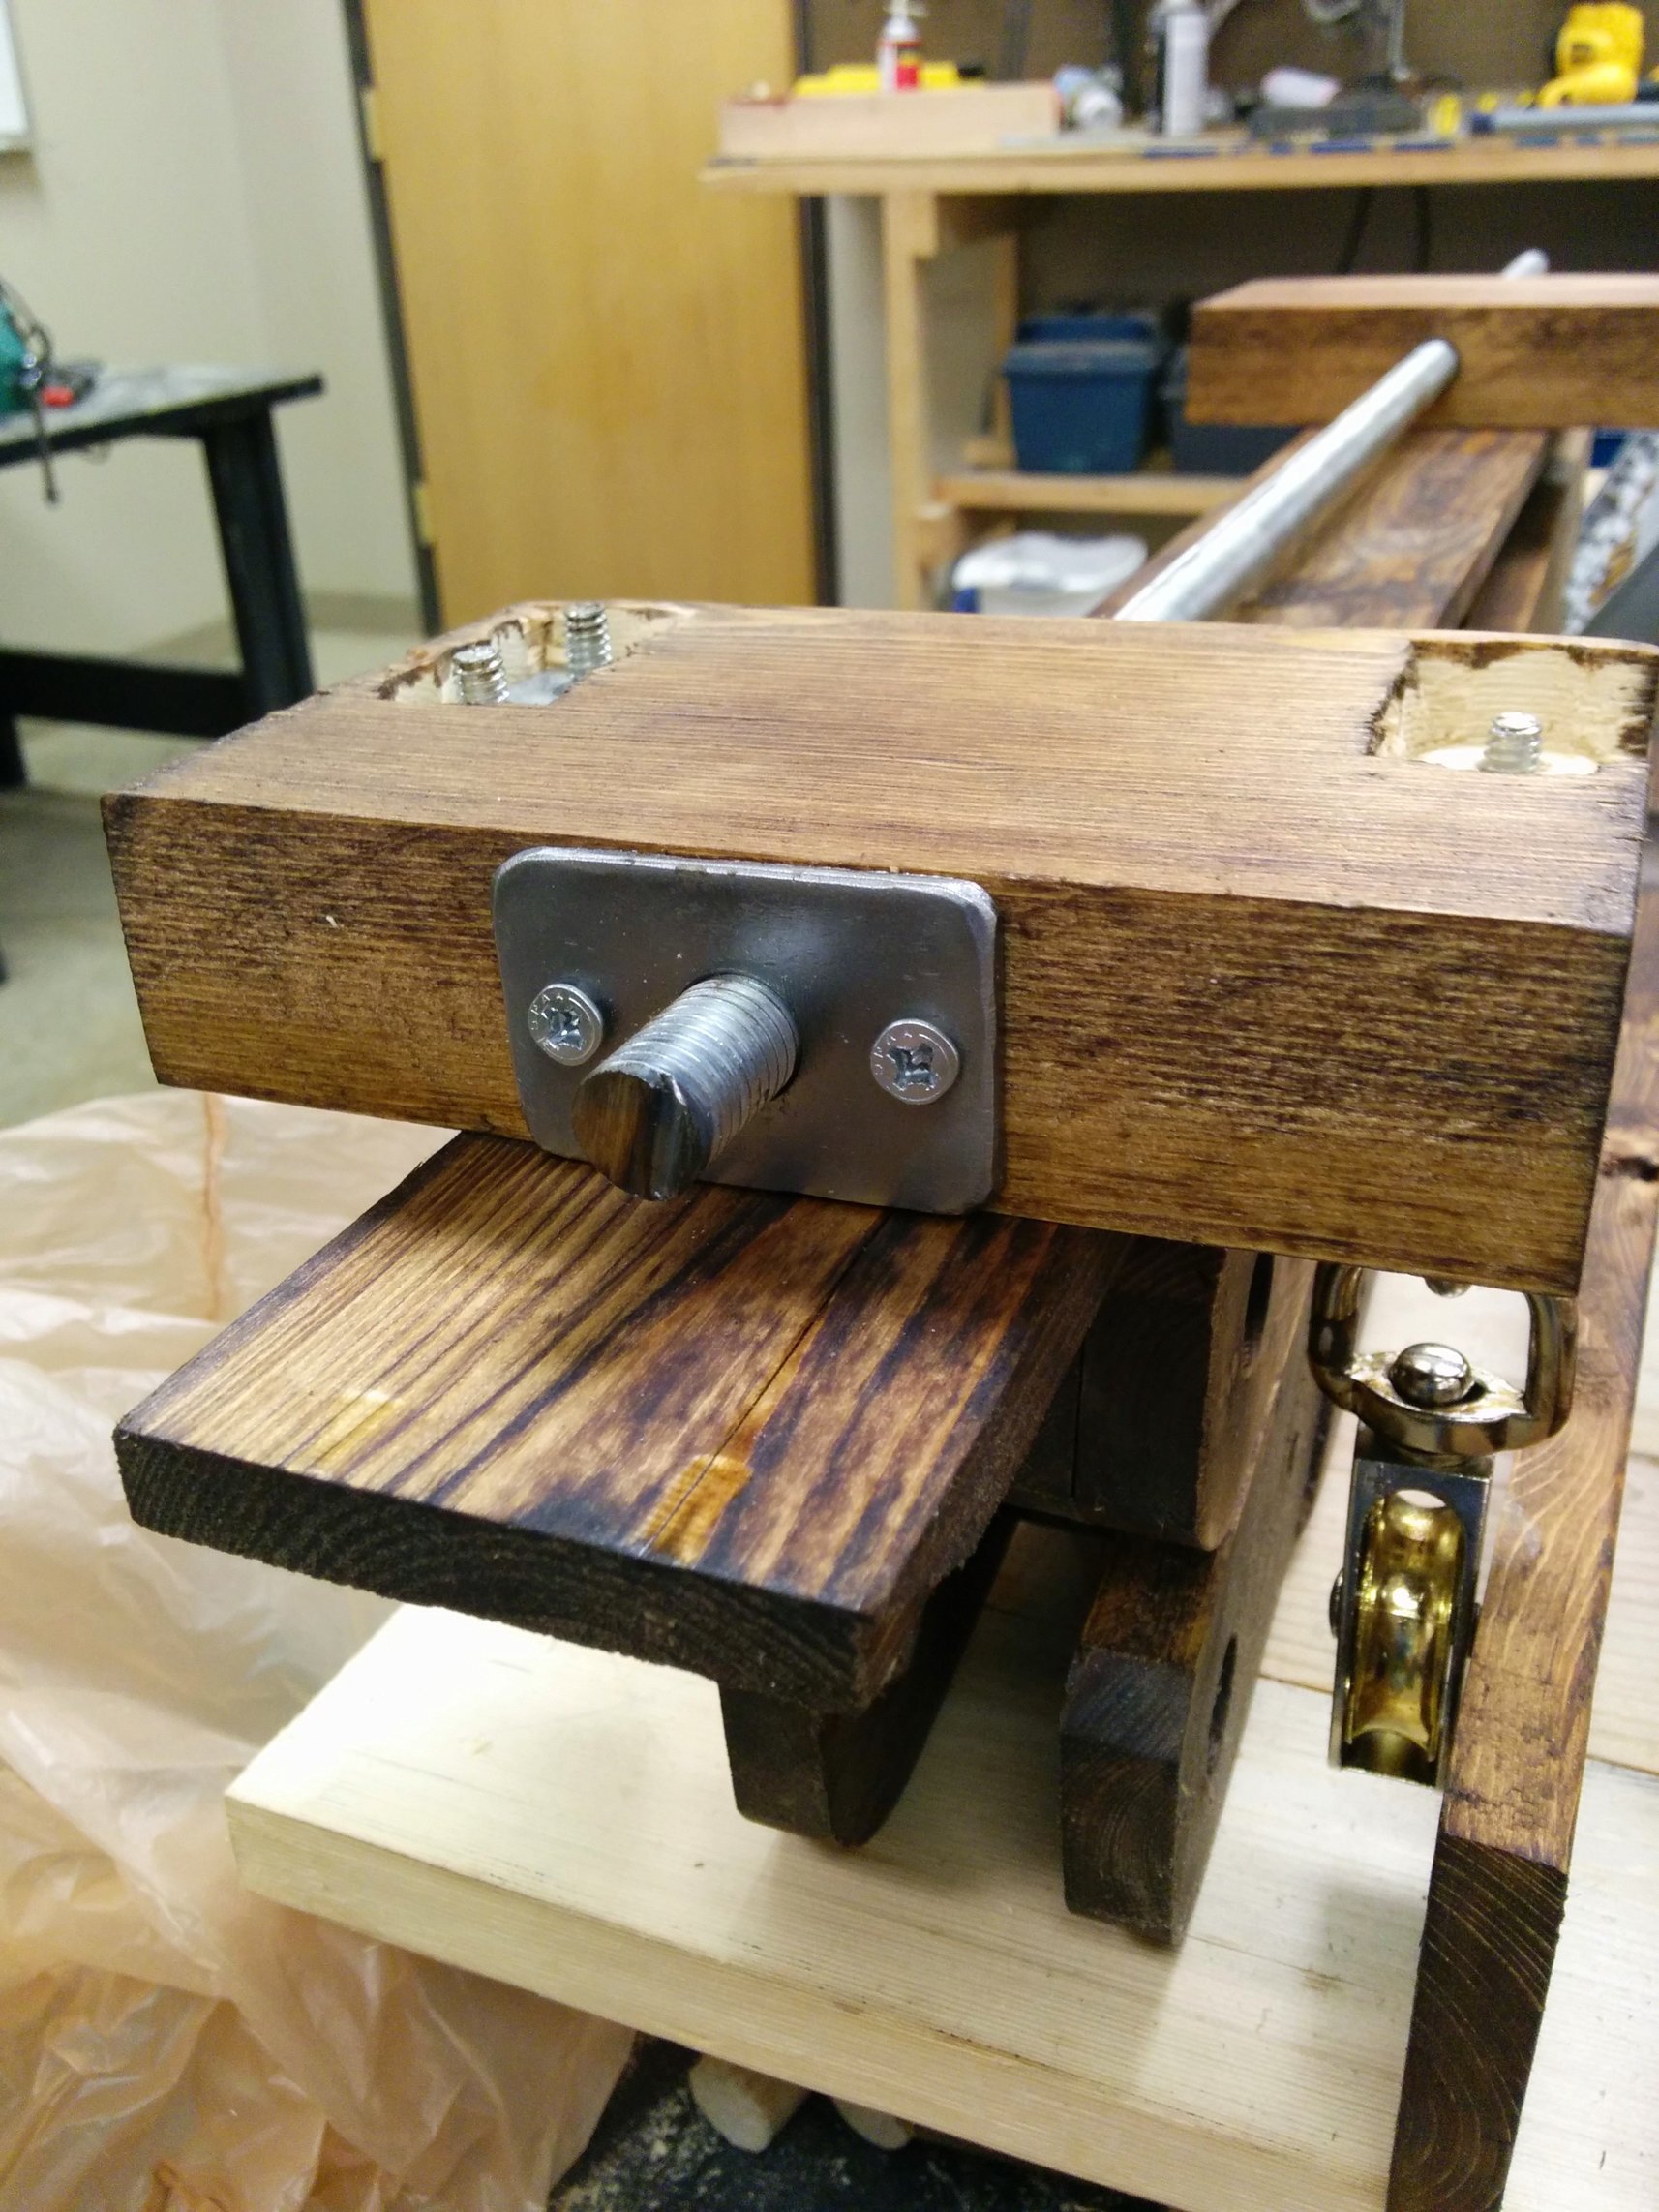
#5 fasten to 3/4″ pipe. I figured I could have used wooden dowels, but was concerned that the rubbing of the metal fasteners would slowly cut its way through the dowels so I just used some aluminum tubing.
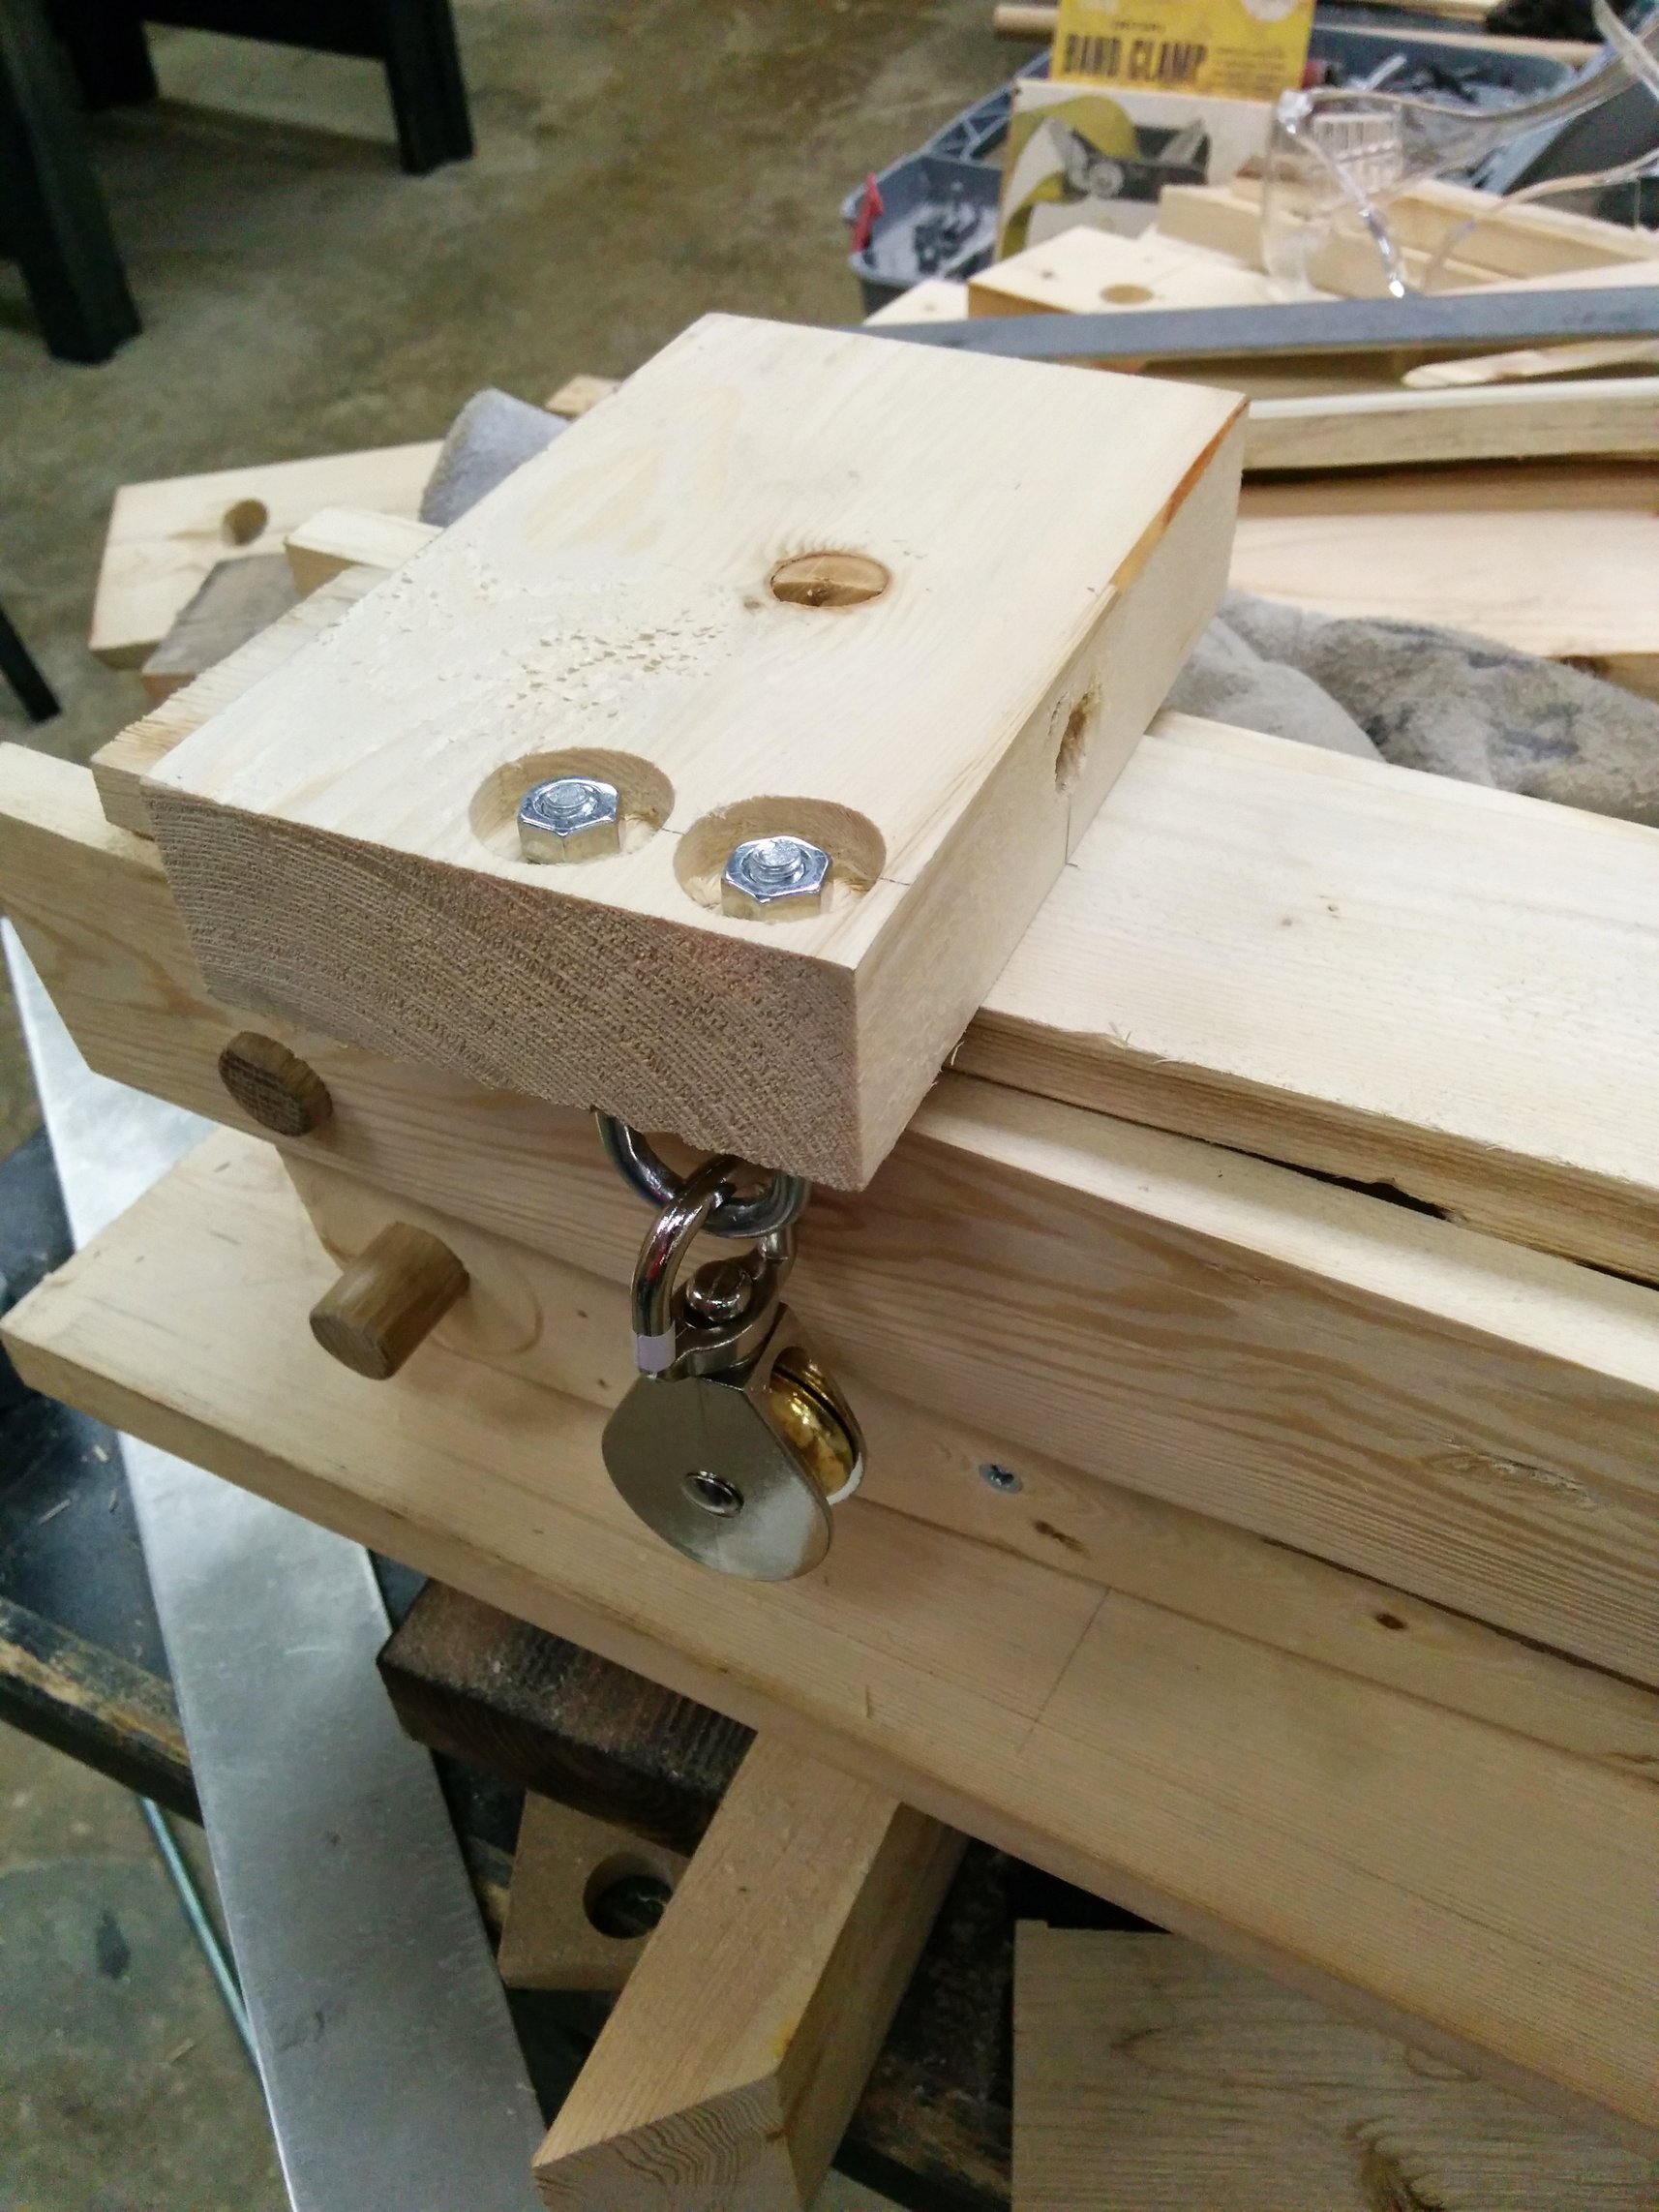
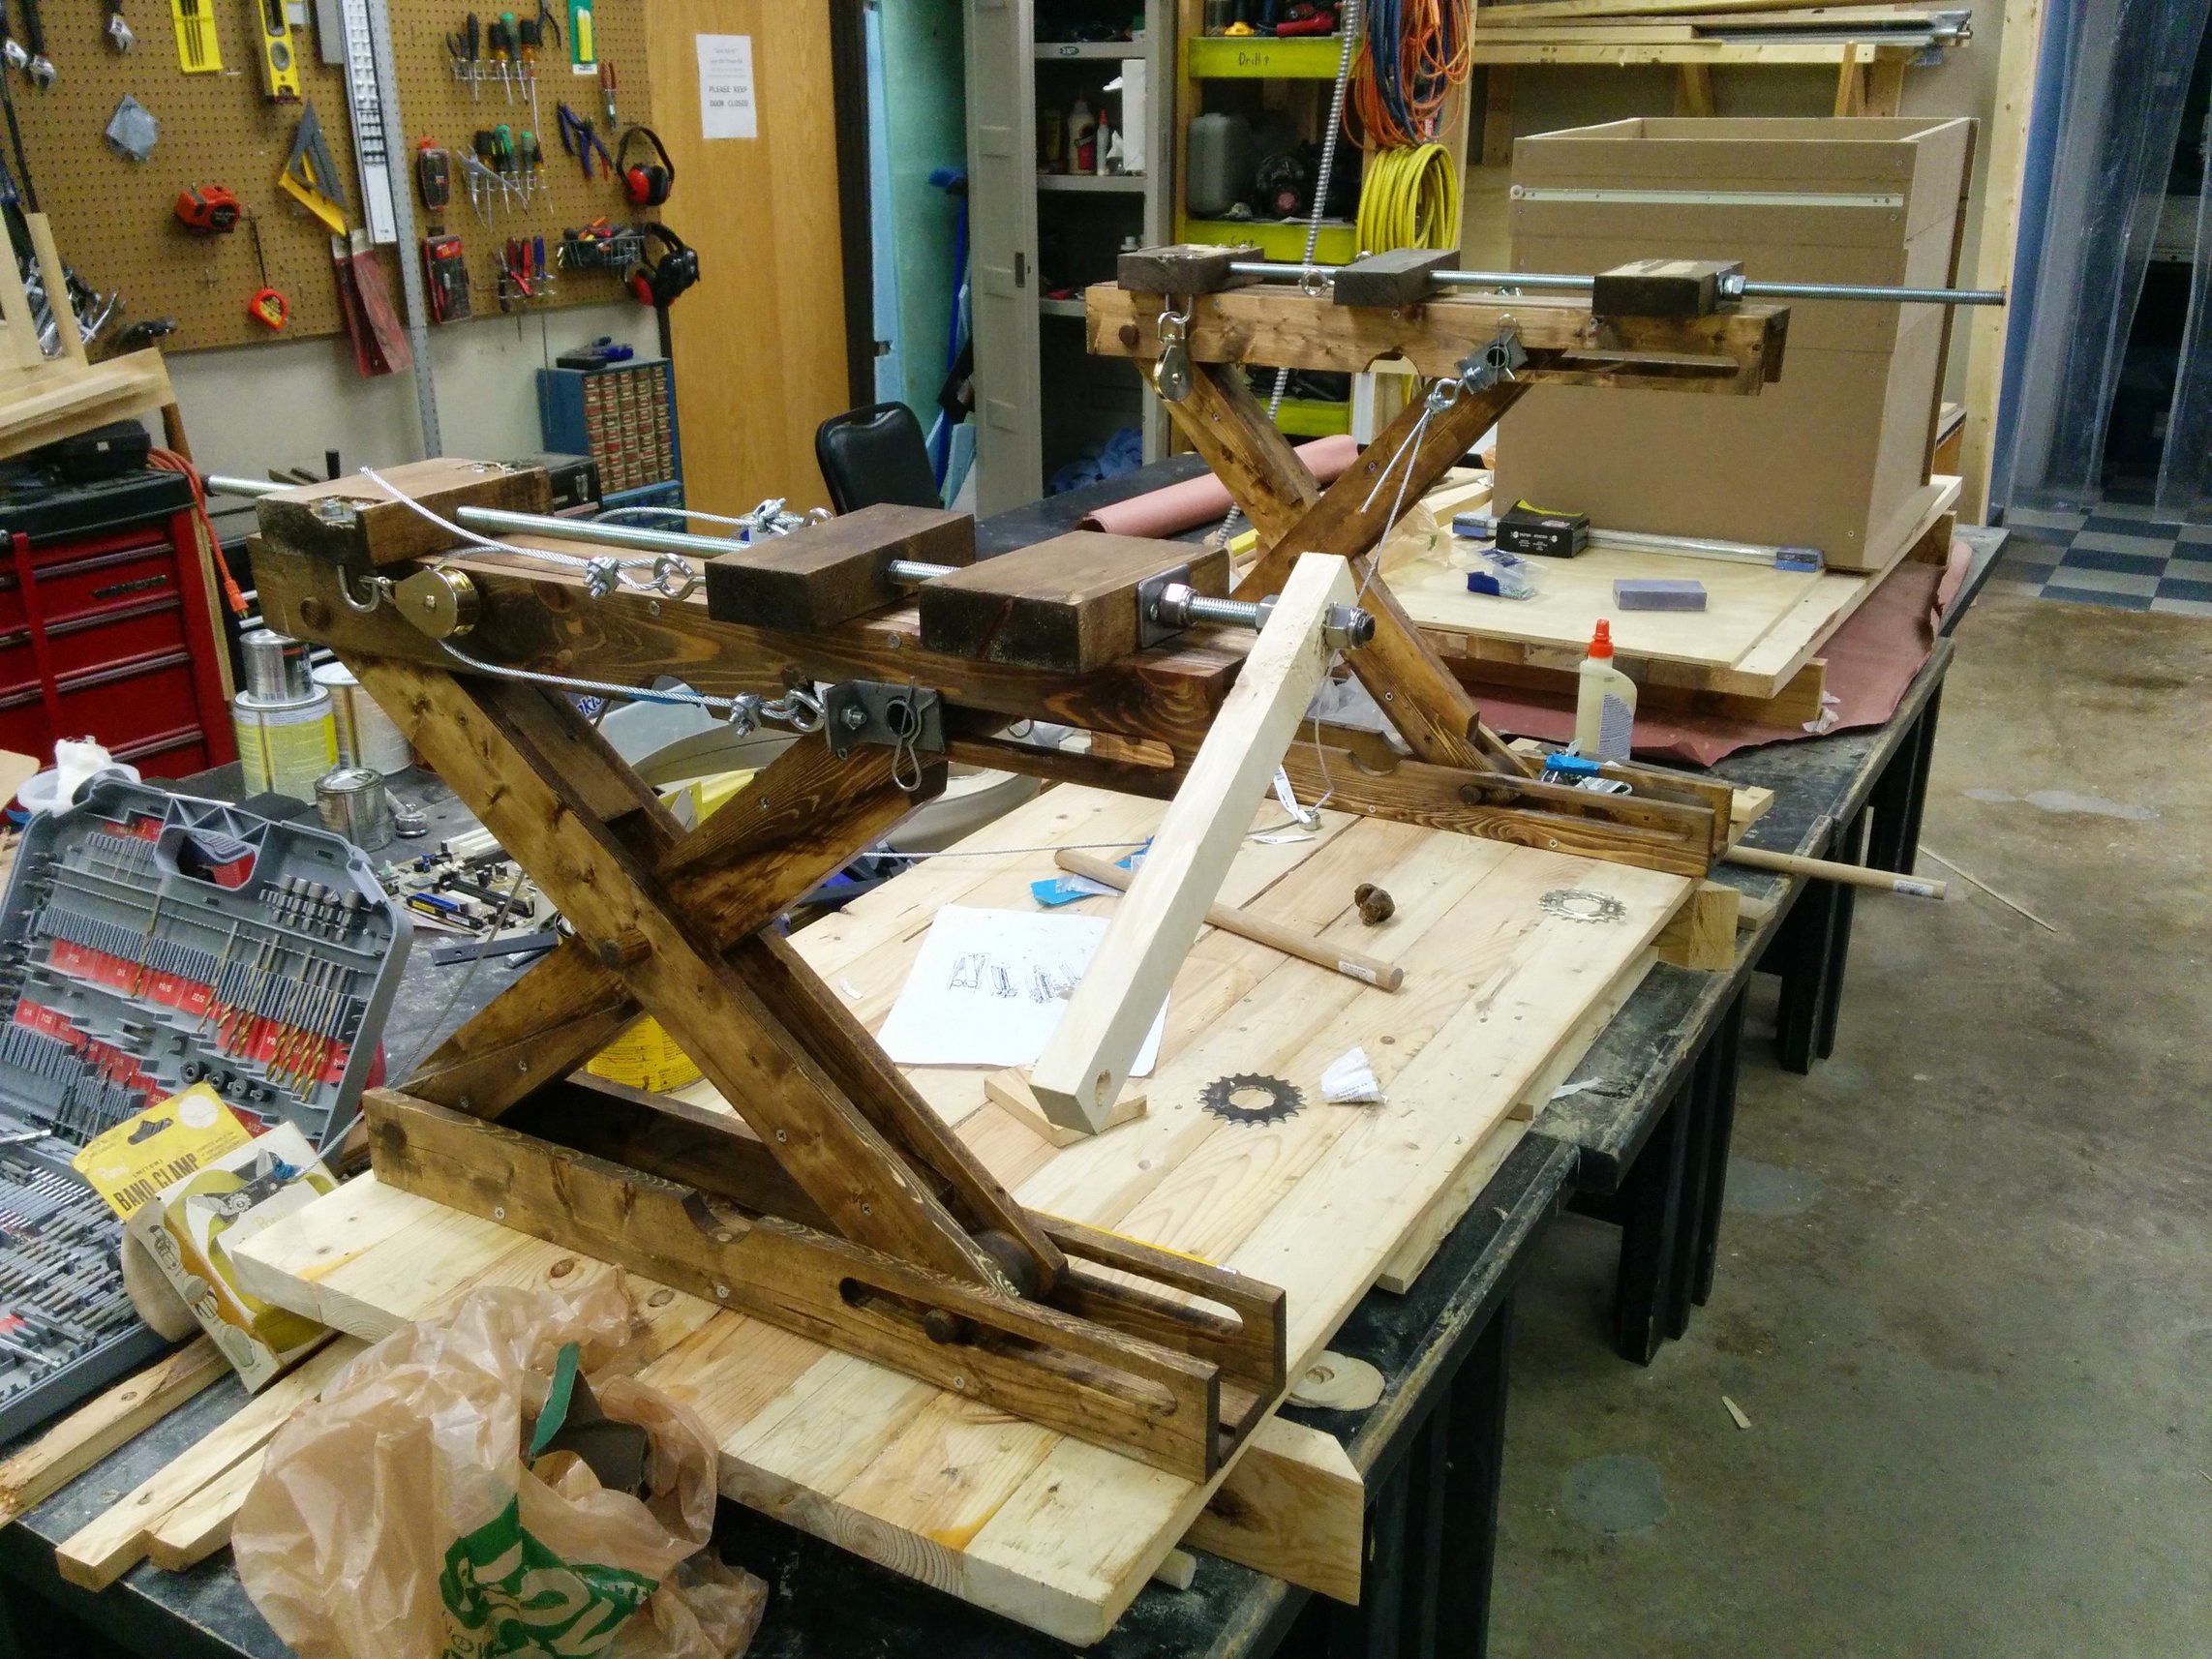
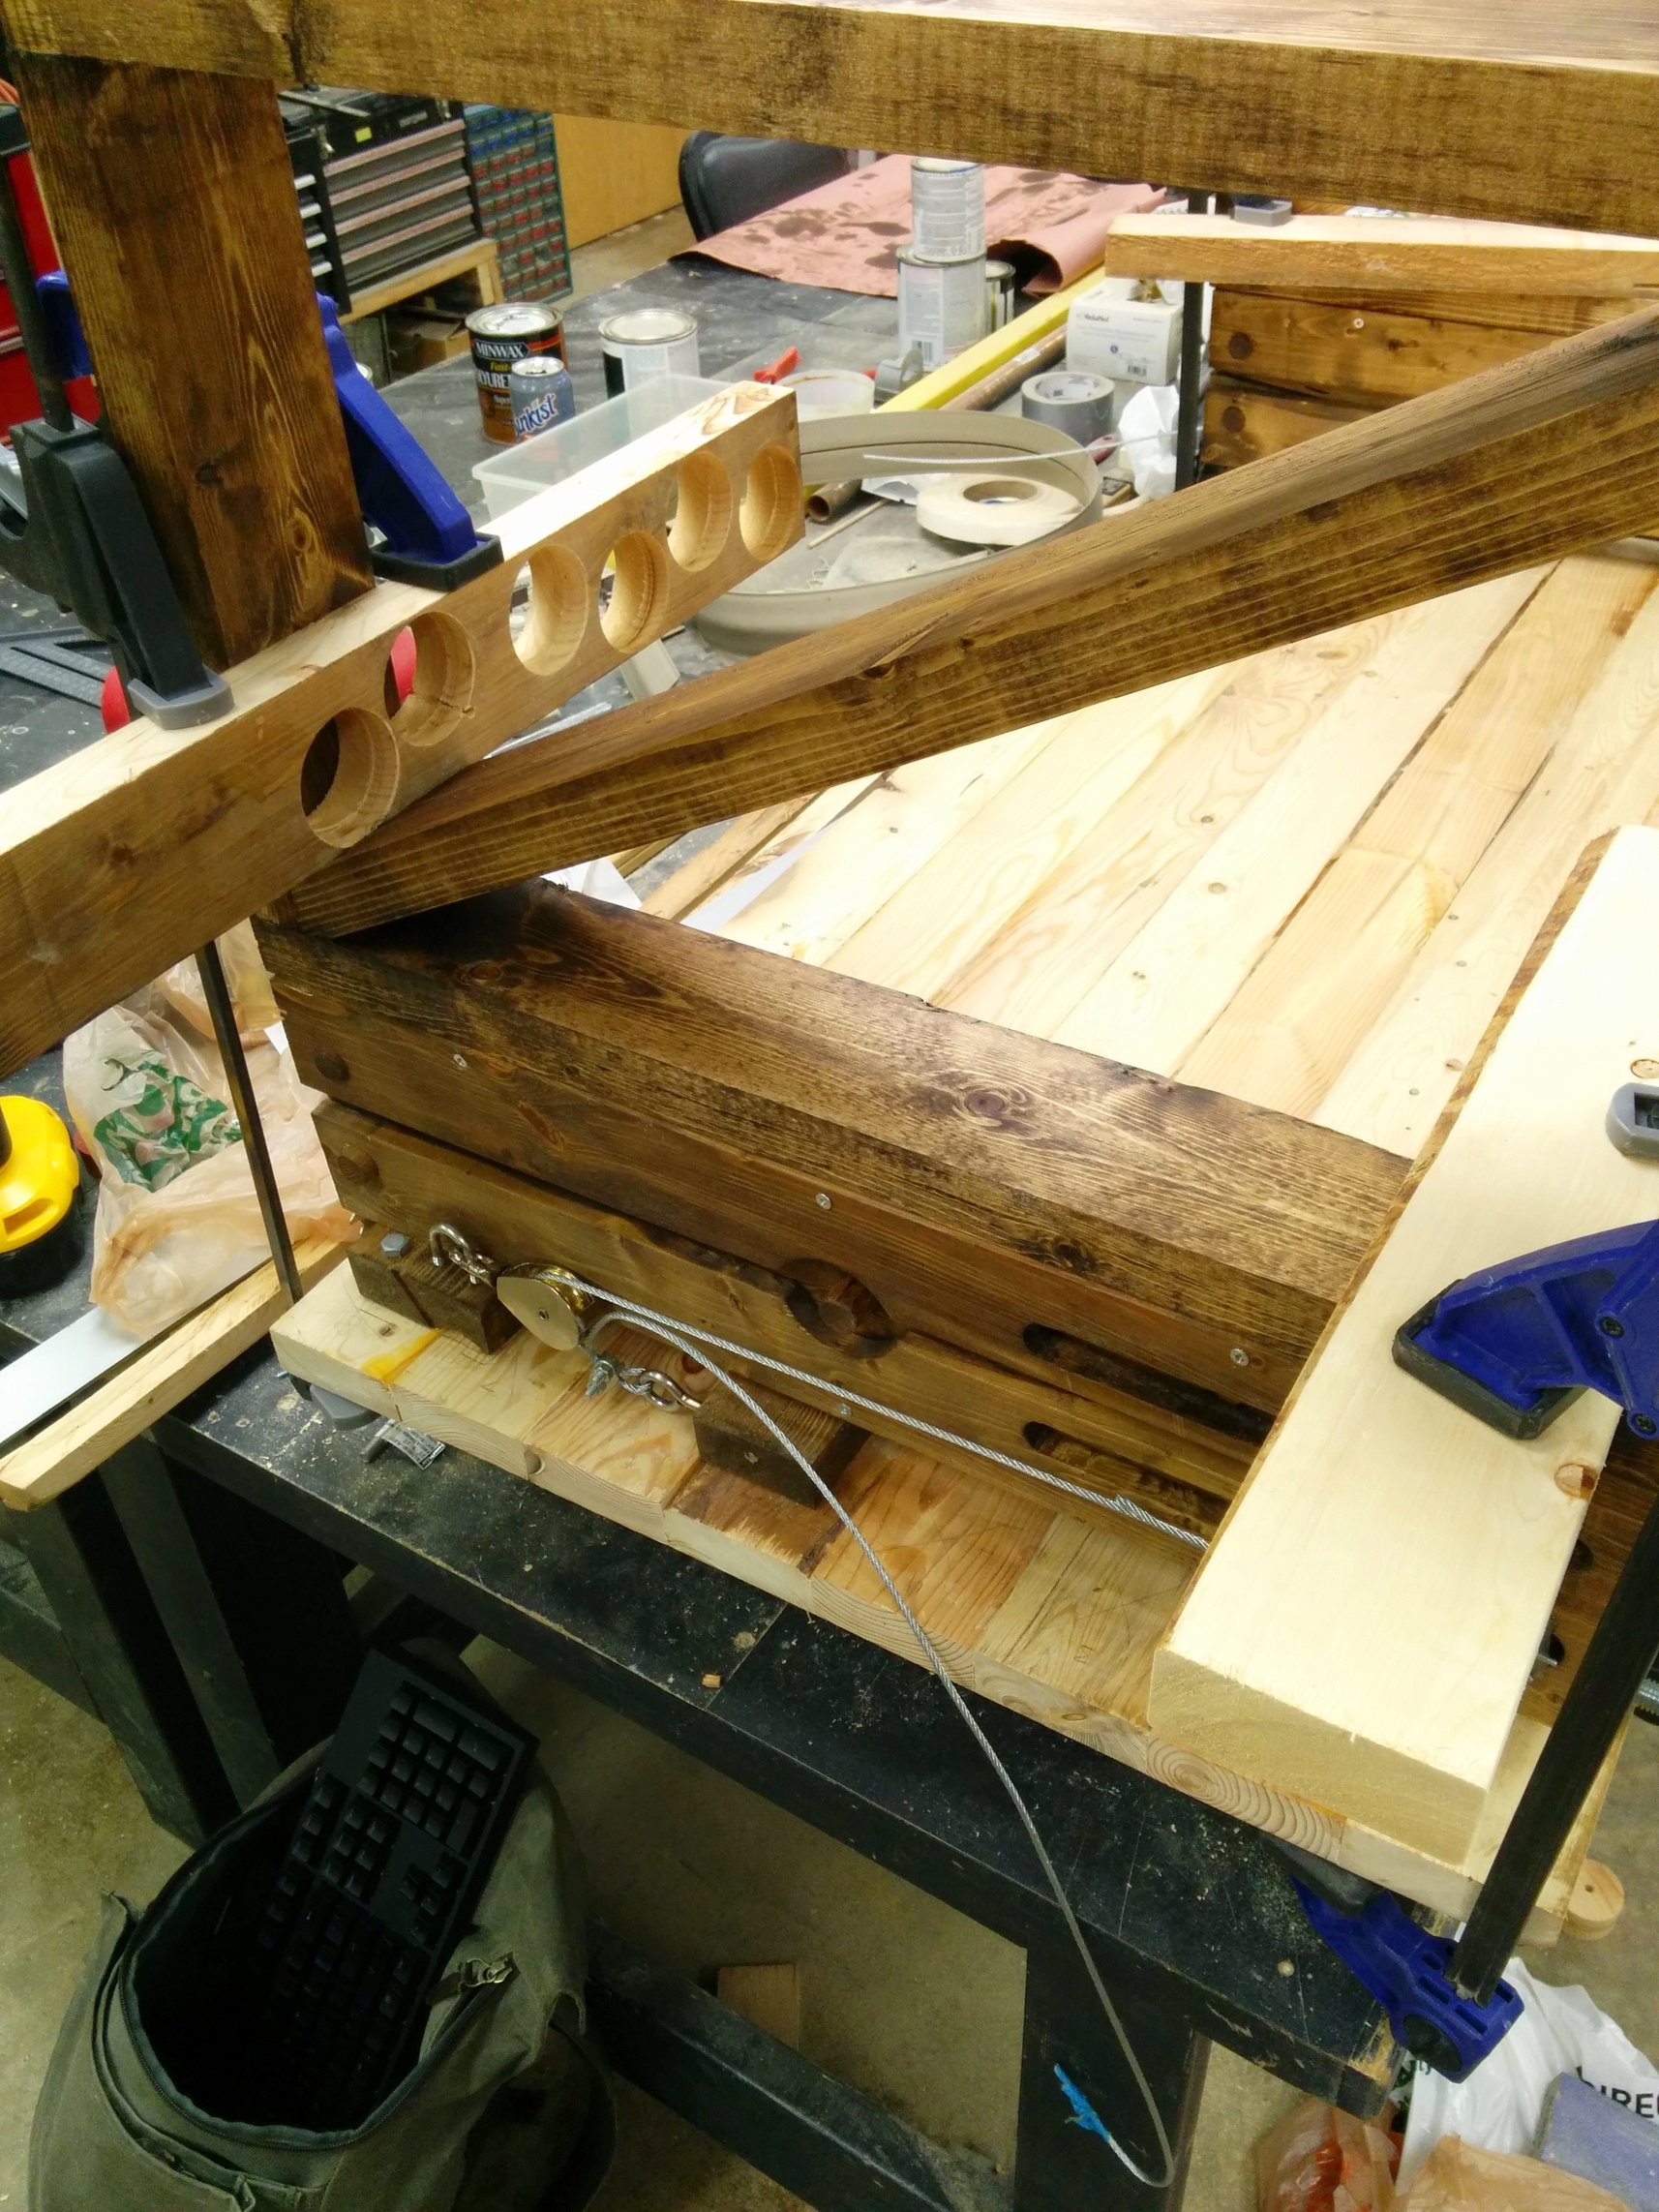
Secured pulleys to the “back” end of the scissor lifts. It was later determined that this needed to be reinforced, the pressure exerted on the U bolts caused the 2×4″ to split down the middle. I ended up running 1″ steel for reinforcement along the sides, working well so far.

Cut a 1/2″ hole, then countersunk one end so I could put a 1″ long nut inside. Since I can’t cut hexagonal holes, I just filled it with wood glue and toothpicks, this has worked brilliantly so far. Another likely better way to do this (or so I’ve been told) is to cut a hole that’s smaller than the nut, then use a washer to pull the nut into the hole.
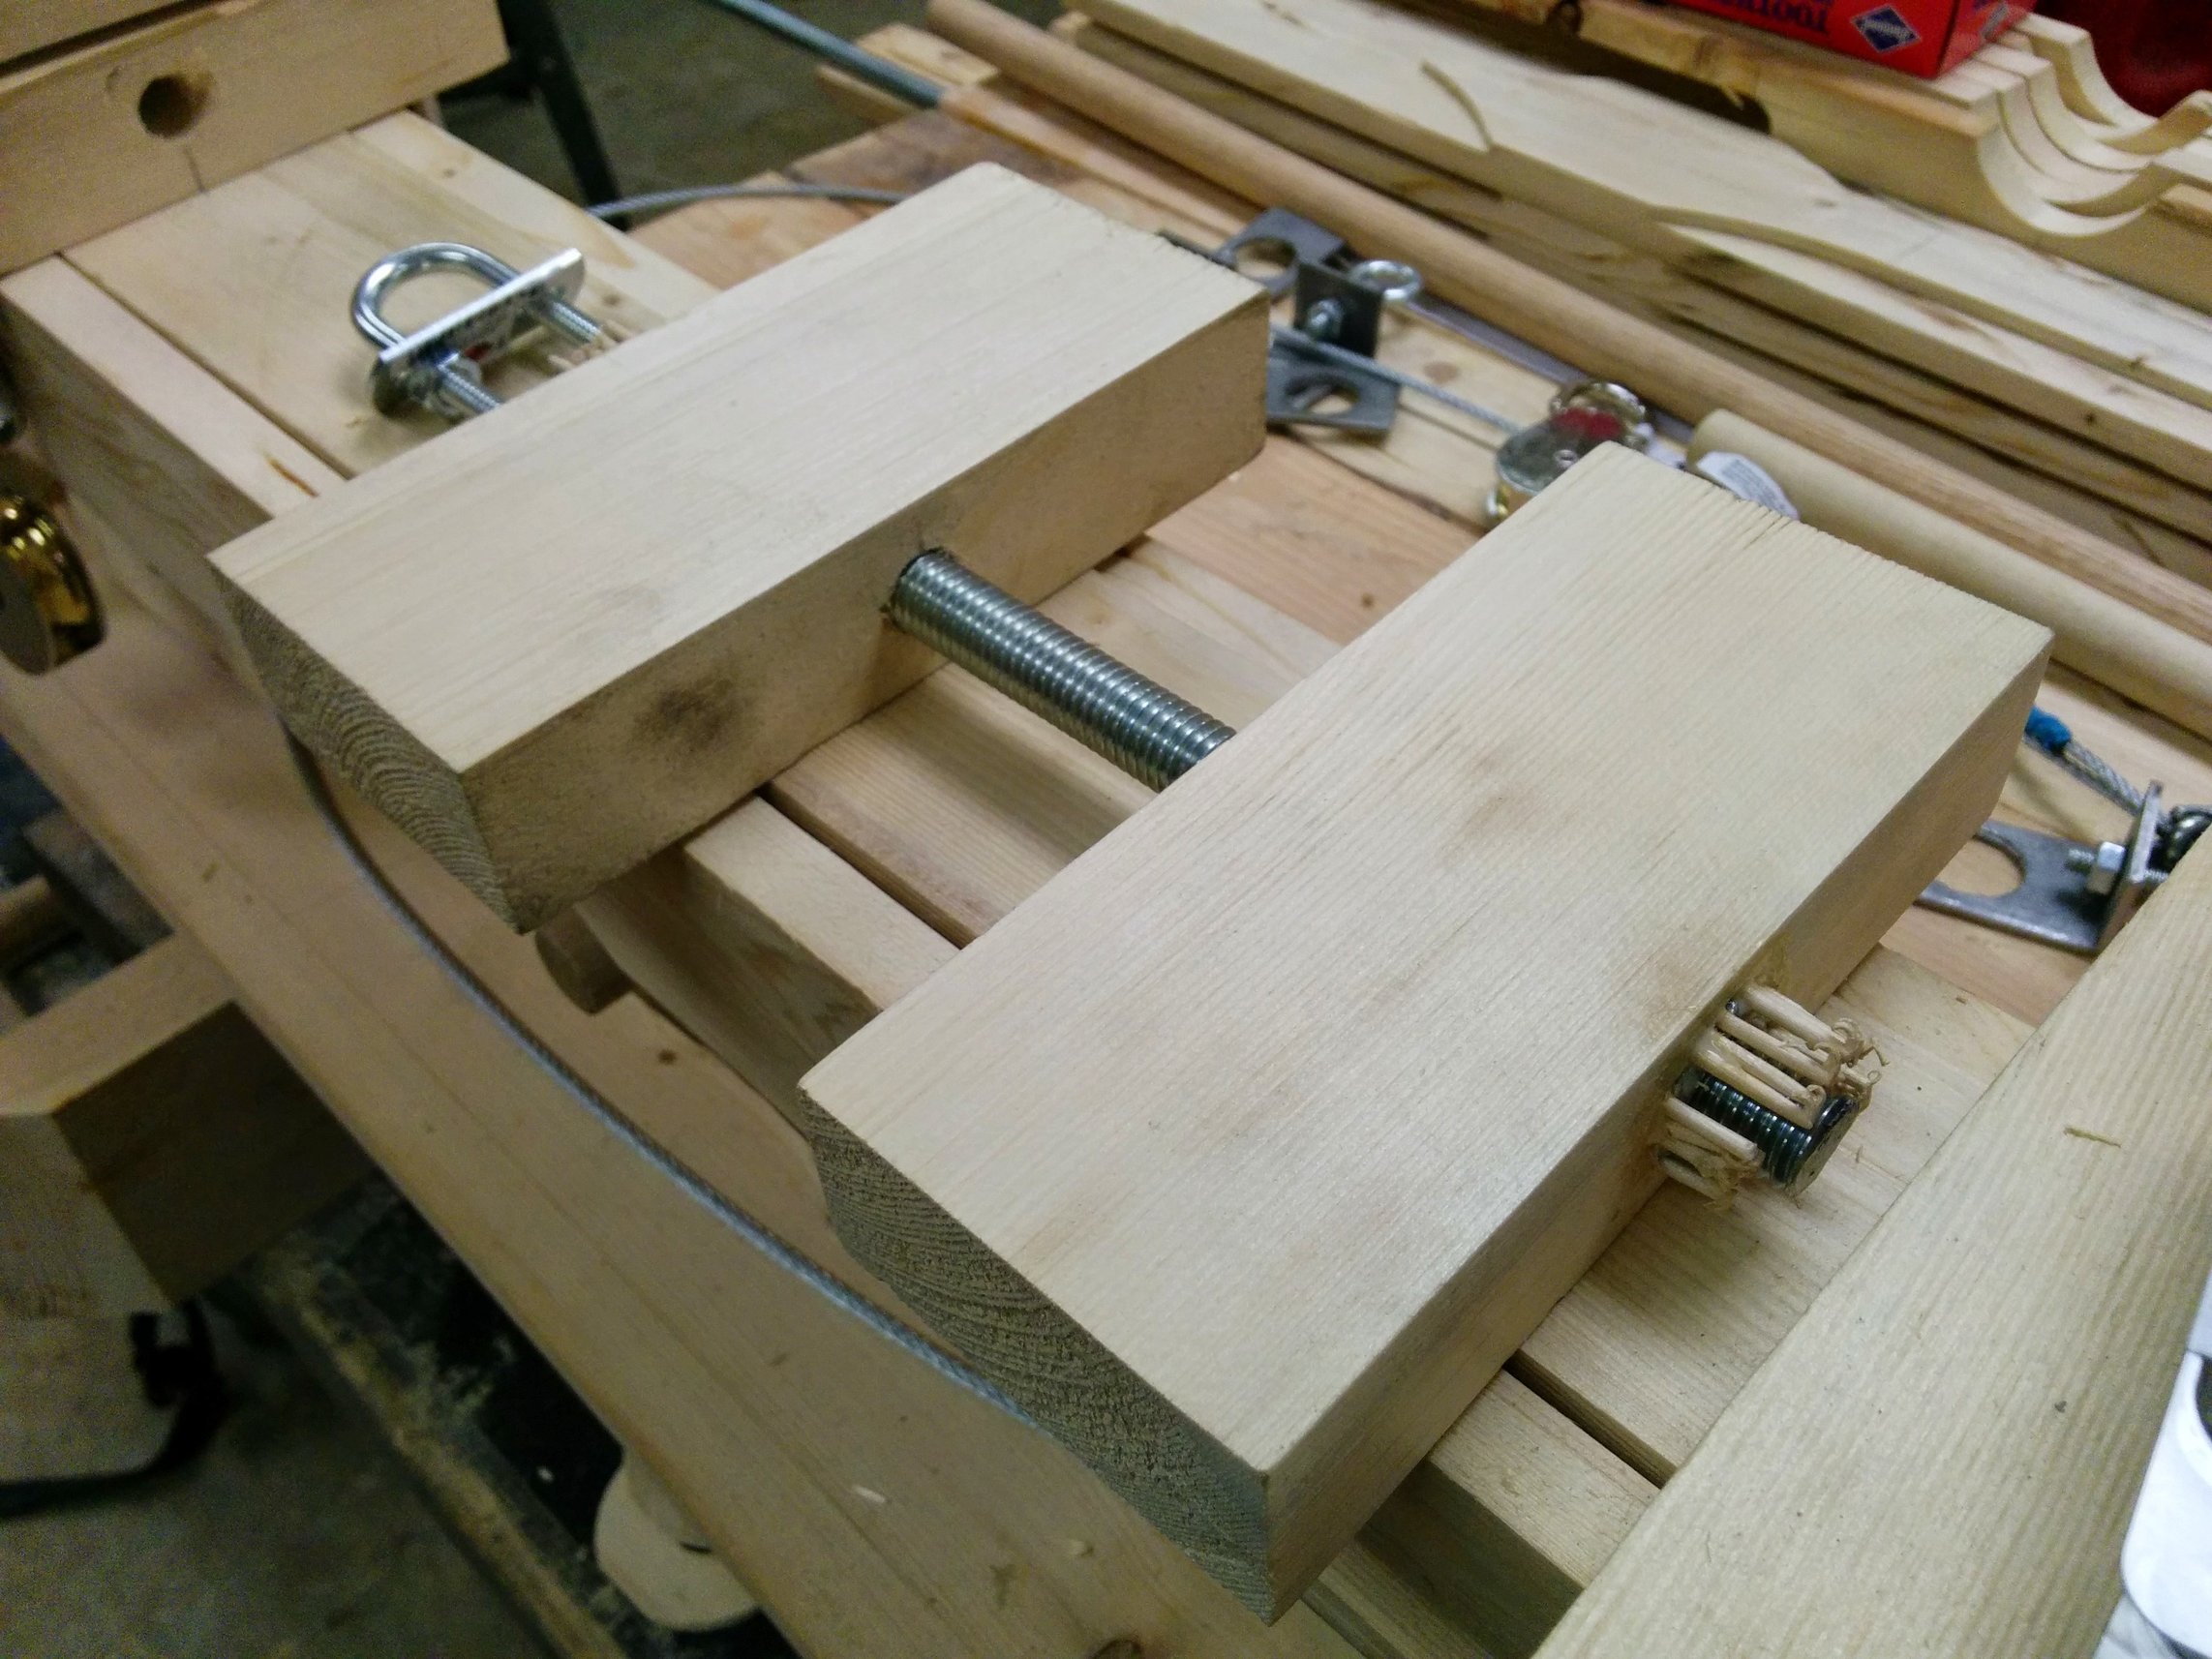
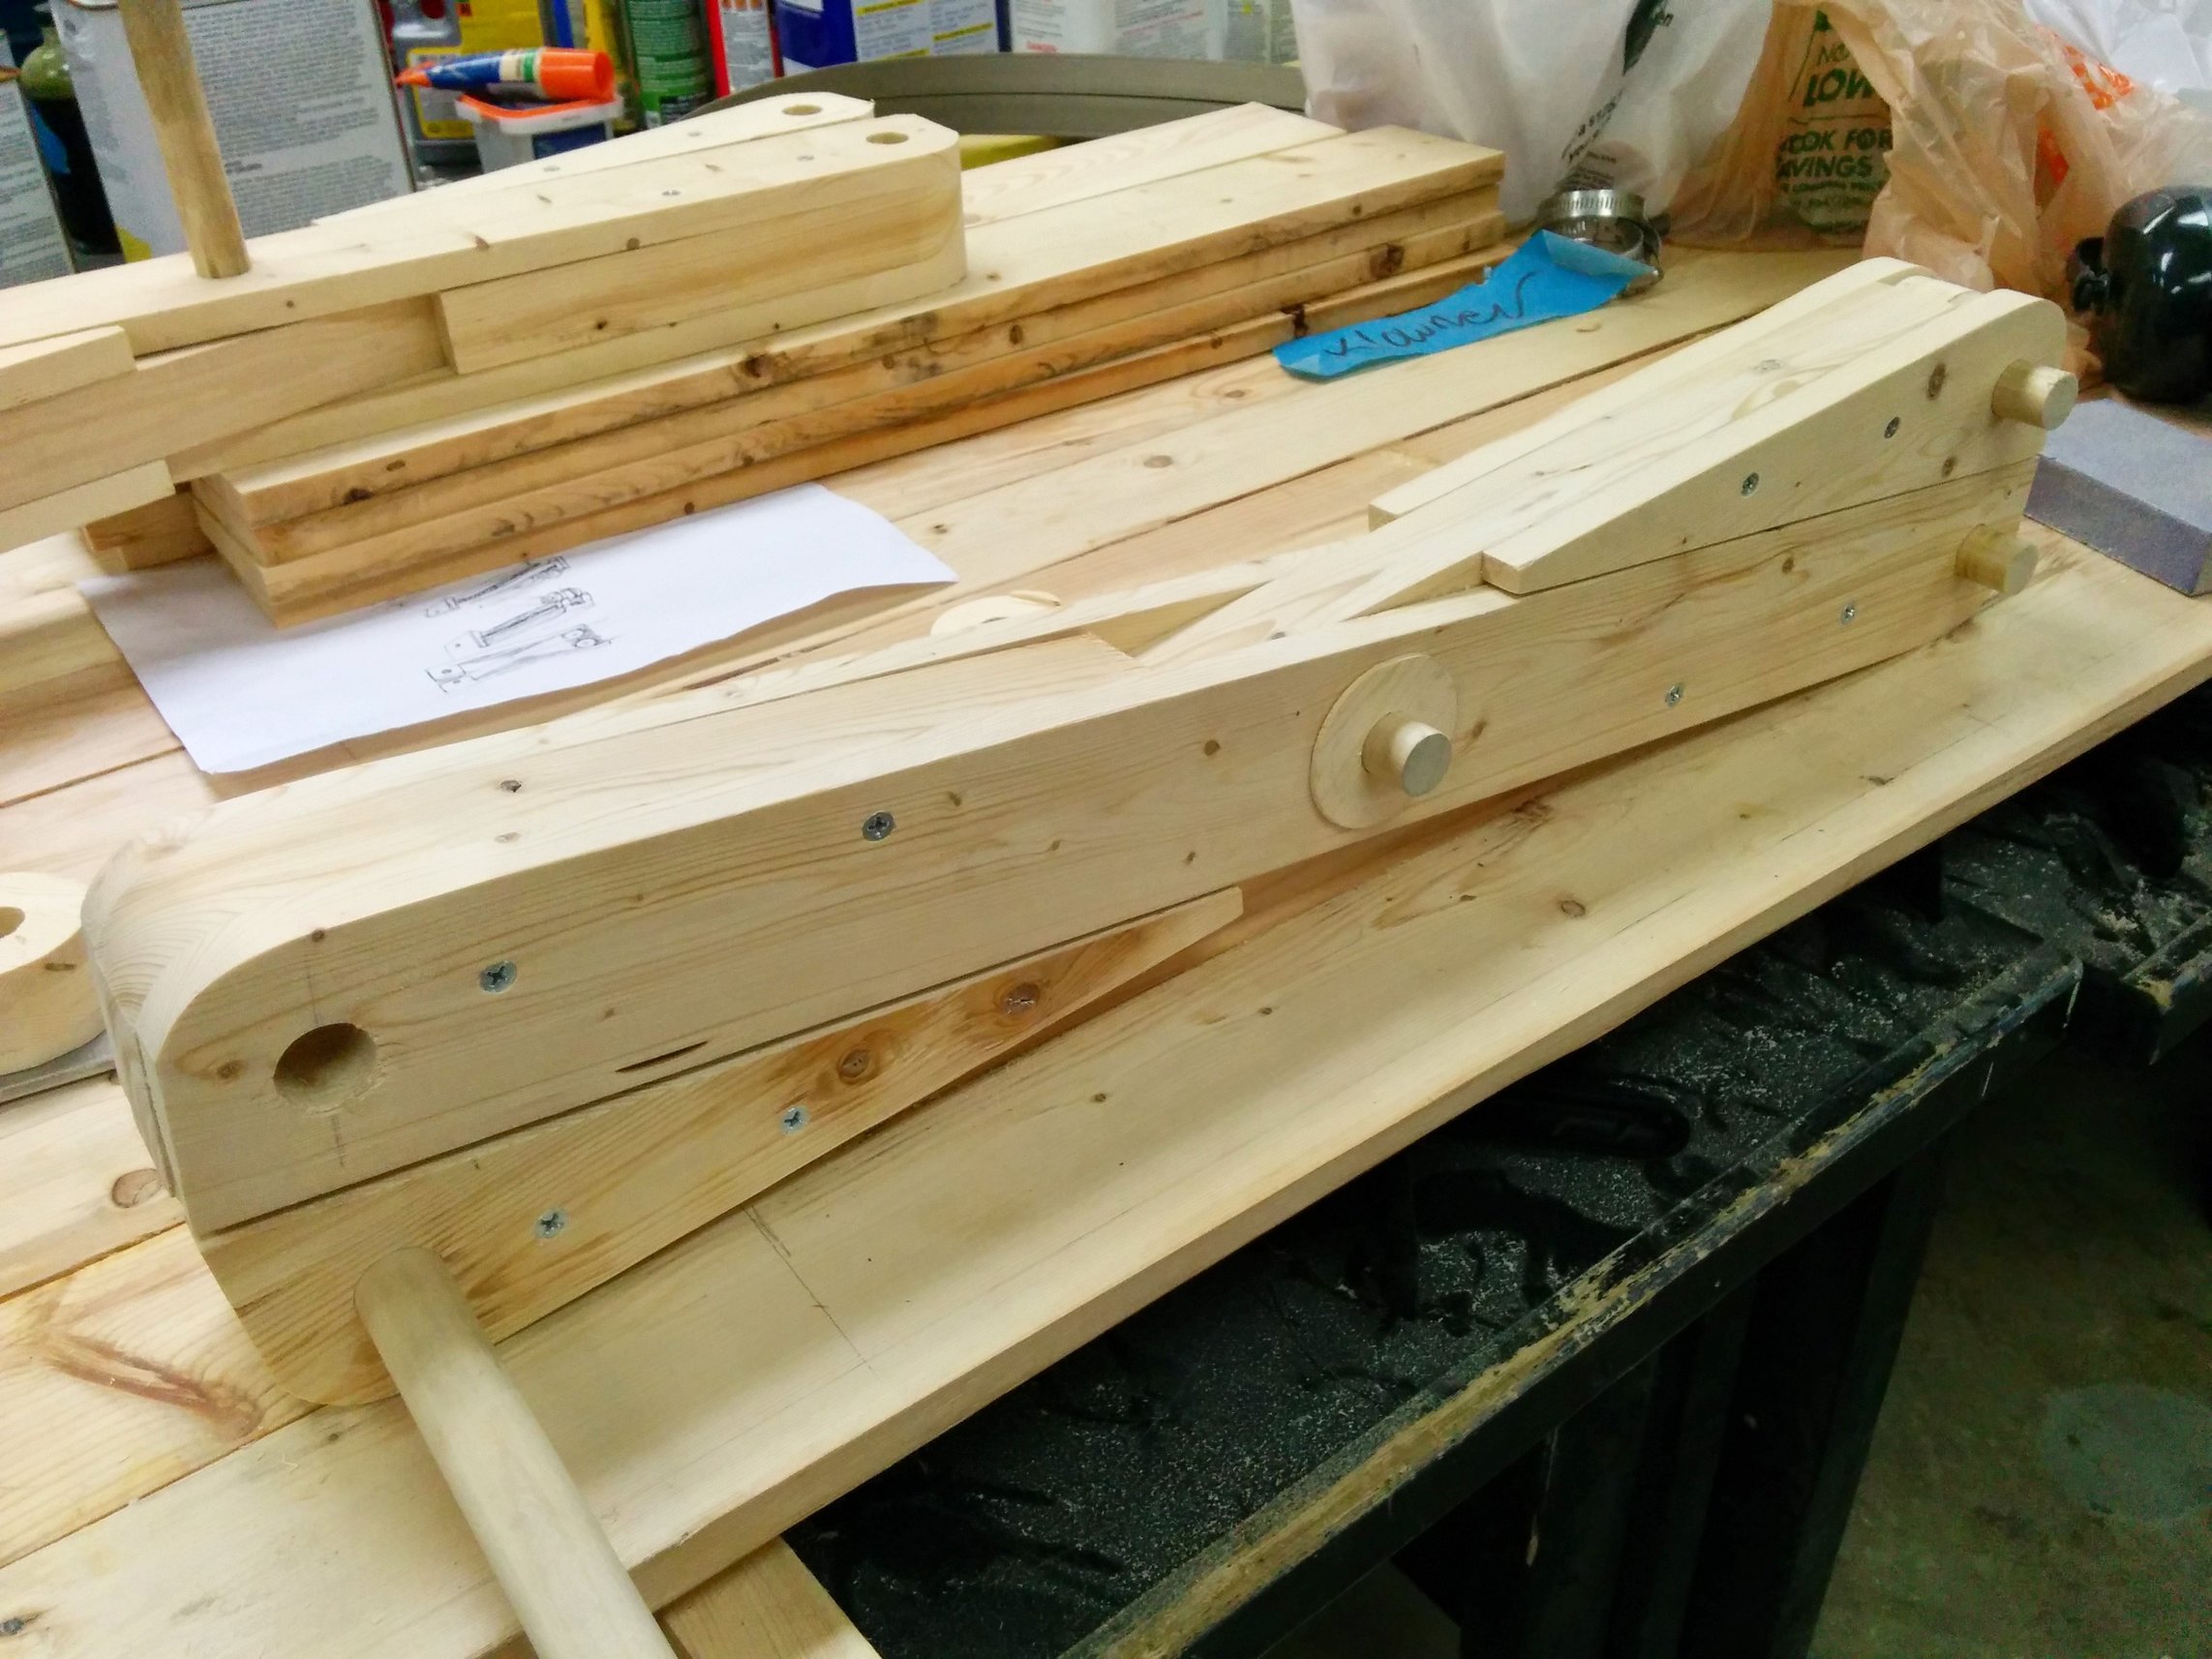
The sliding block attached to the fixed block
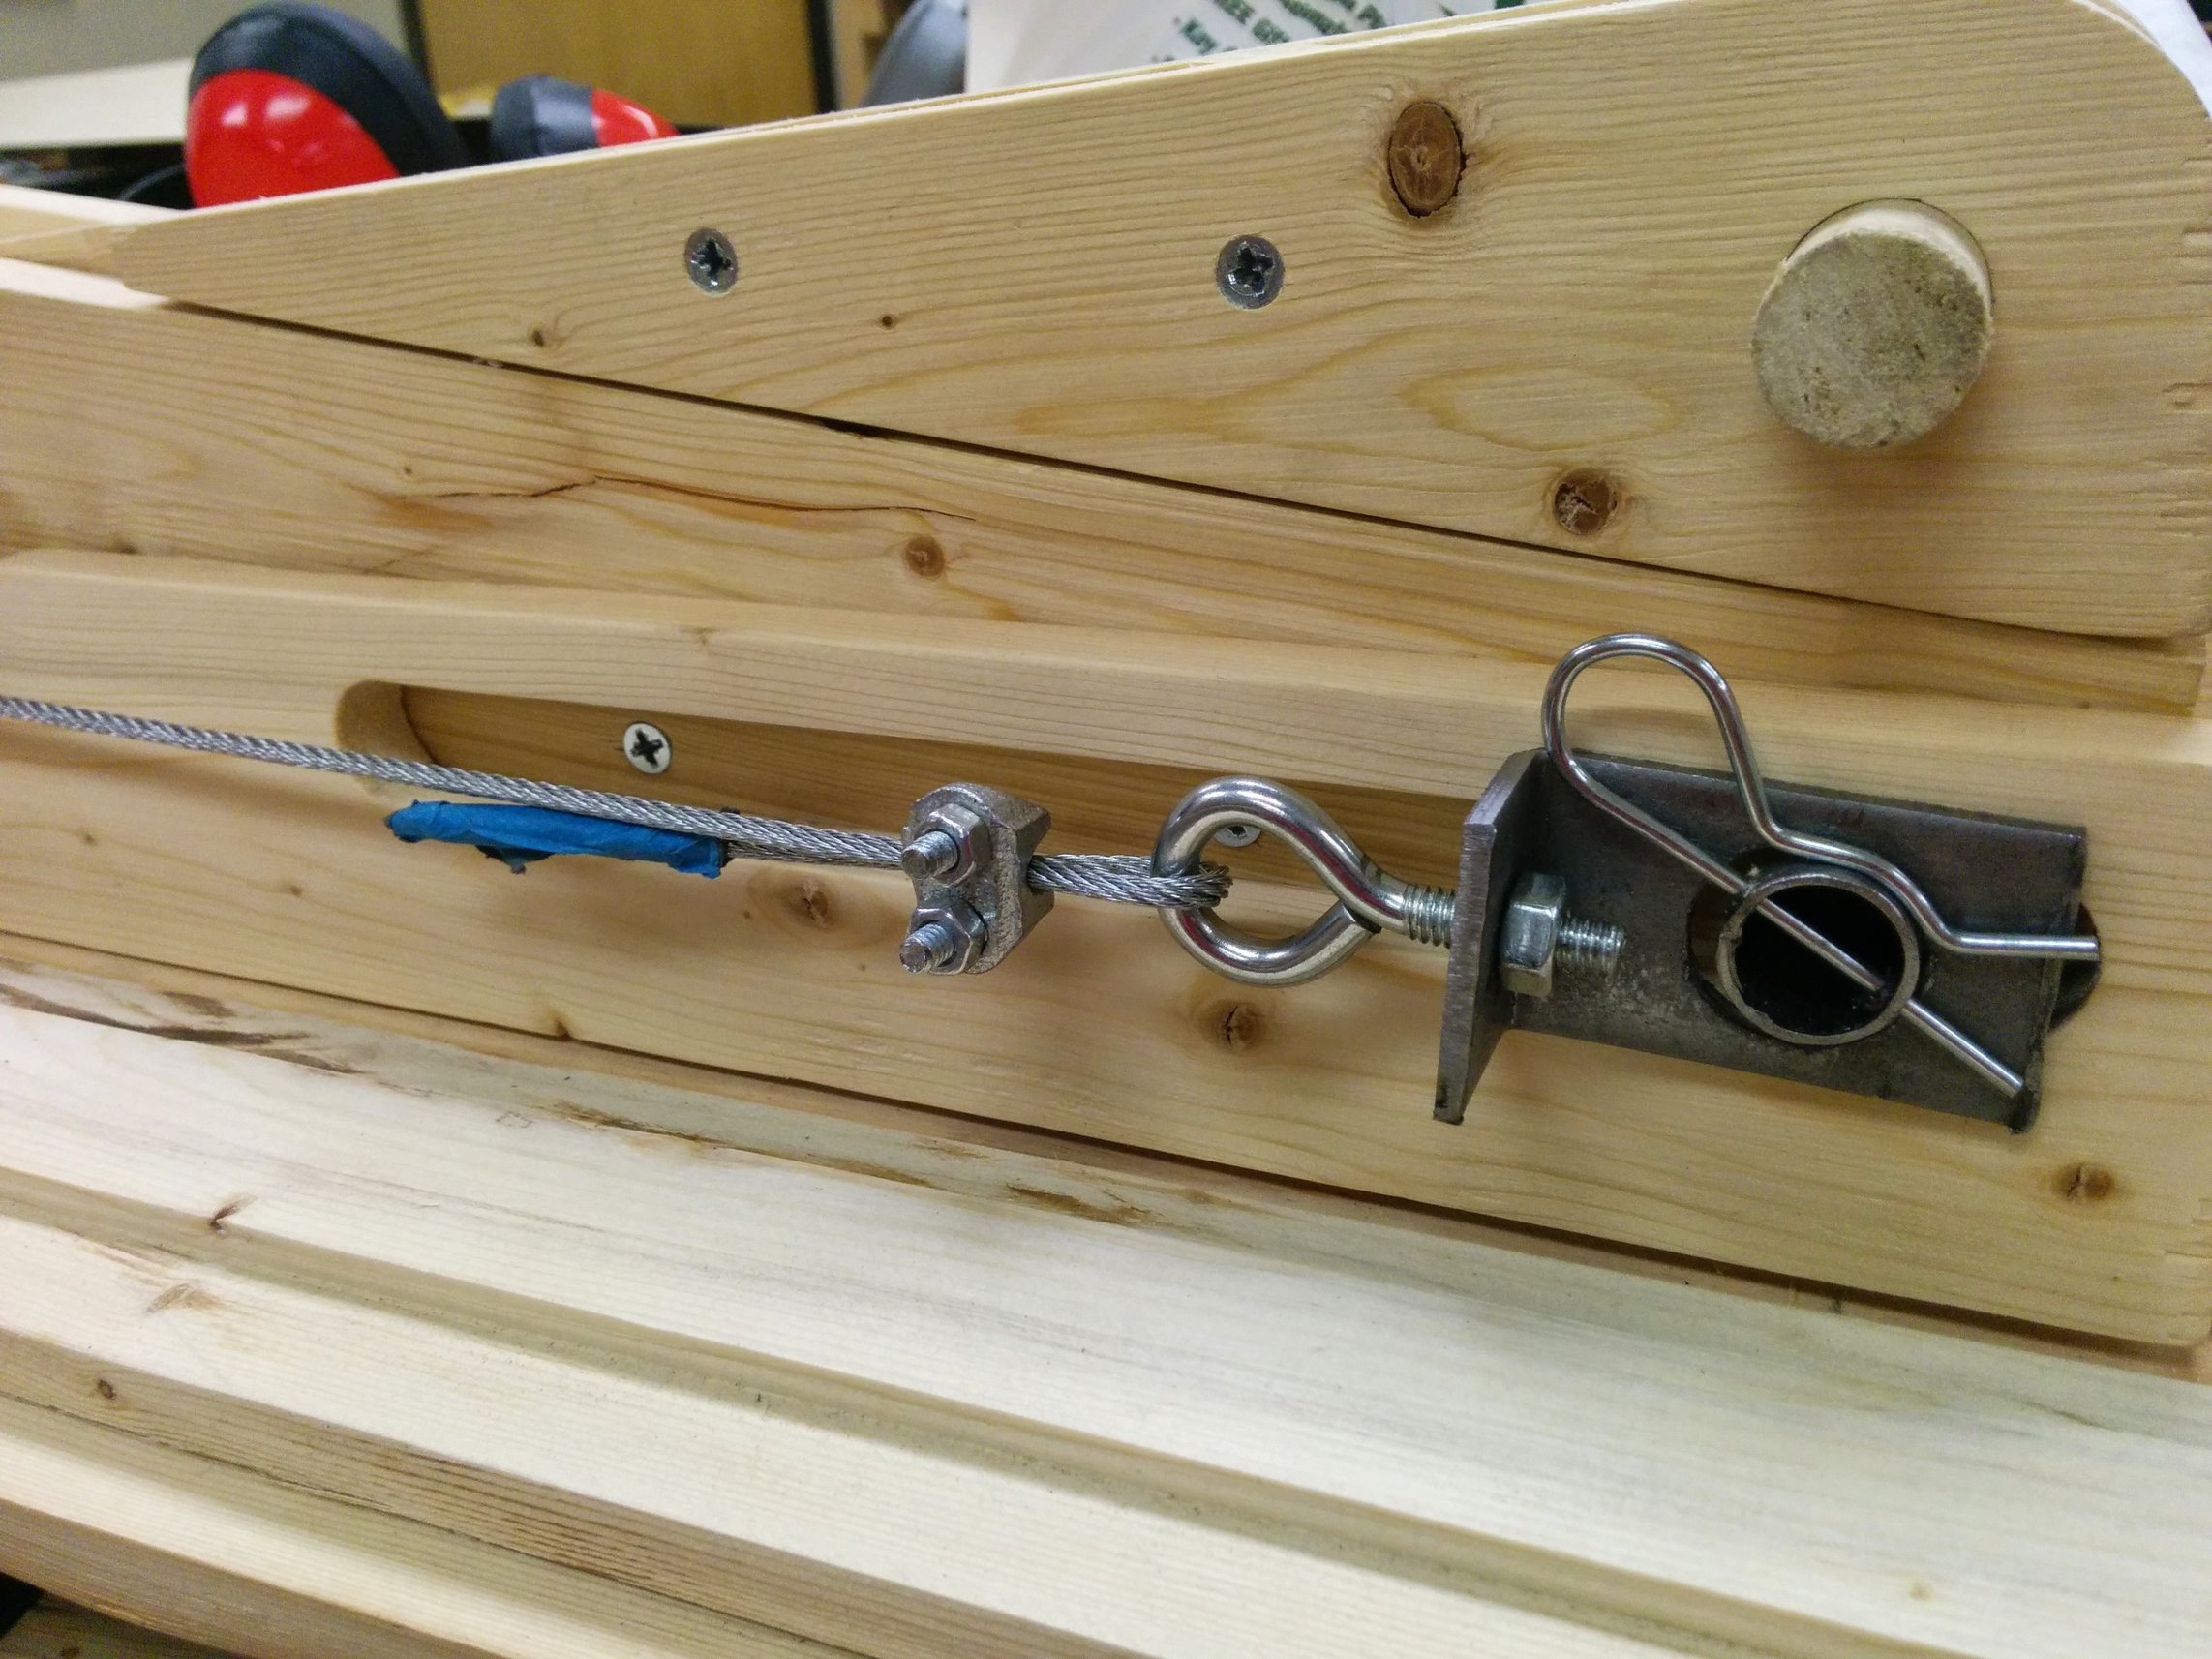
Got the threaded rod and pulley system connected to the scissor lift component.
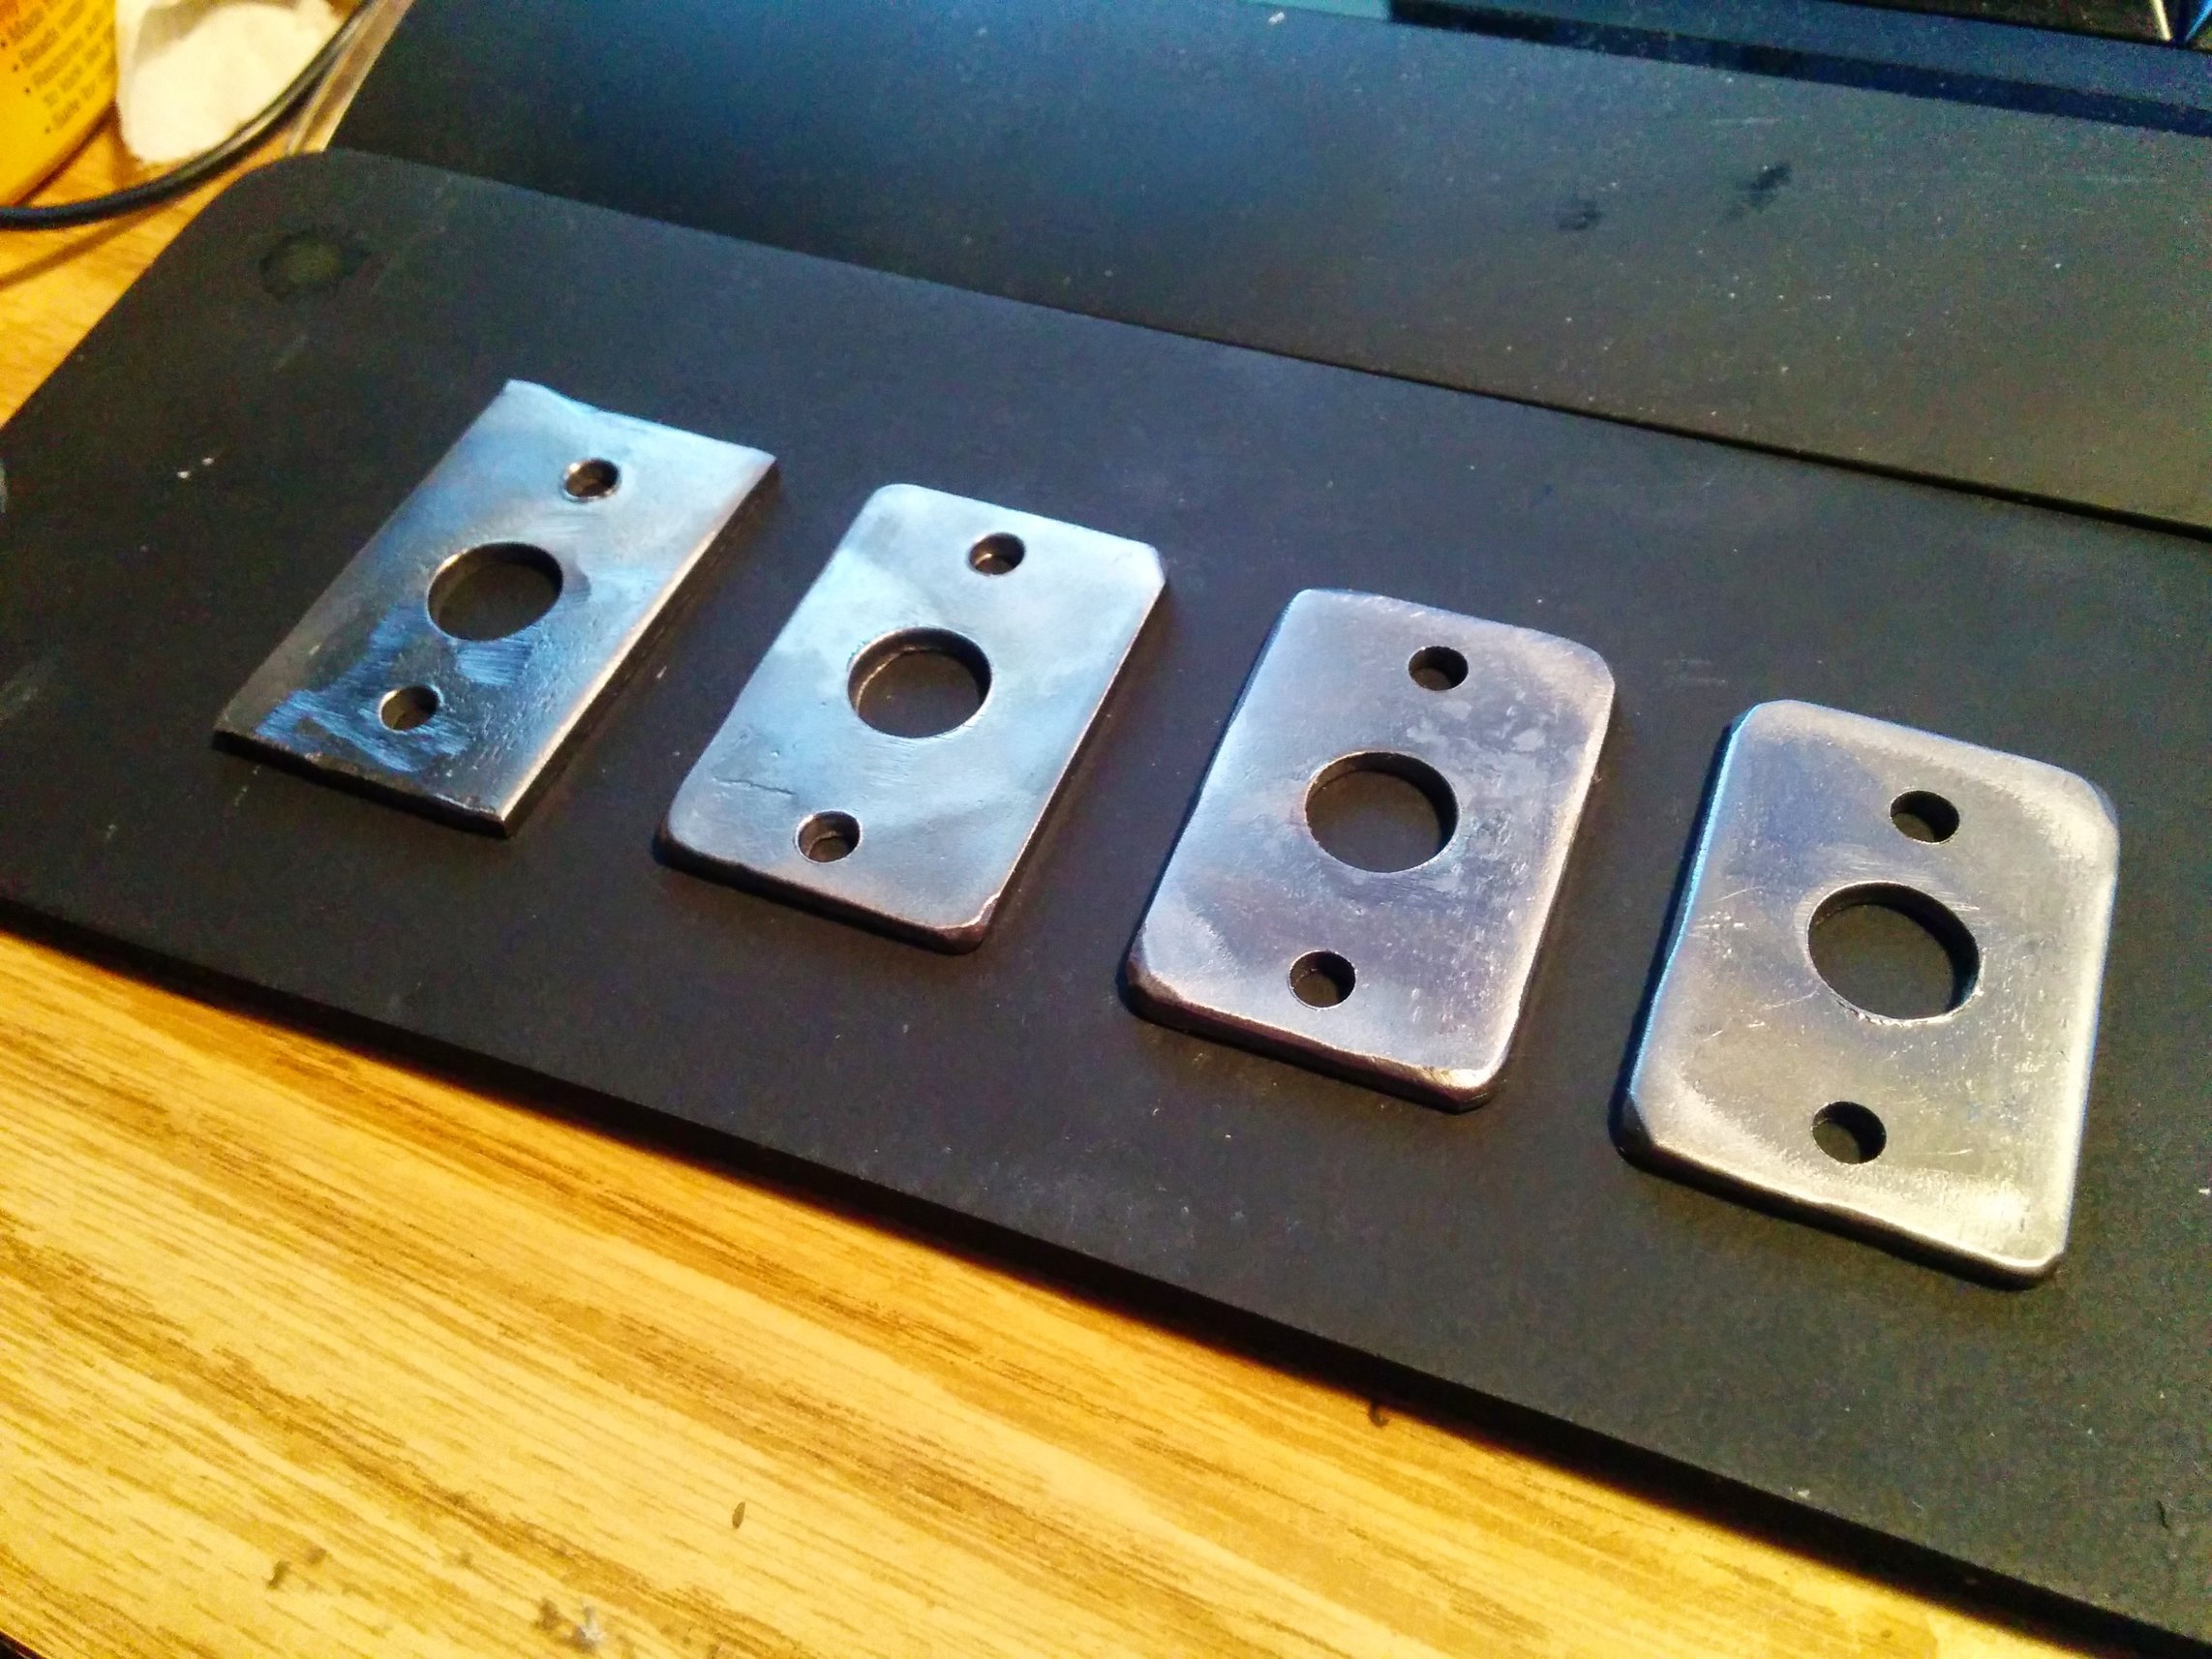
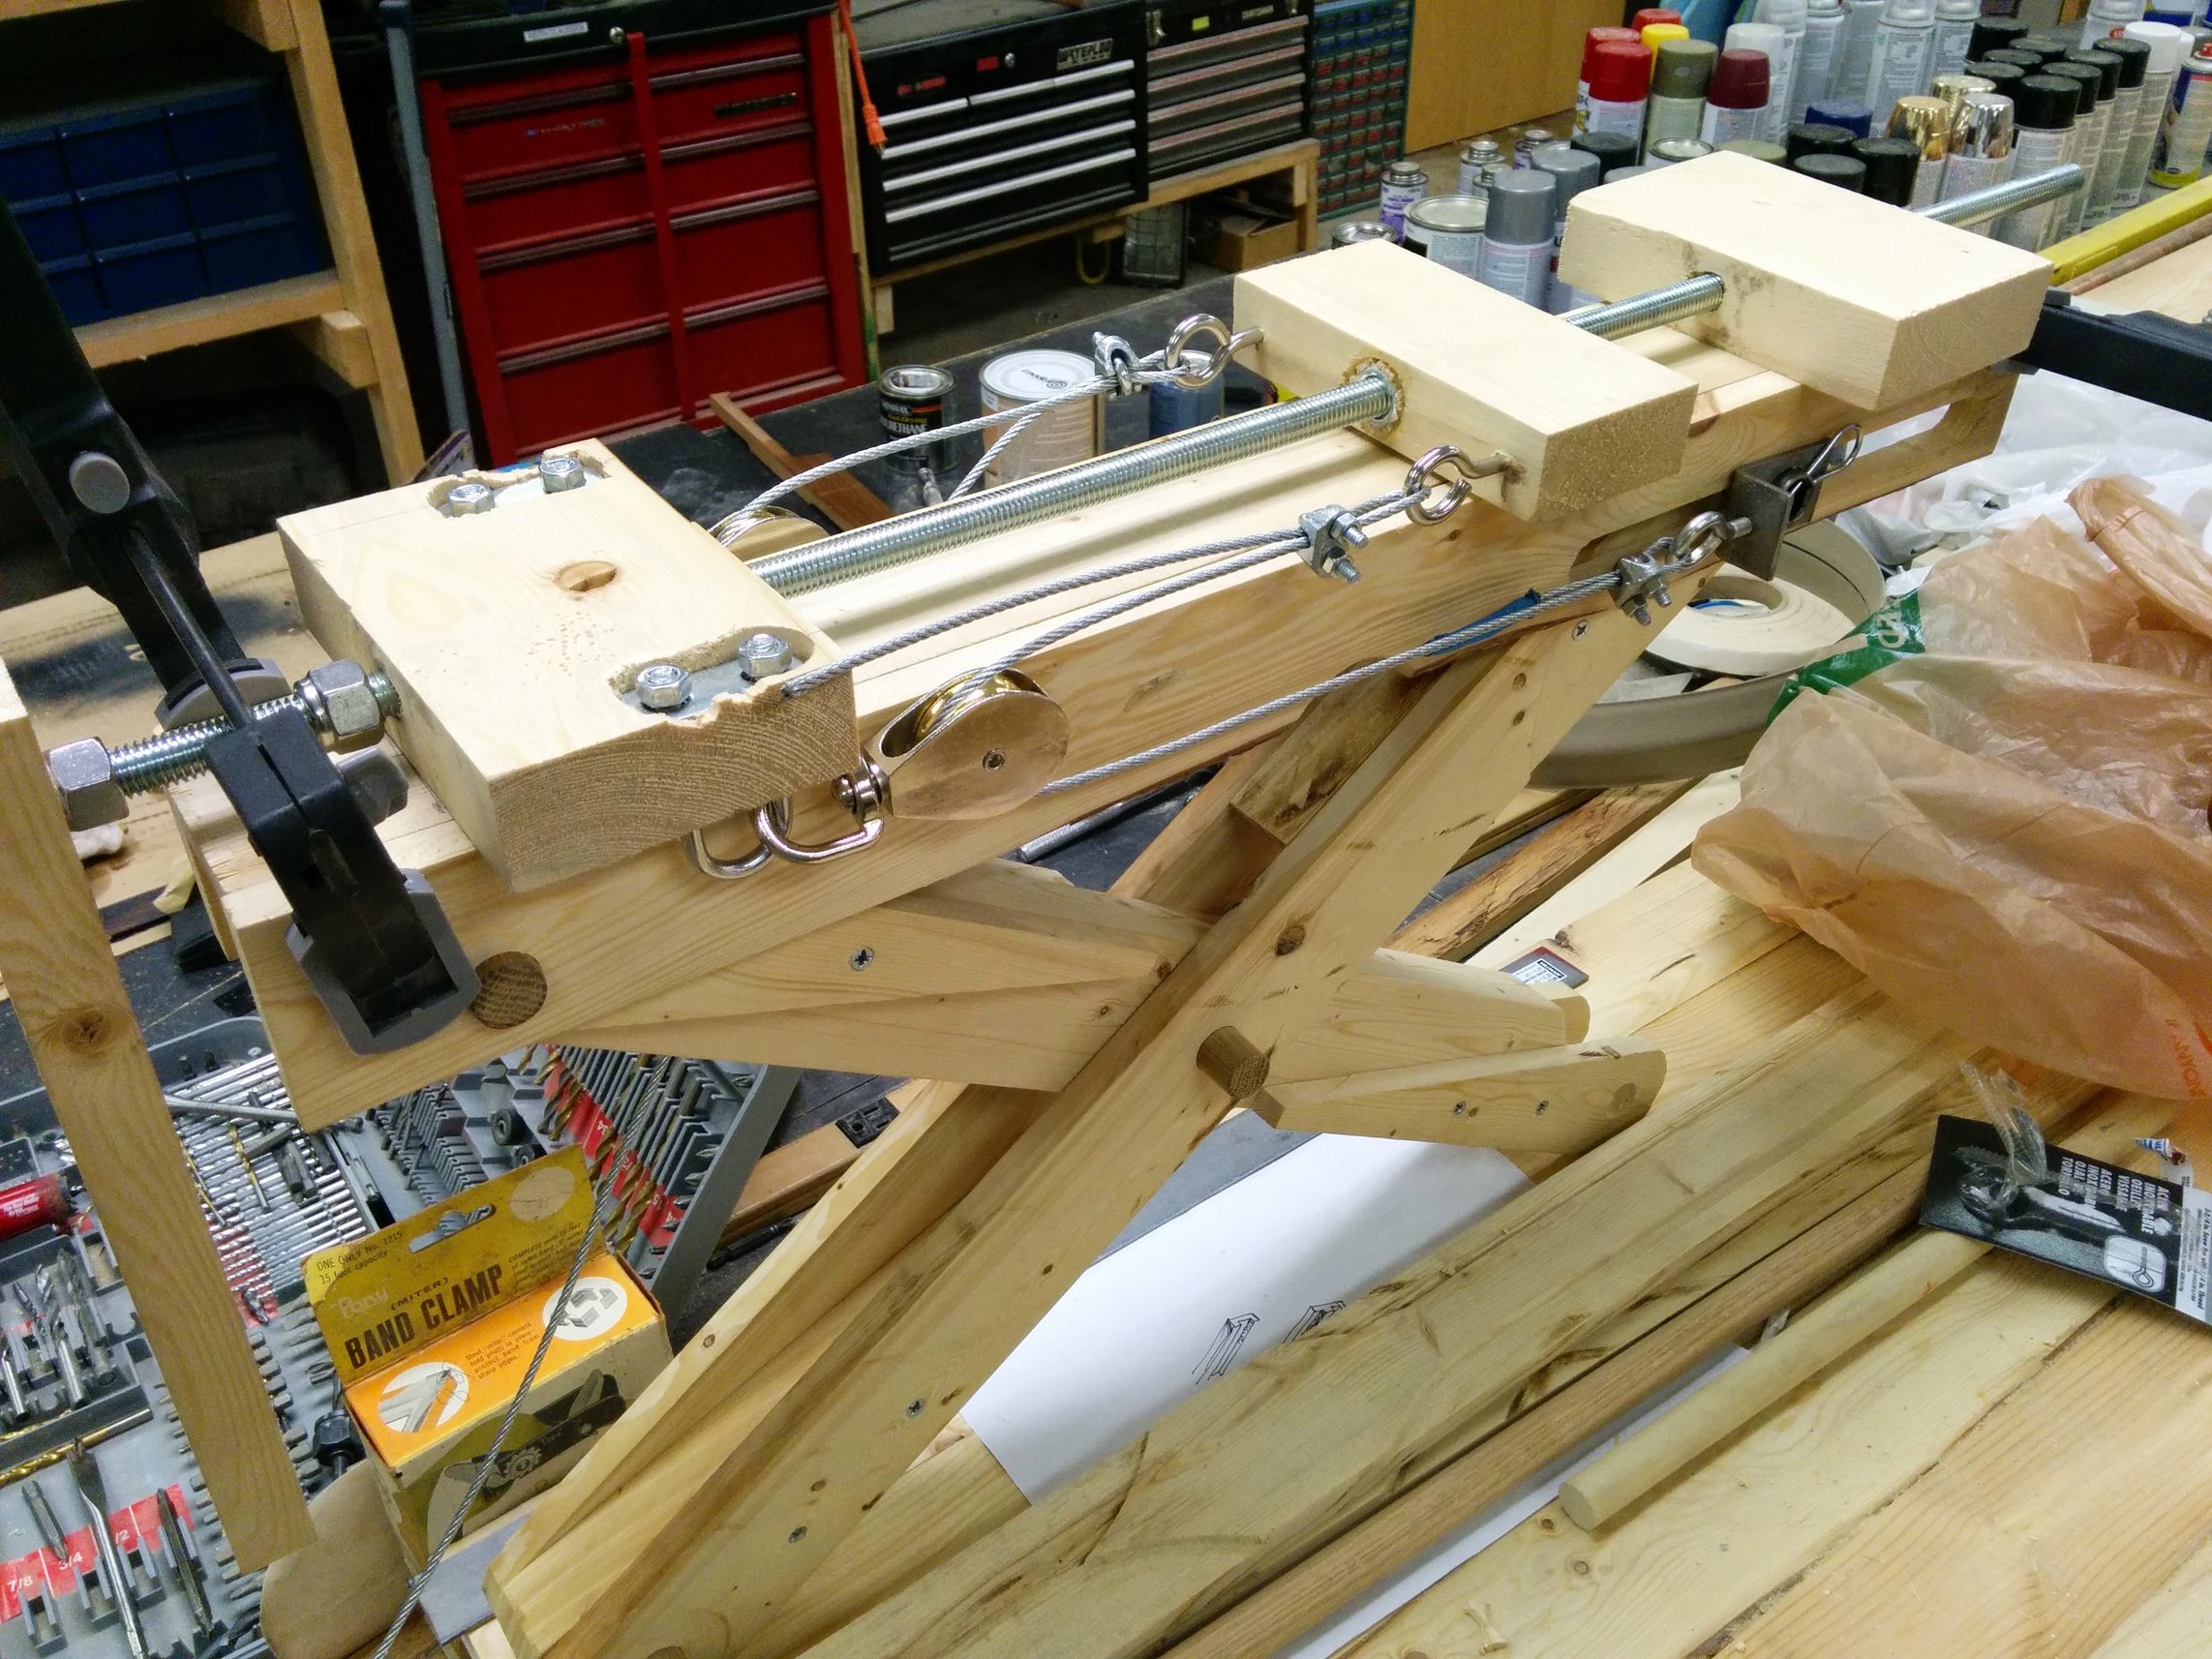
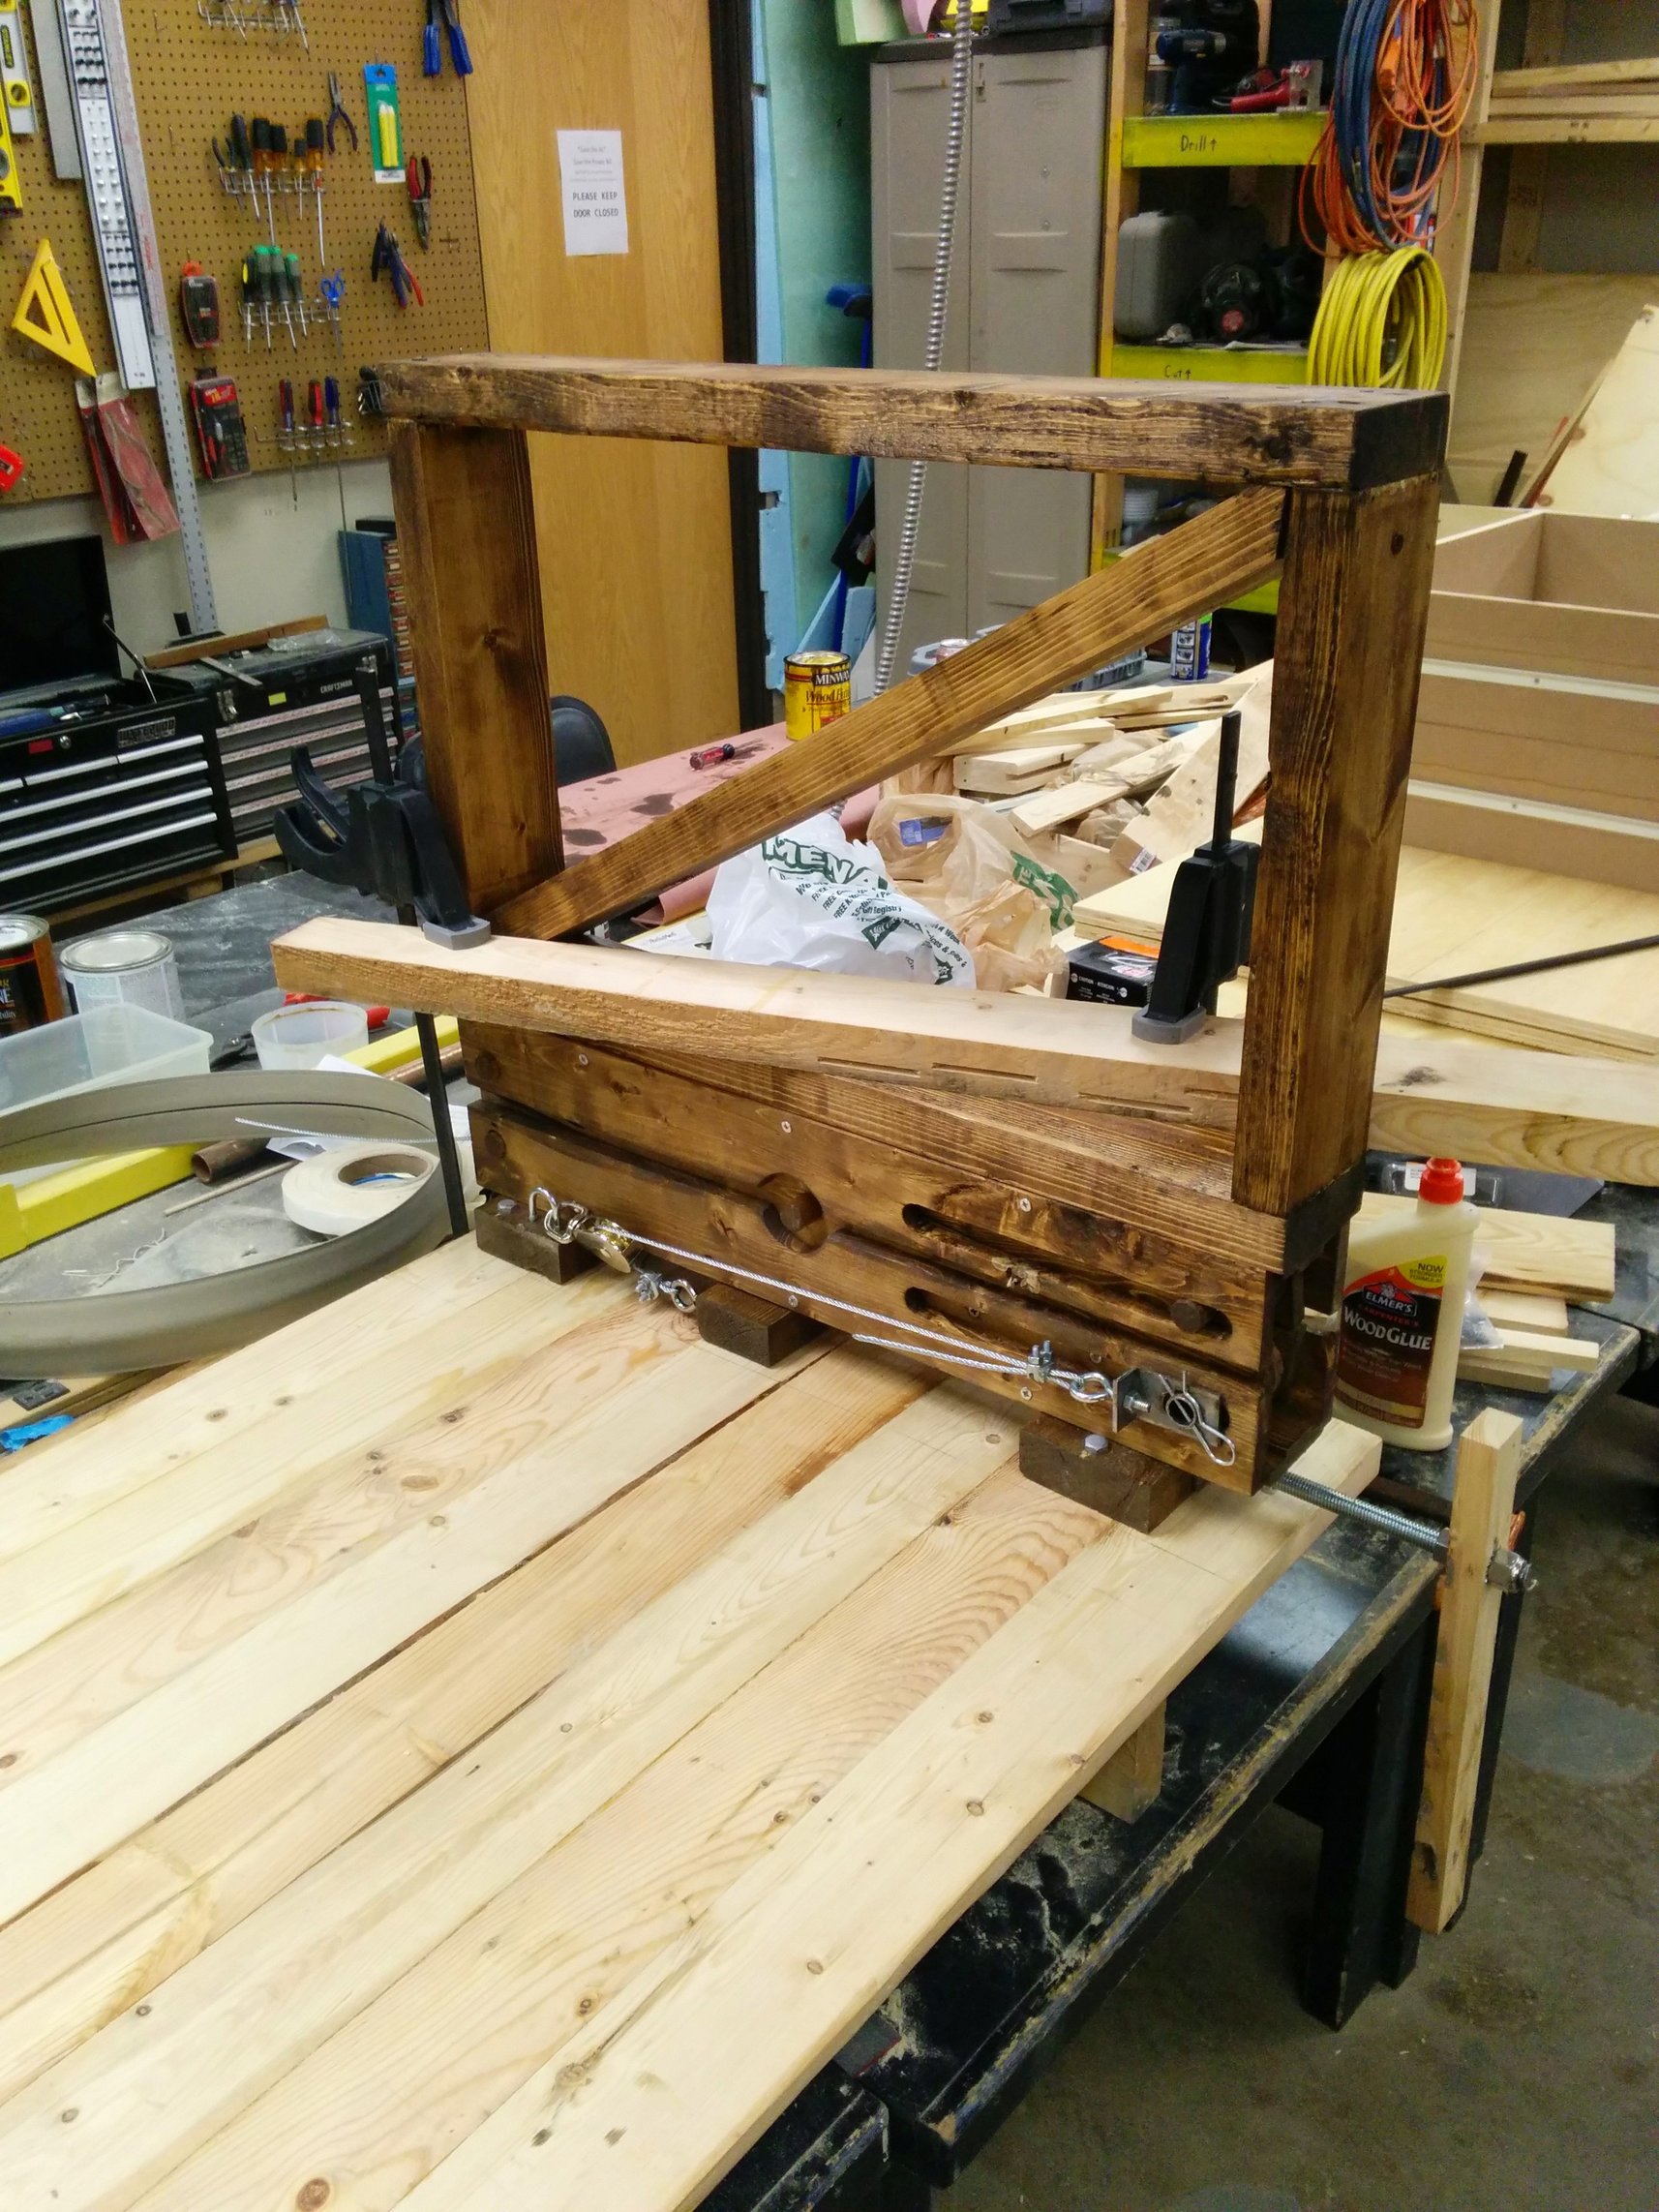
I was concerned that the threaded rod would wear its way through the end pieces, so I made some ends from the steel bar.
Ends fastened.
Stained my lifts, figuring out how I’d connect them to the table surface.
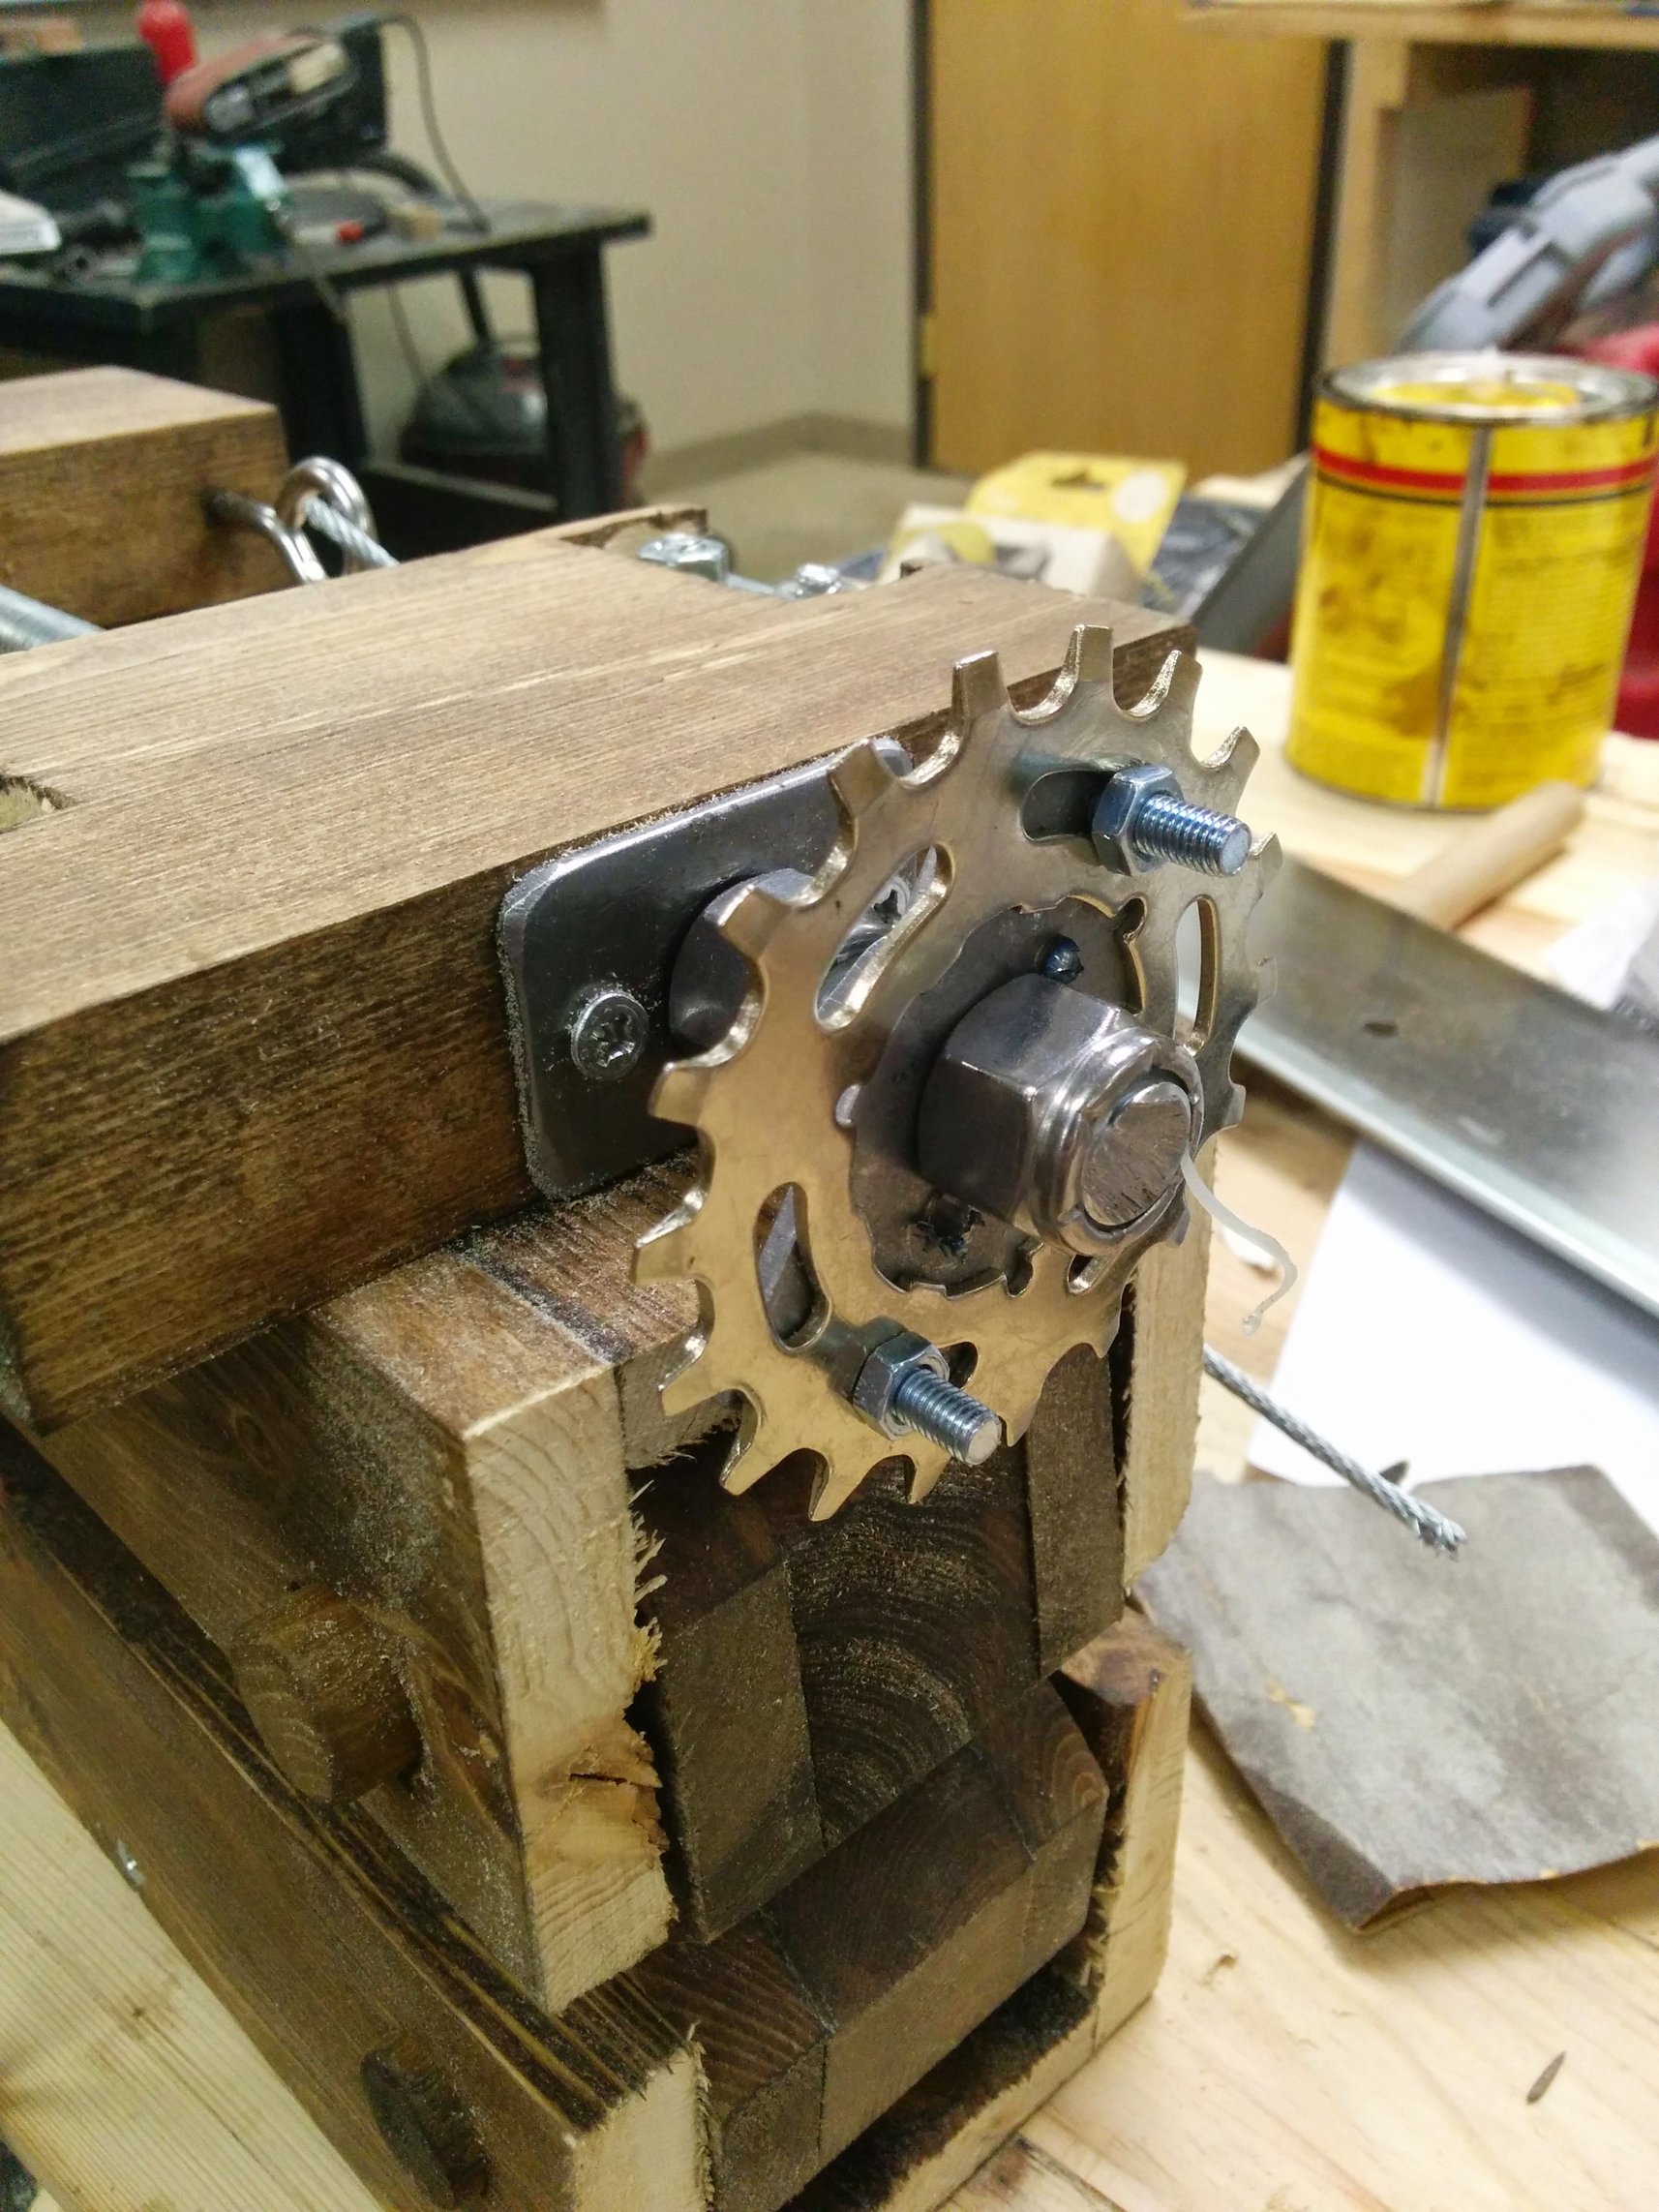
Found some bike sprockets at the local bicycle shop, attached one to each scissor lift.
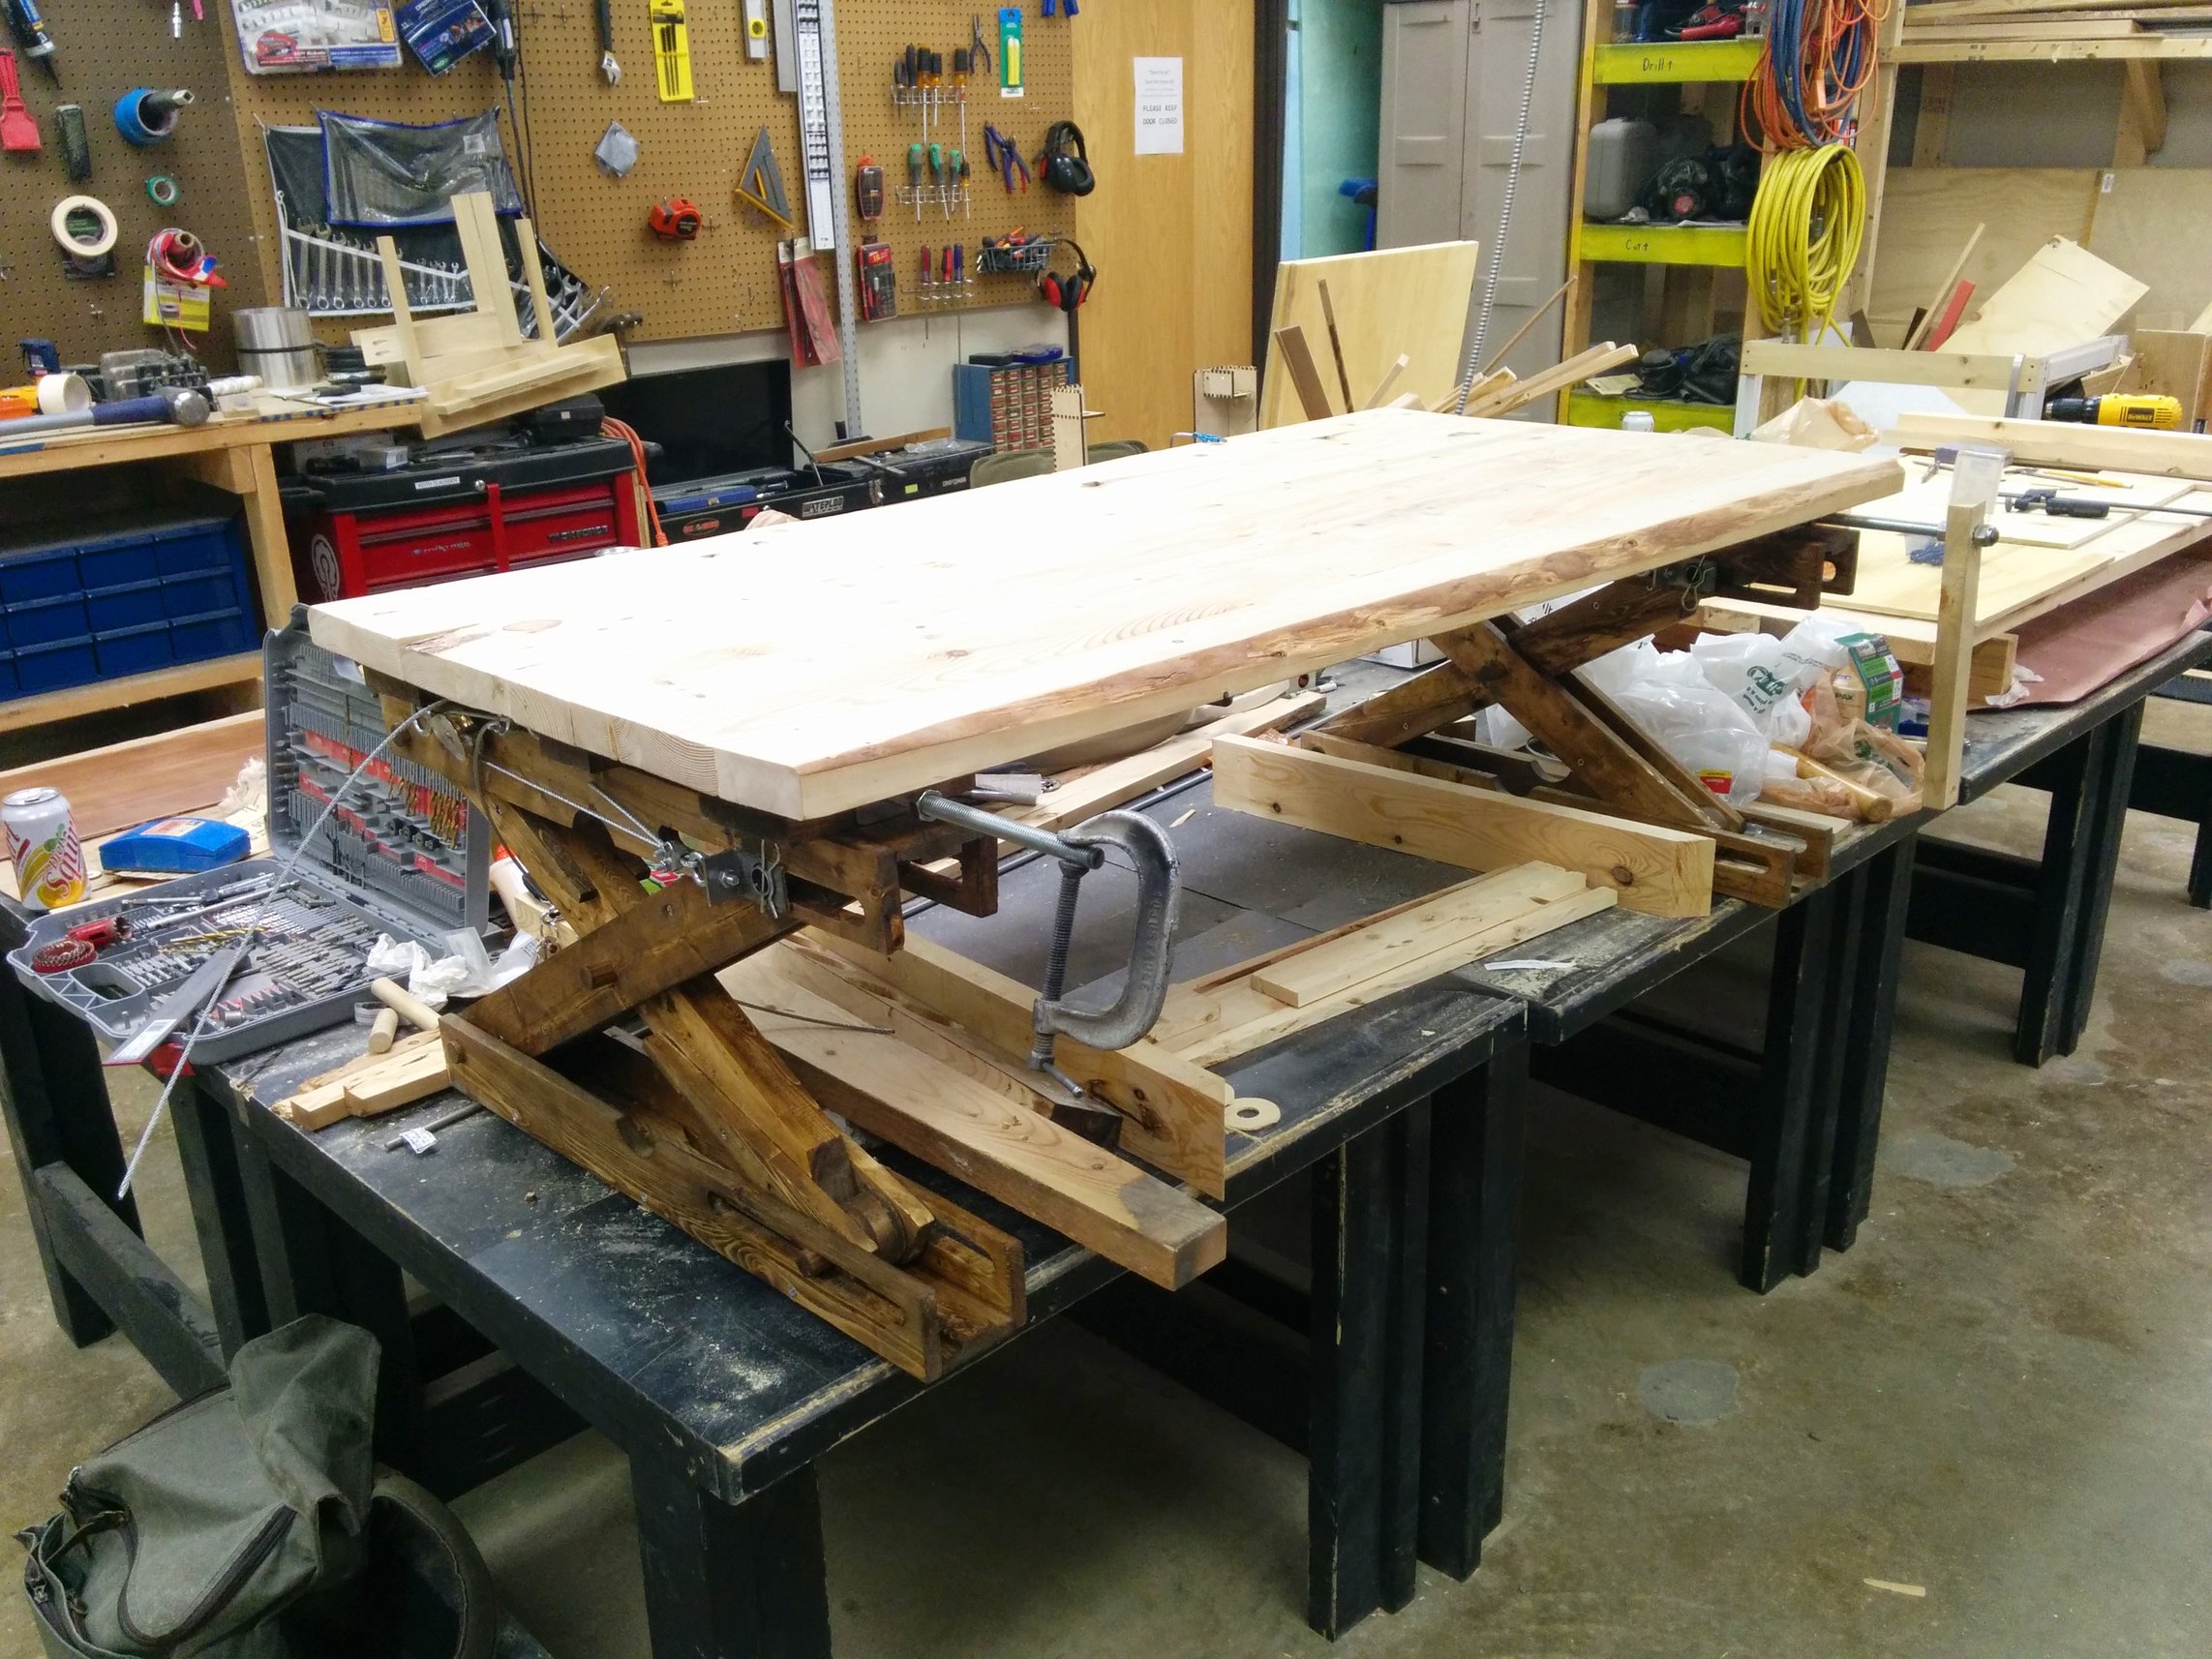
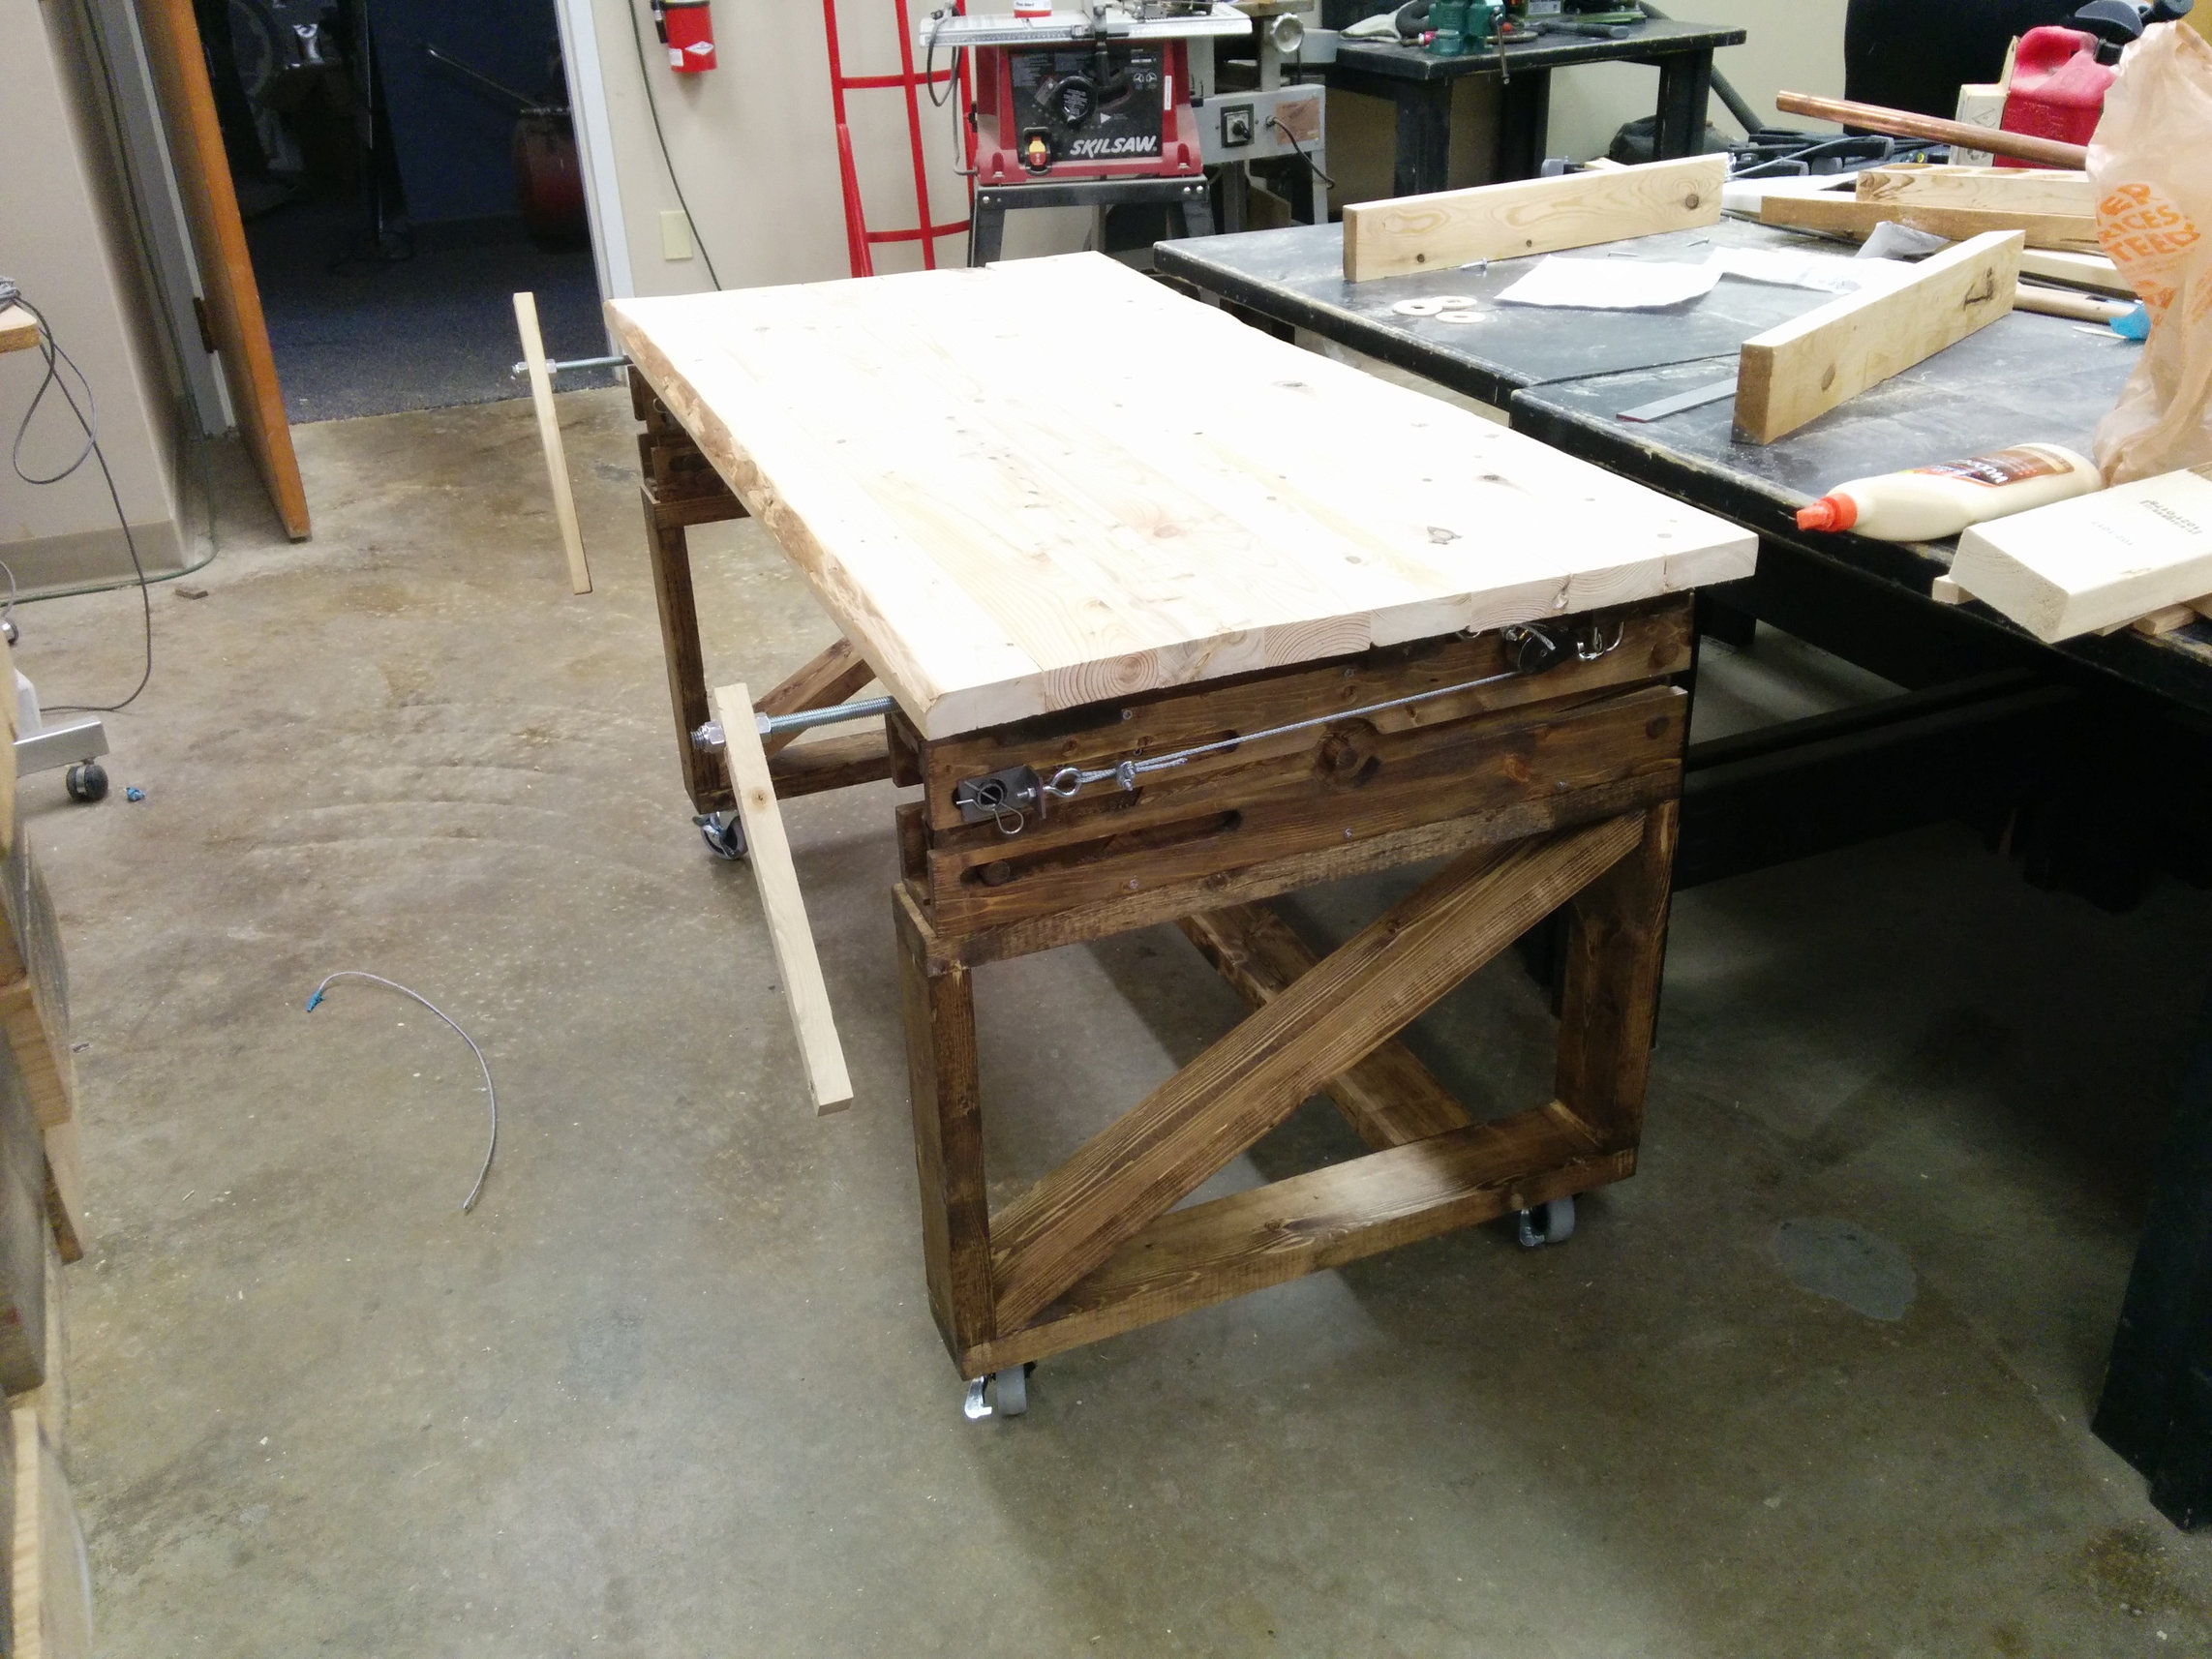
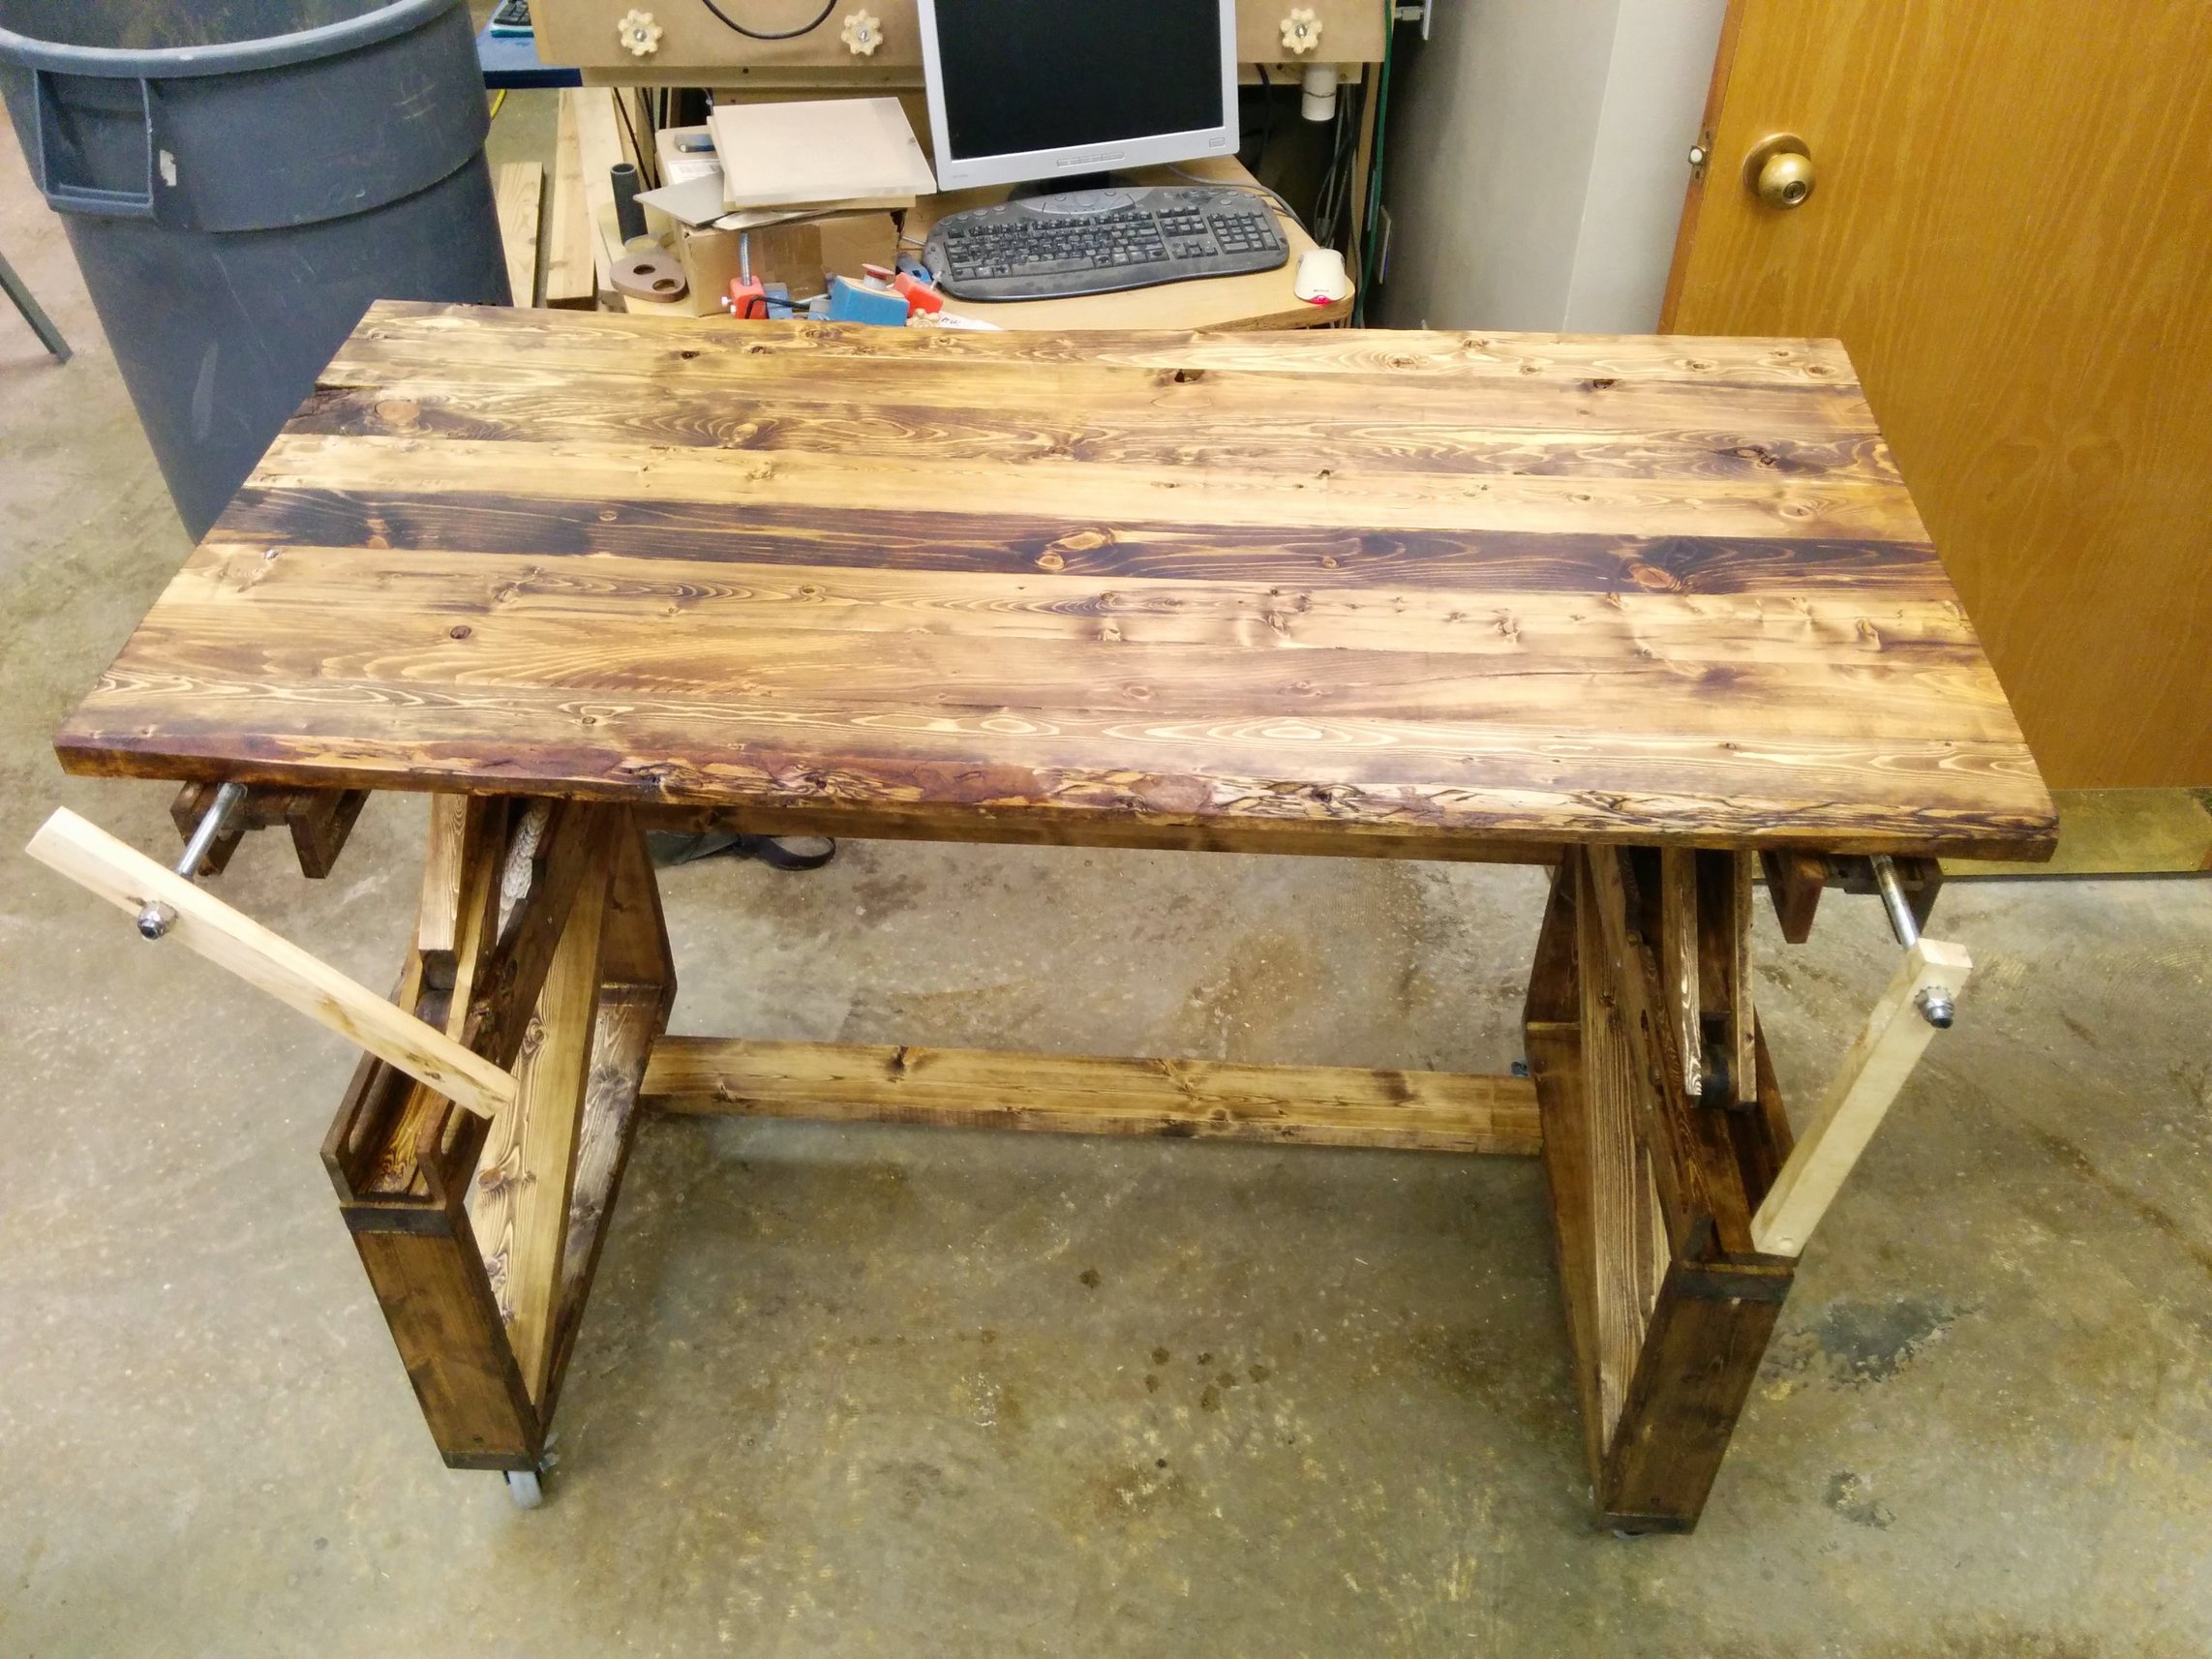
First time flipping it over, it finally looked like a desk! It just needed some legs to bring it up to sitting height.
Beginning of leg frame
Legs attached.

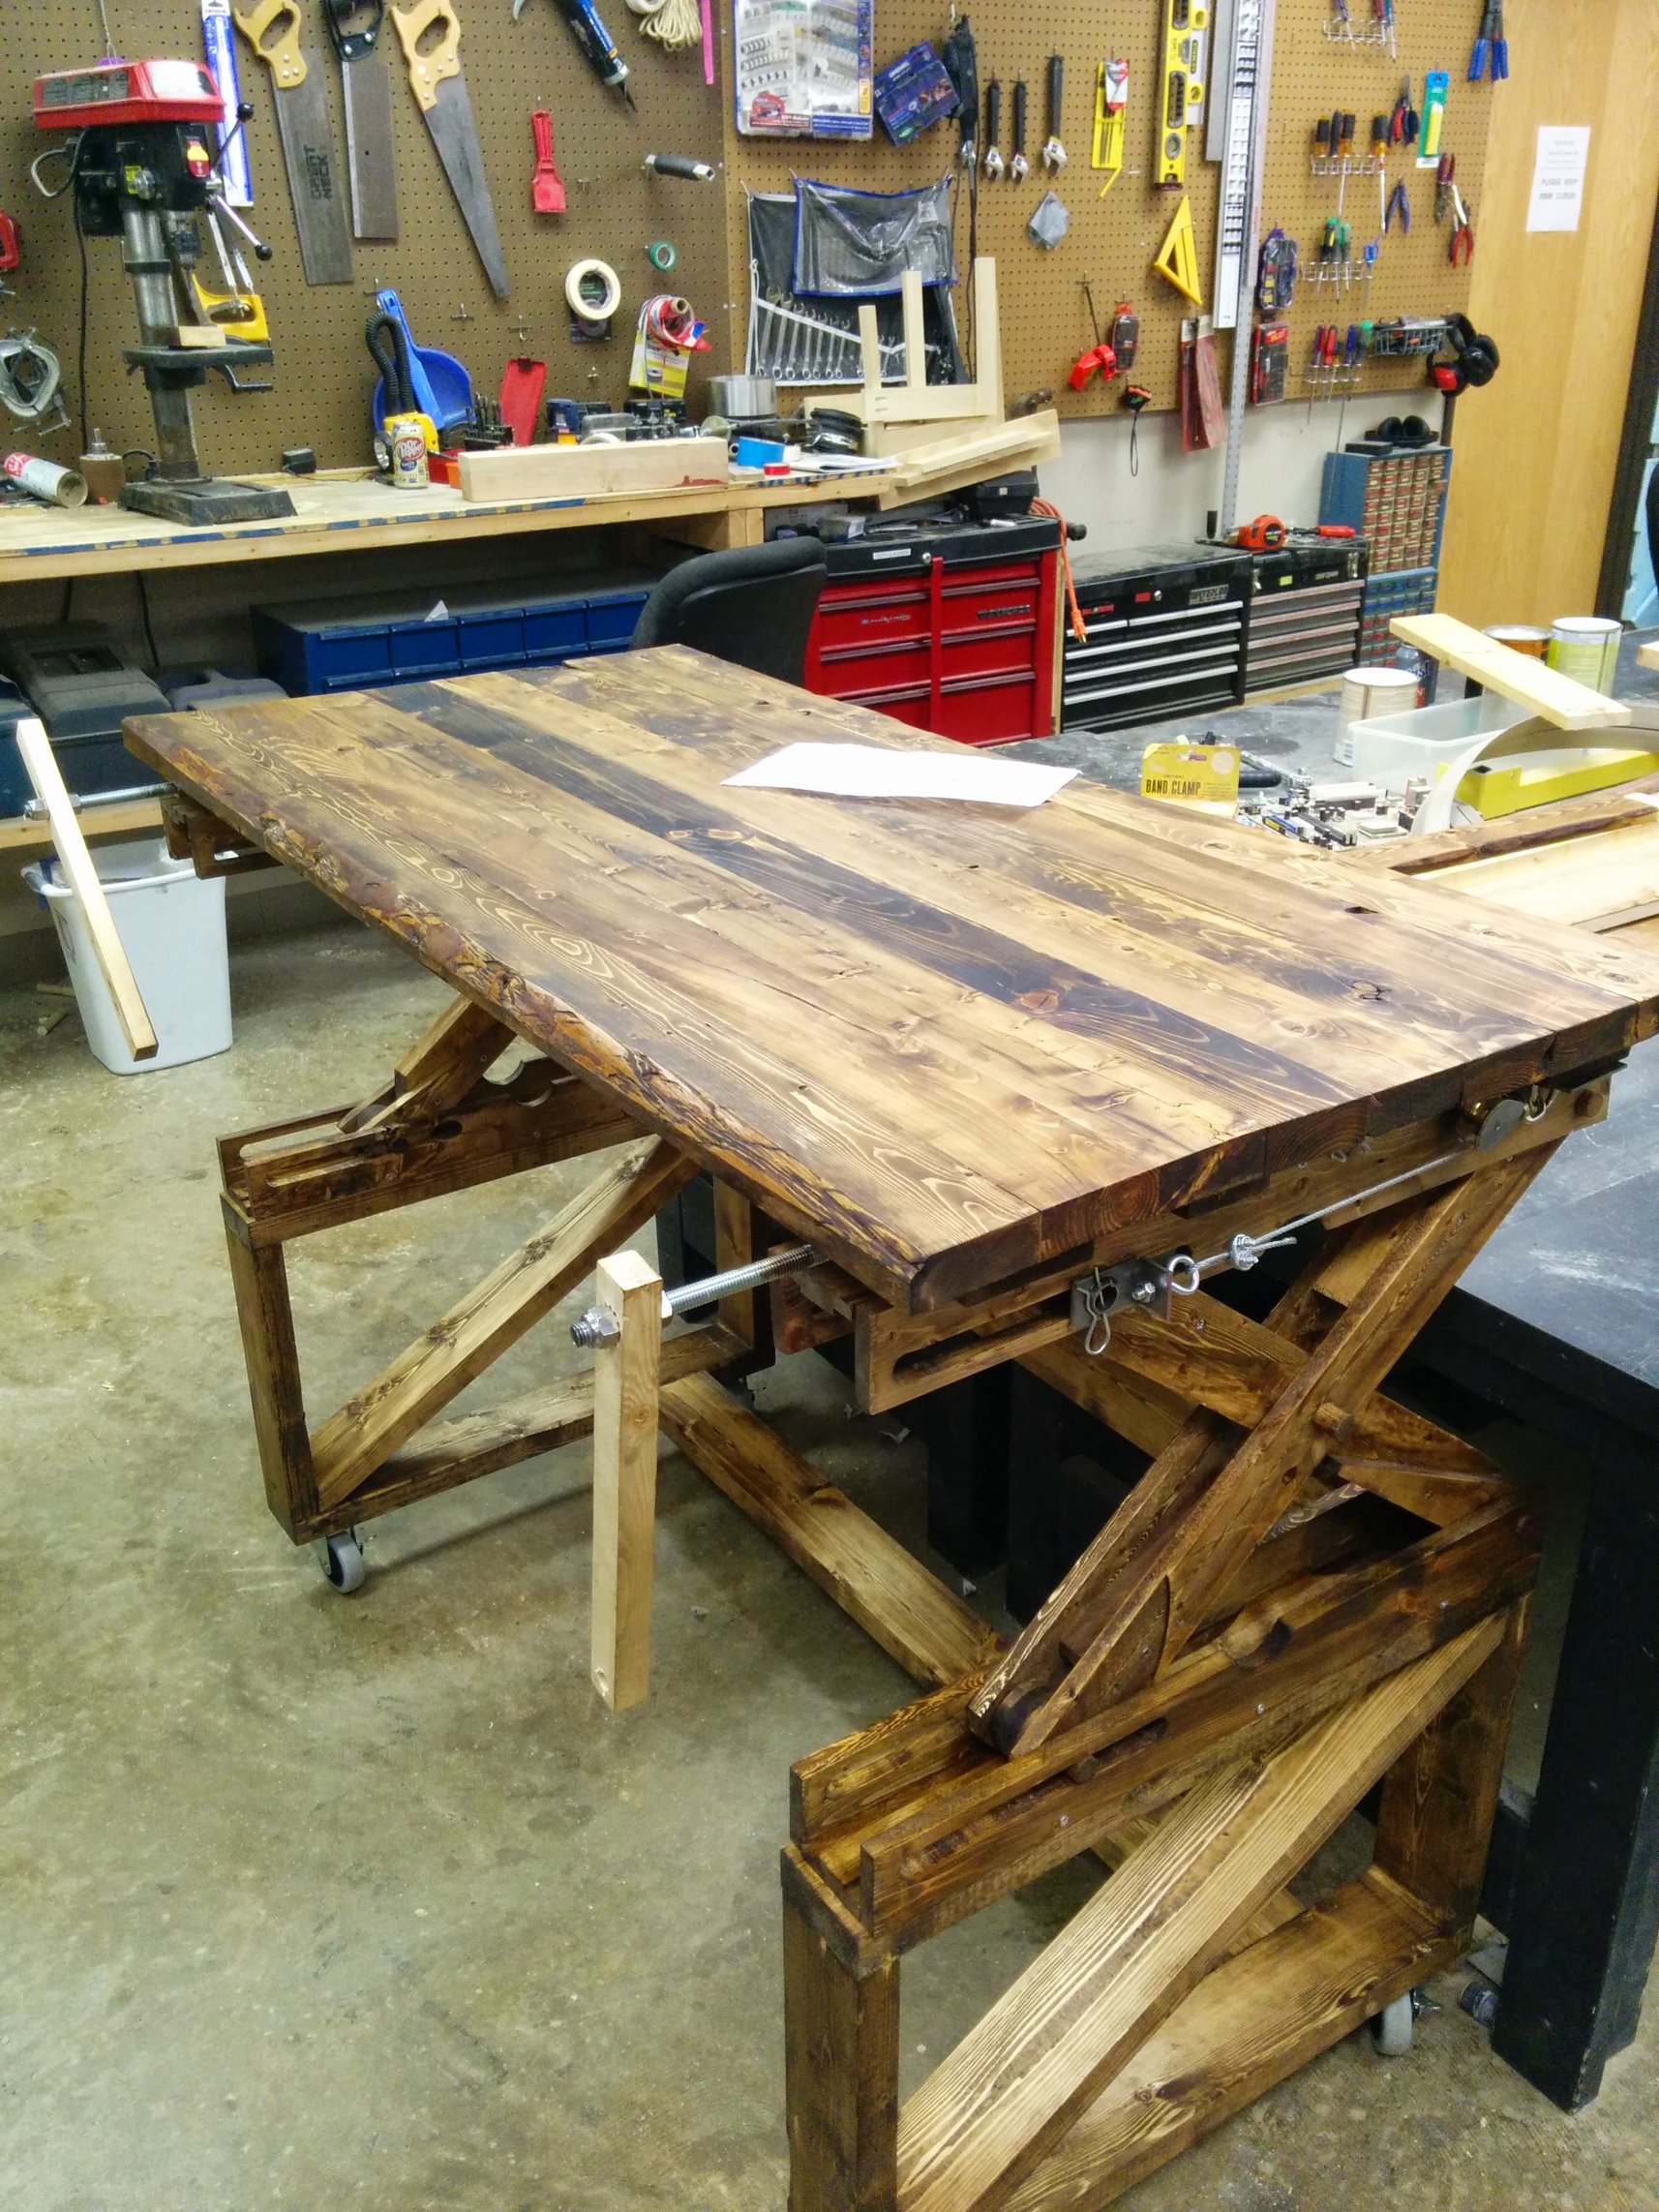
It goes up!
It goes down!
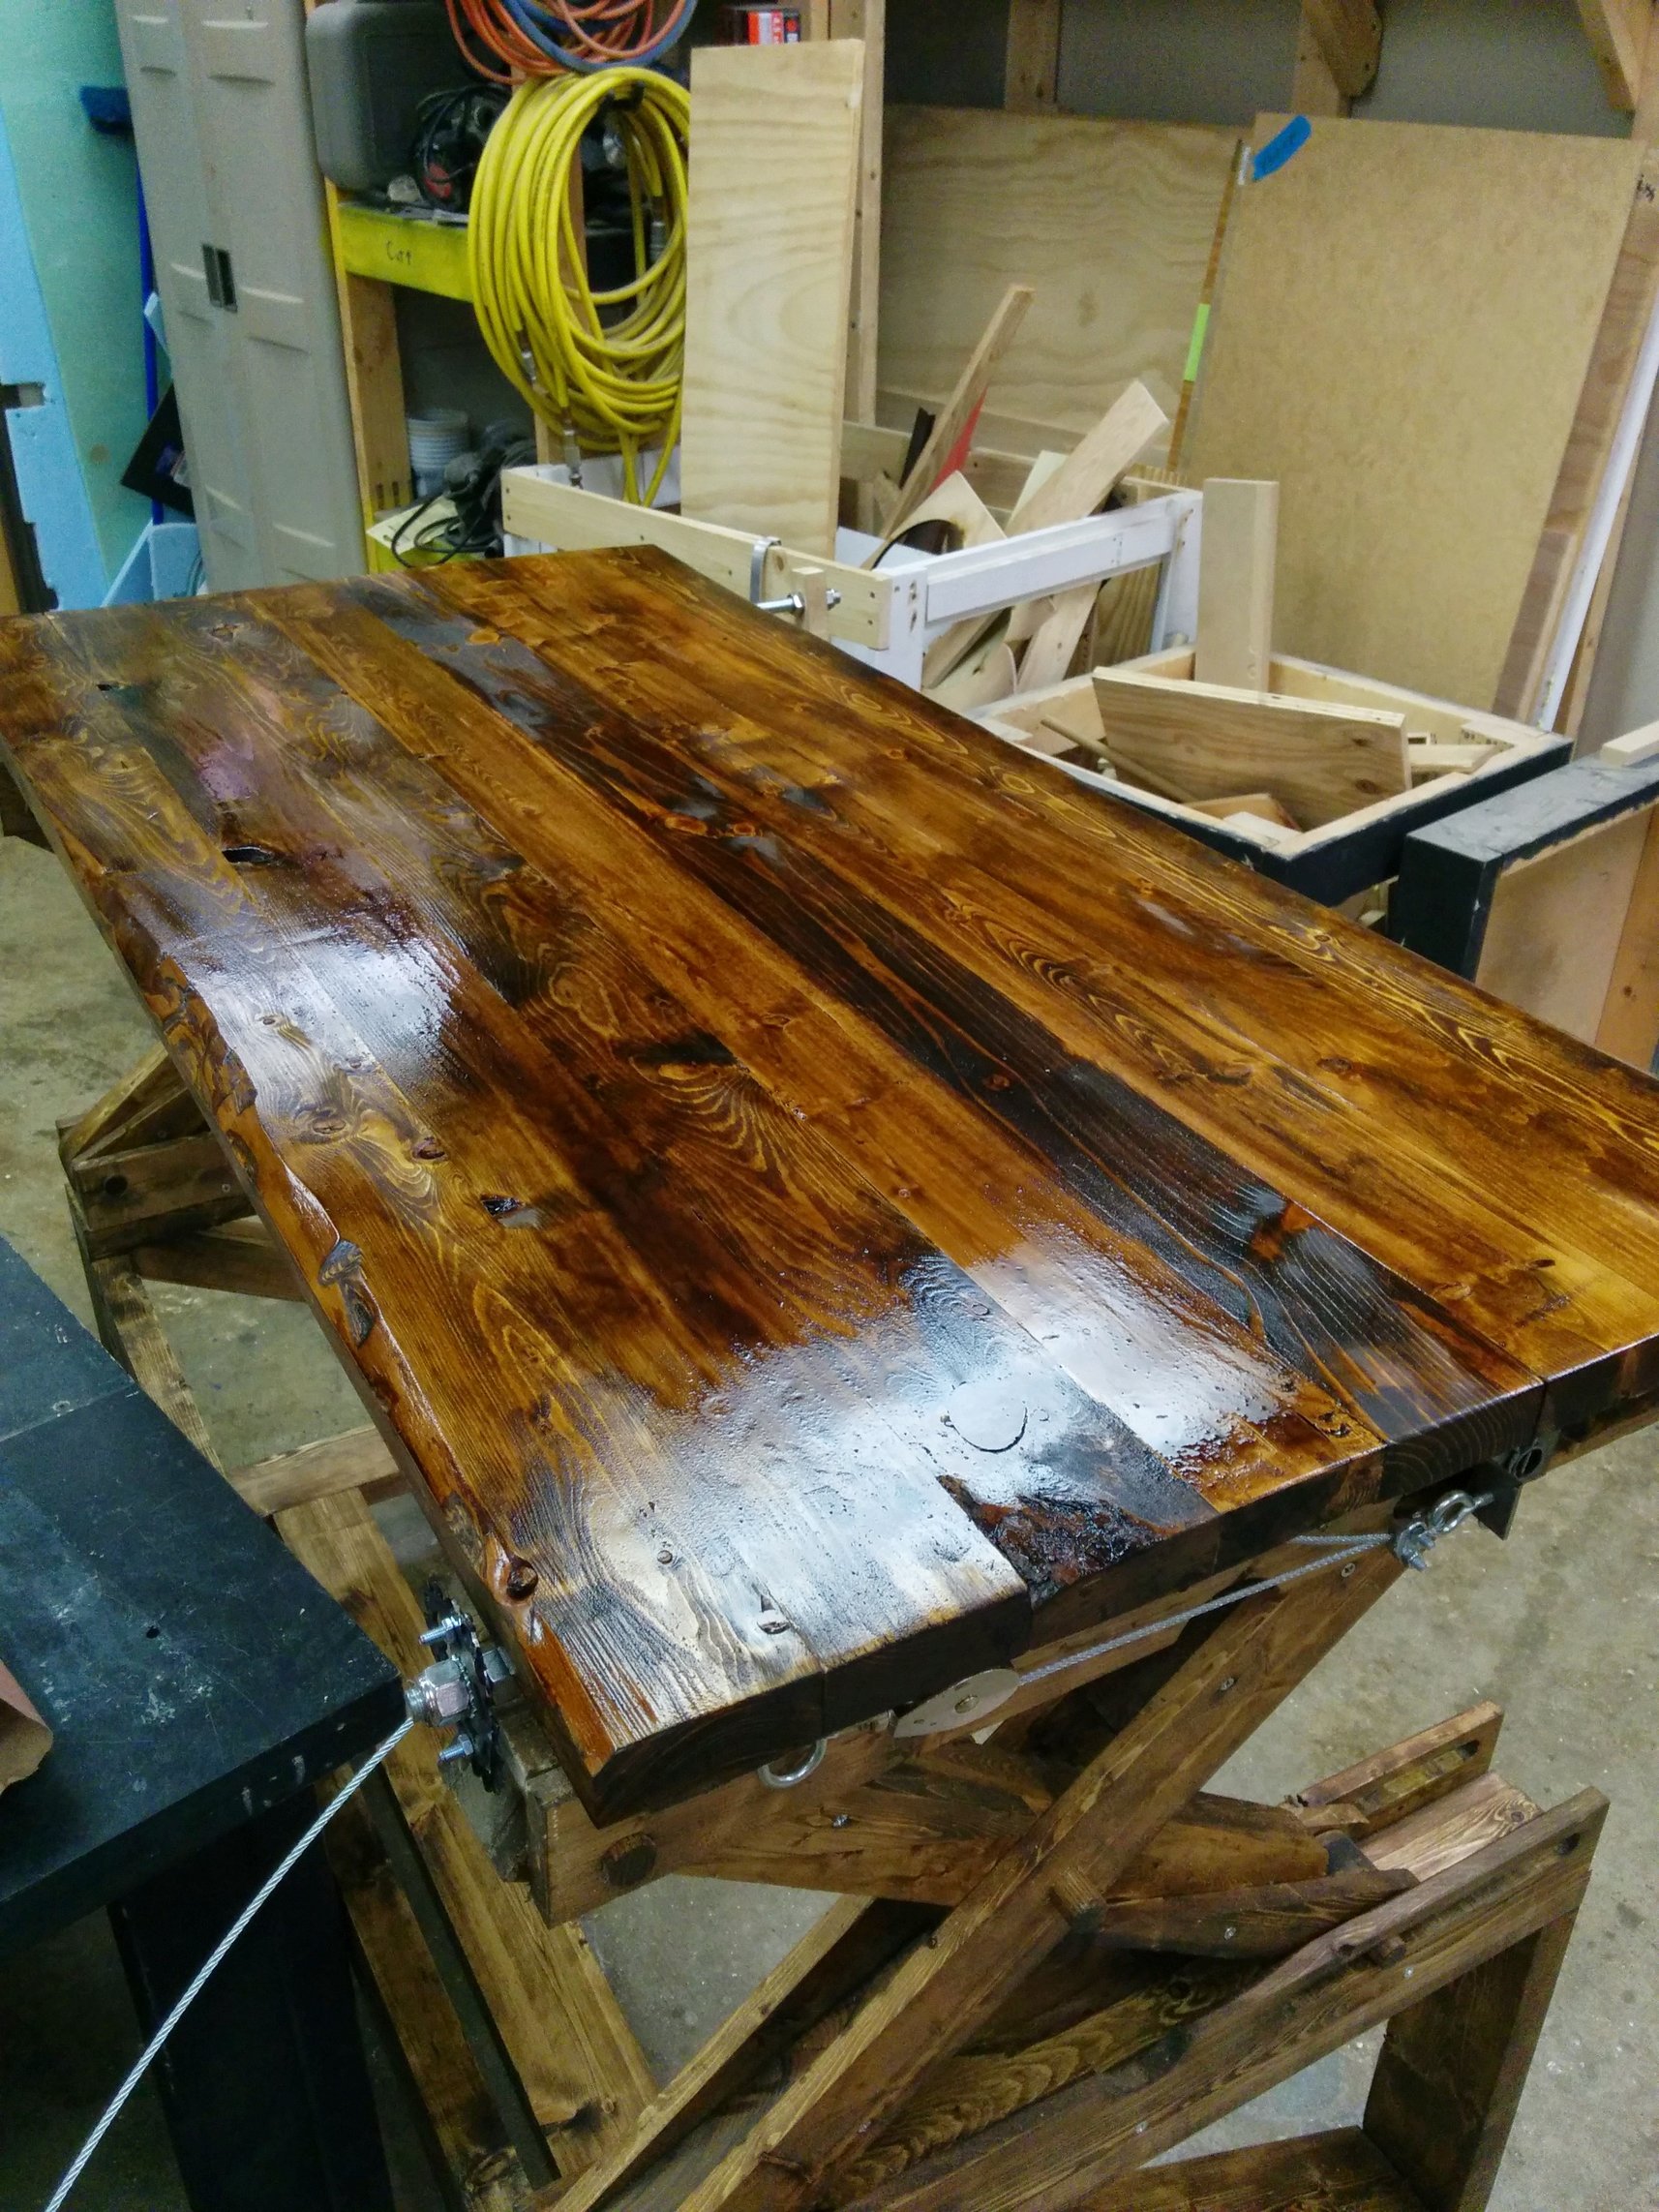
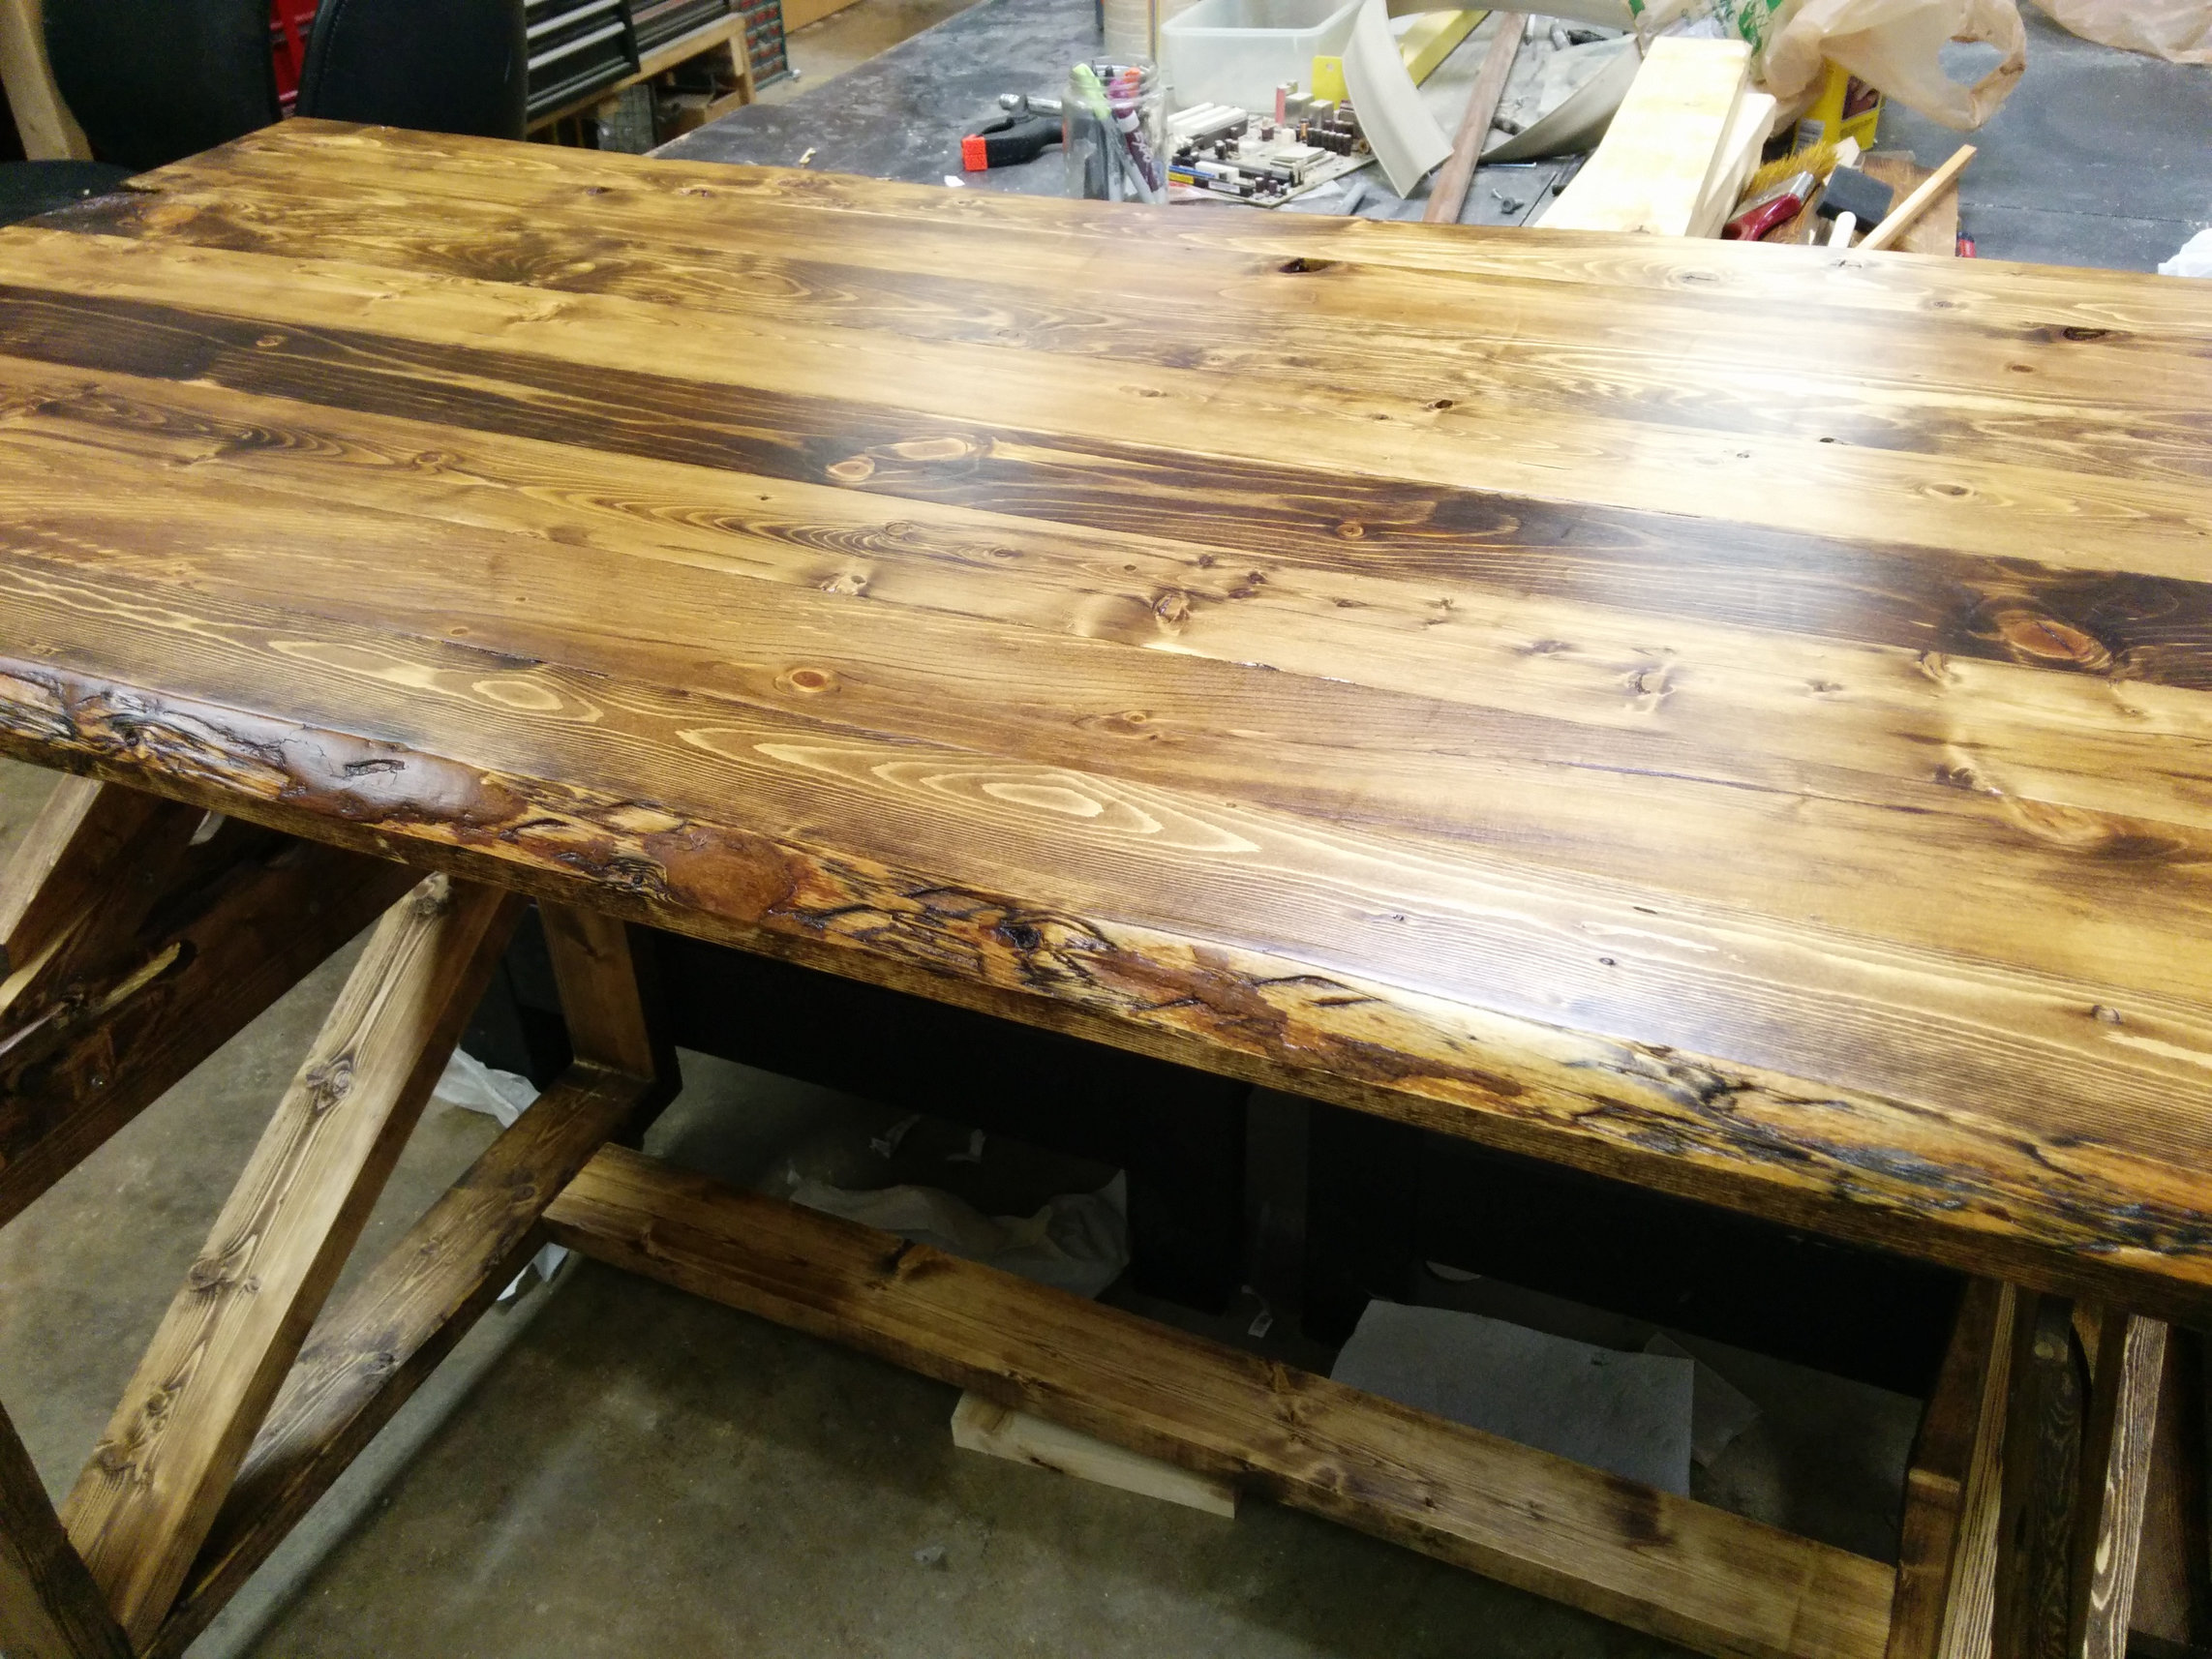
Held my breath and started staining the tabletop. I used Minwax Provincial.
After staining
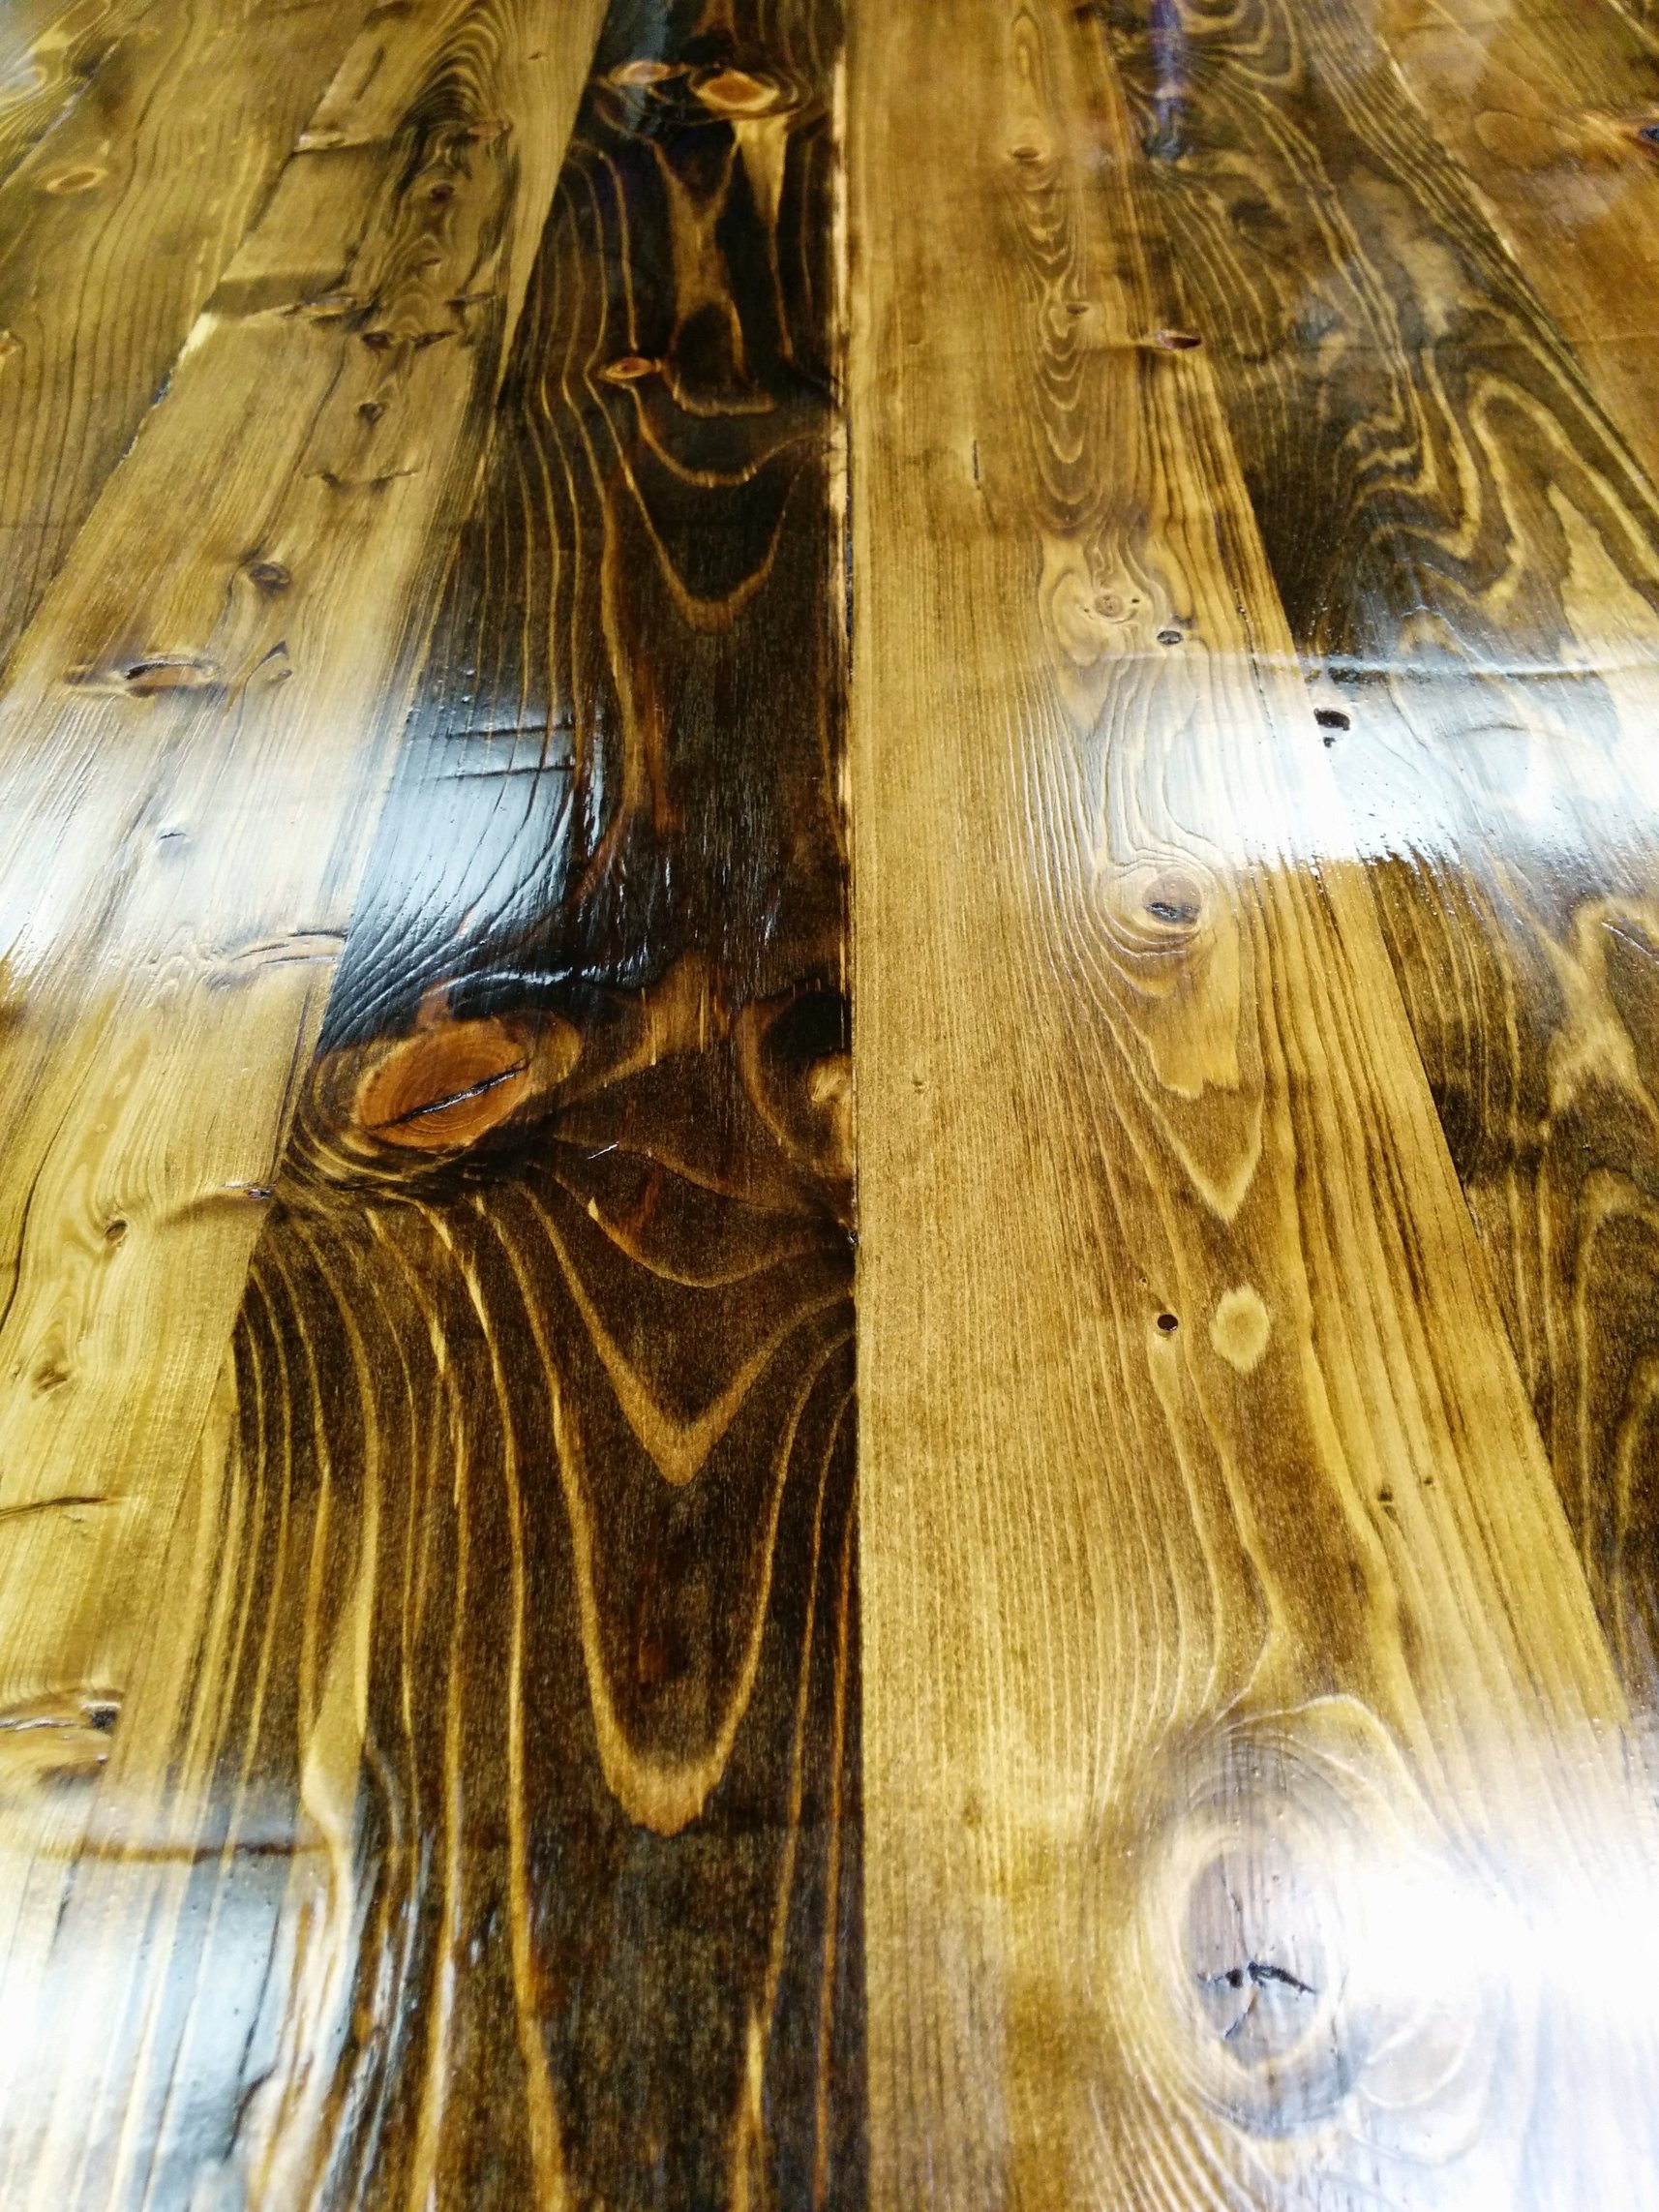
First coat of minwax polyurethane
4 coats of satin polyurethane
Then came the issue of mounting my monitors. Since I had originally planned on using black pipe for the legs, I decided black pipe would be a fitting material for the monitor rack.
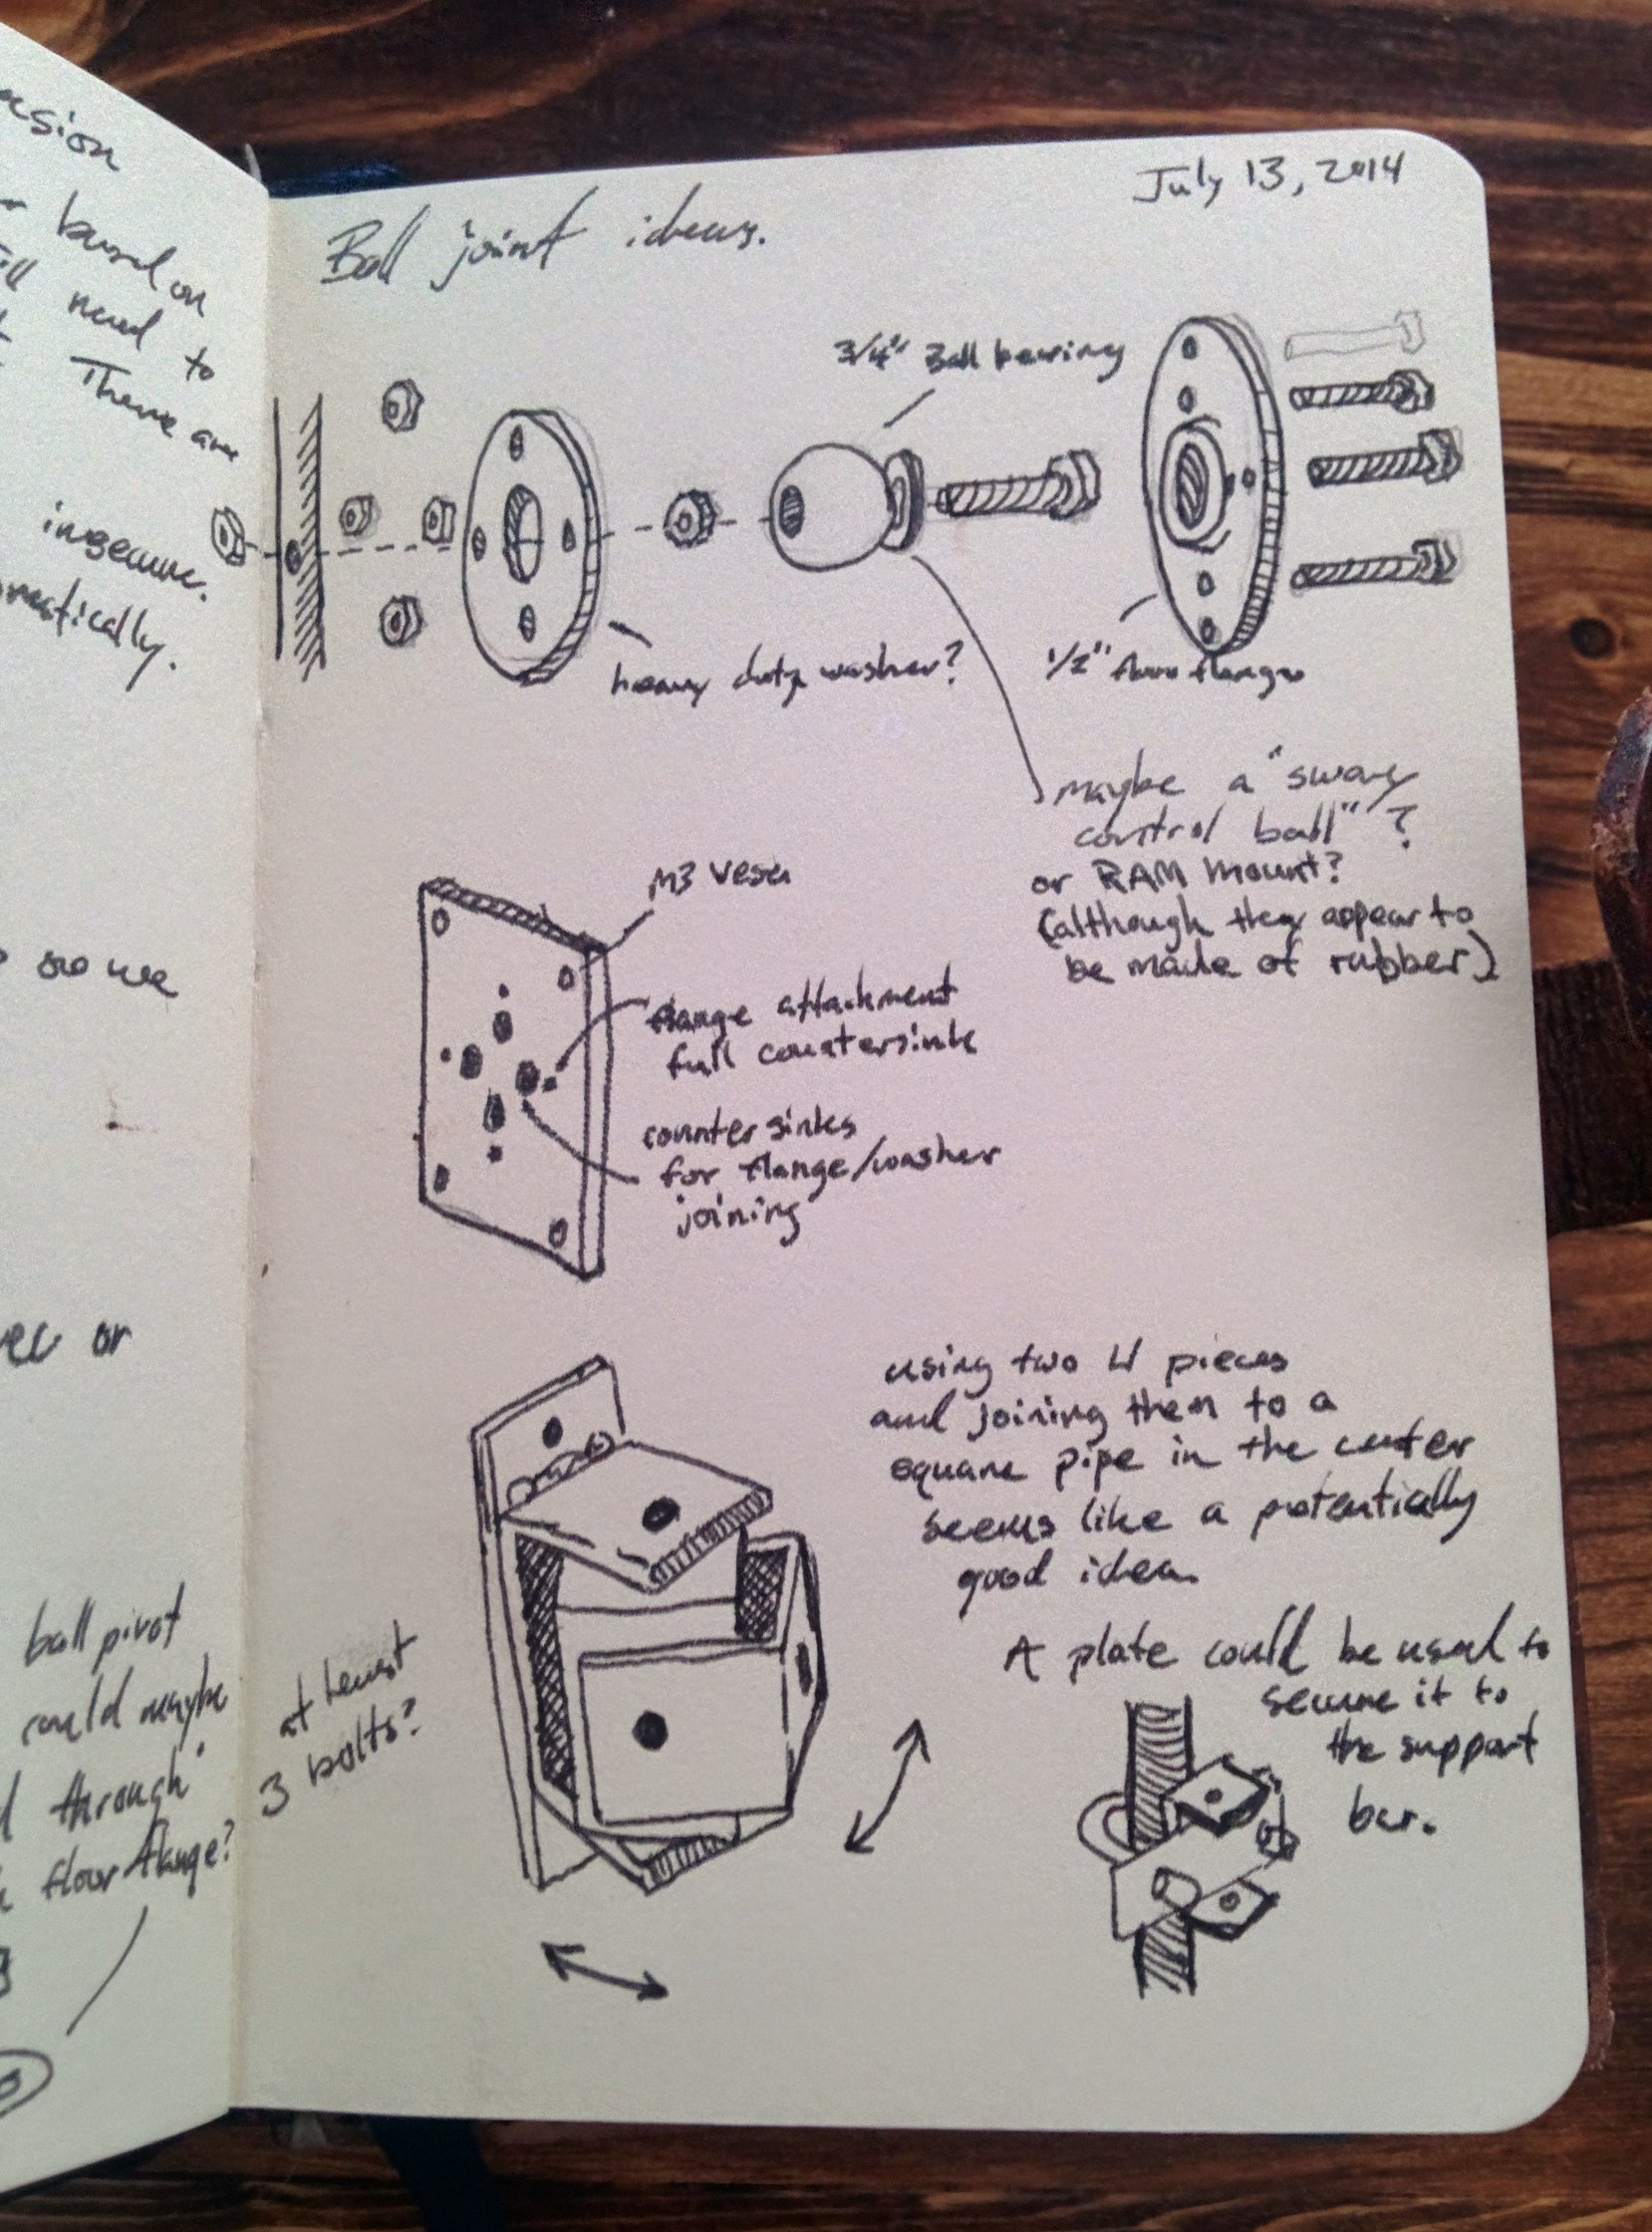
I experimented with ball joint mounts, but had trouble sourcing the parts. I was hoping I could find a small ball-hitch but the smallest I could find was still nearly 2″ diameter. I decided to use a steel fence post and some 1″ square steel tubing.

The parts for the final mount assemblies.
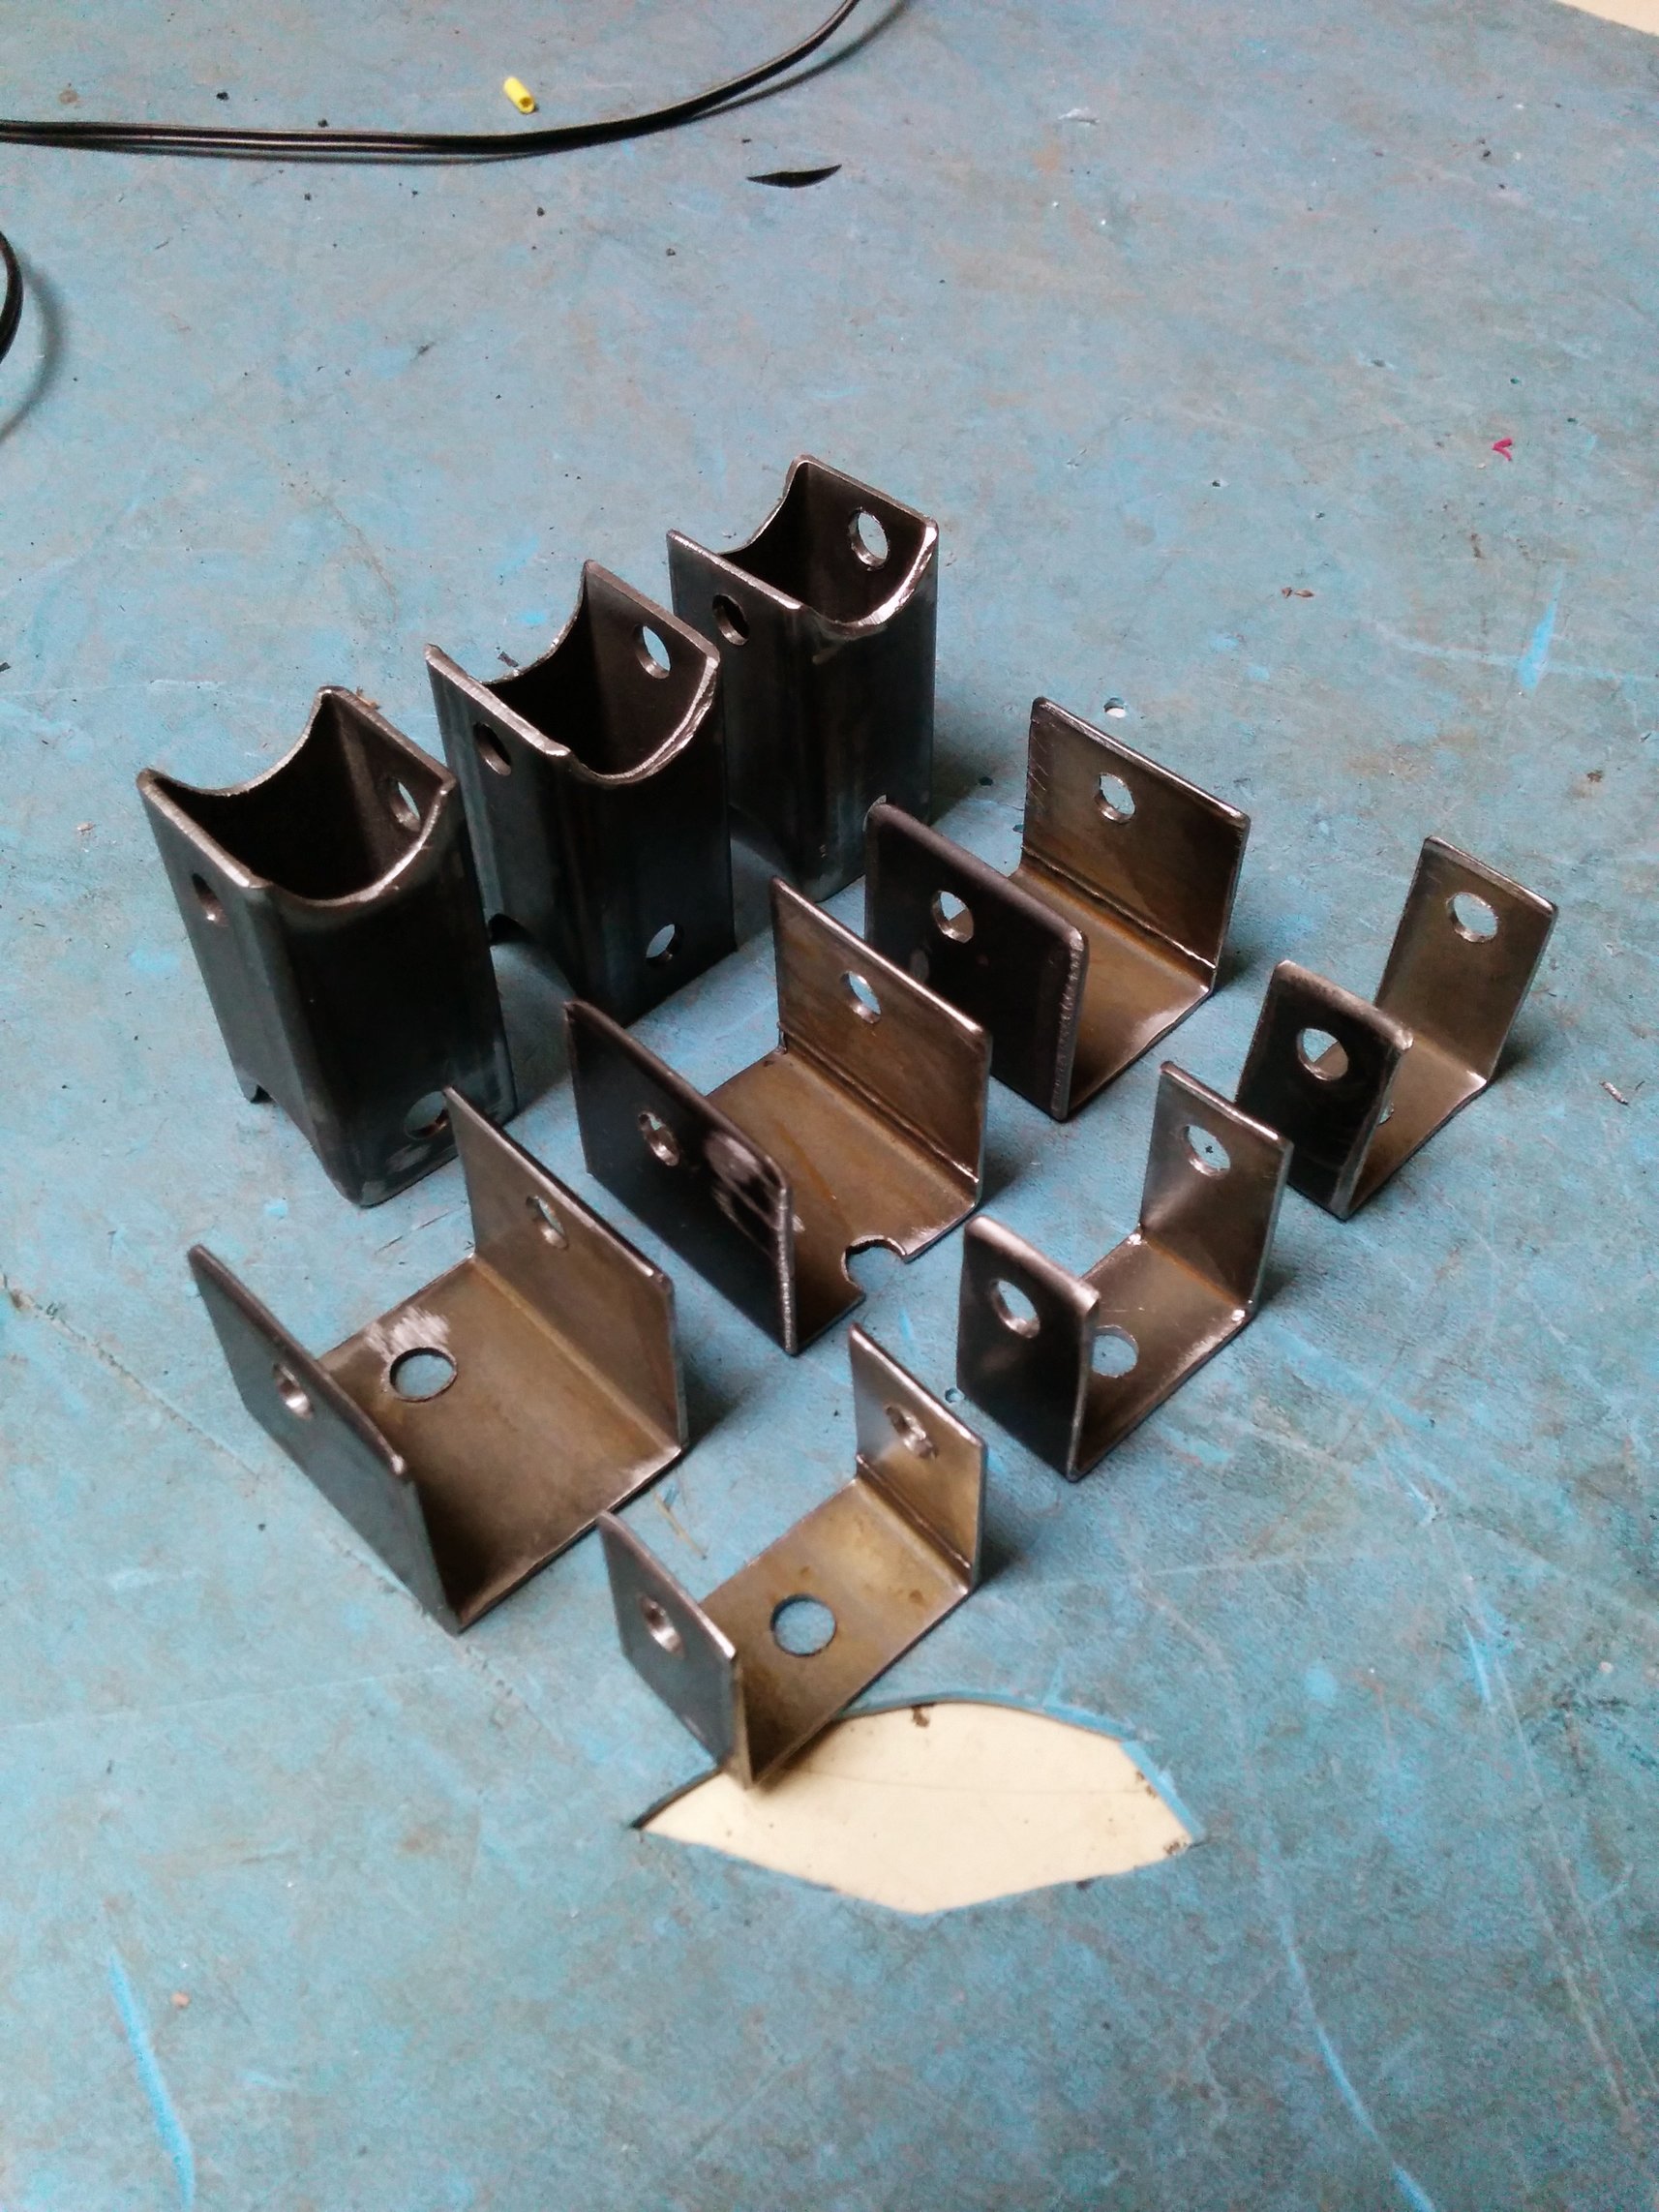
Cut all the mount pieces, tedious work.
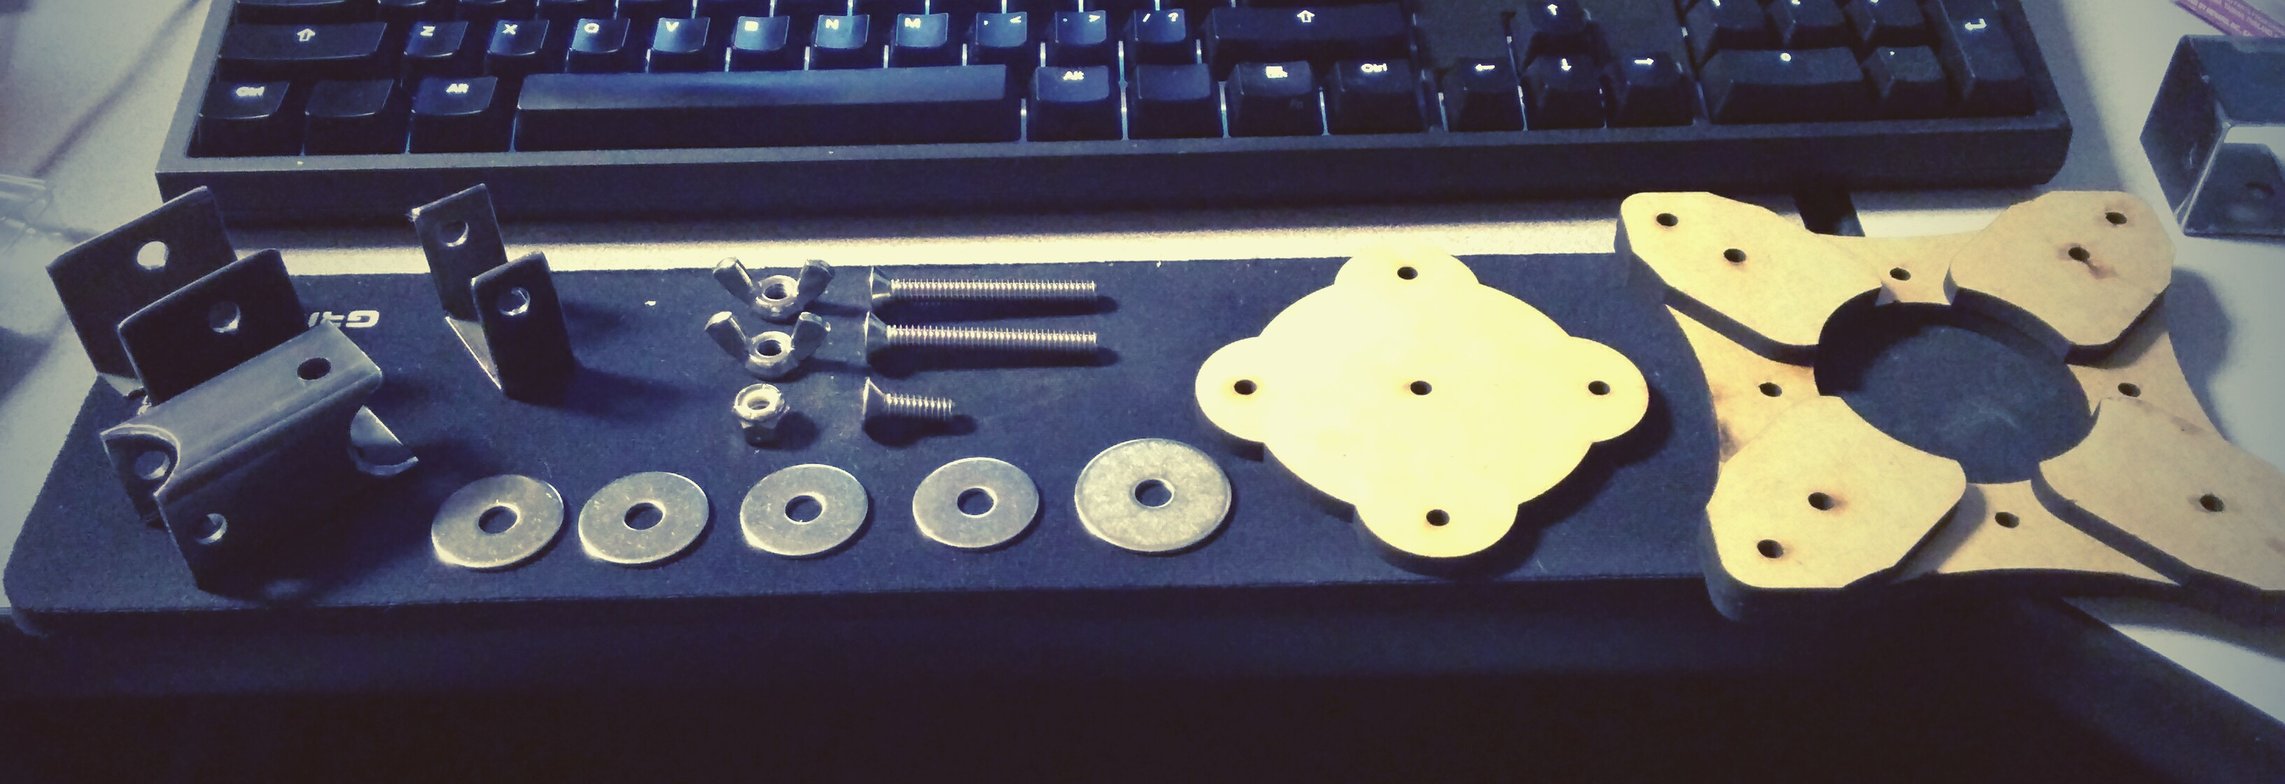
All the parts for a single mount. I designed the VESA mount in Inkscape and cut them out of MDF using the laser cutter we have at the QC Co-Lab.

Assembled monitor mounts.

Mounted monitor mounts
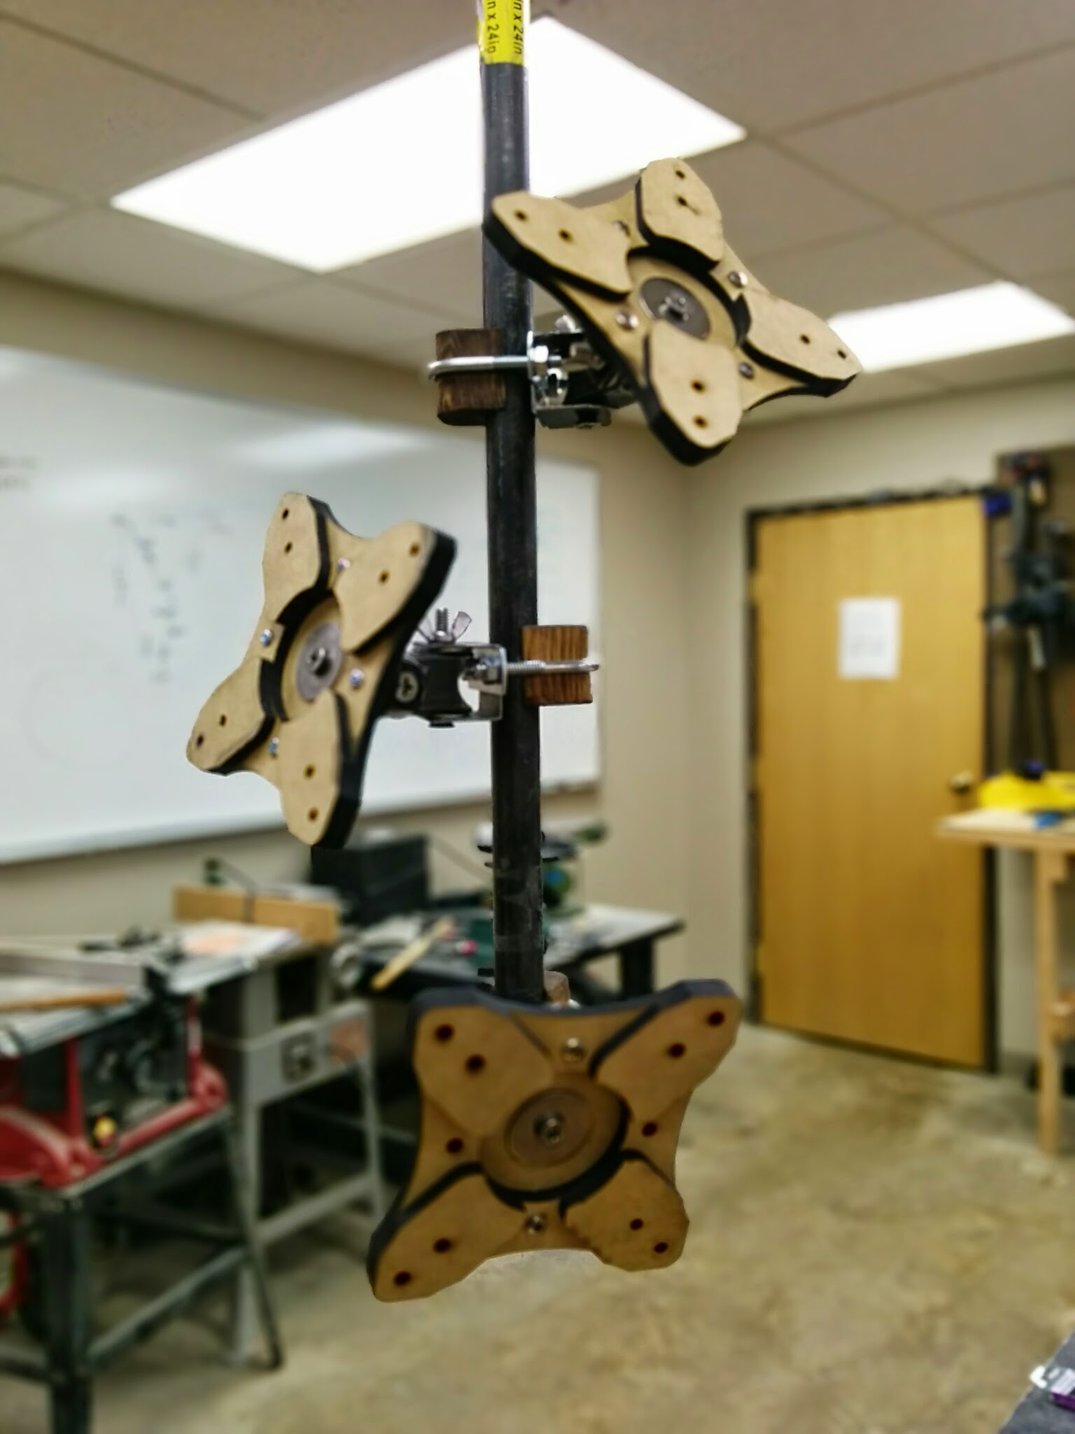
Another shot of the monitor mounts.

This was an early prototype for the mount mechanism, I ended up making the center pieces a bit longer because wing nuts kept bumping into other components which severely limited the mobility of the mount.
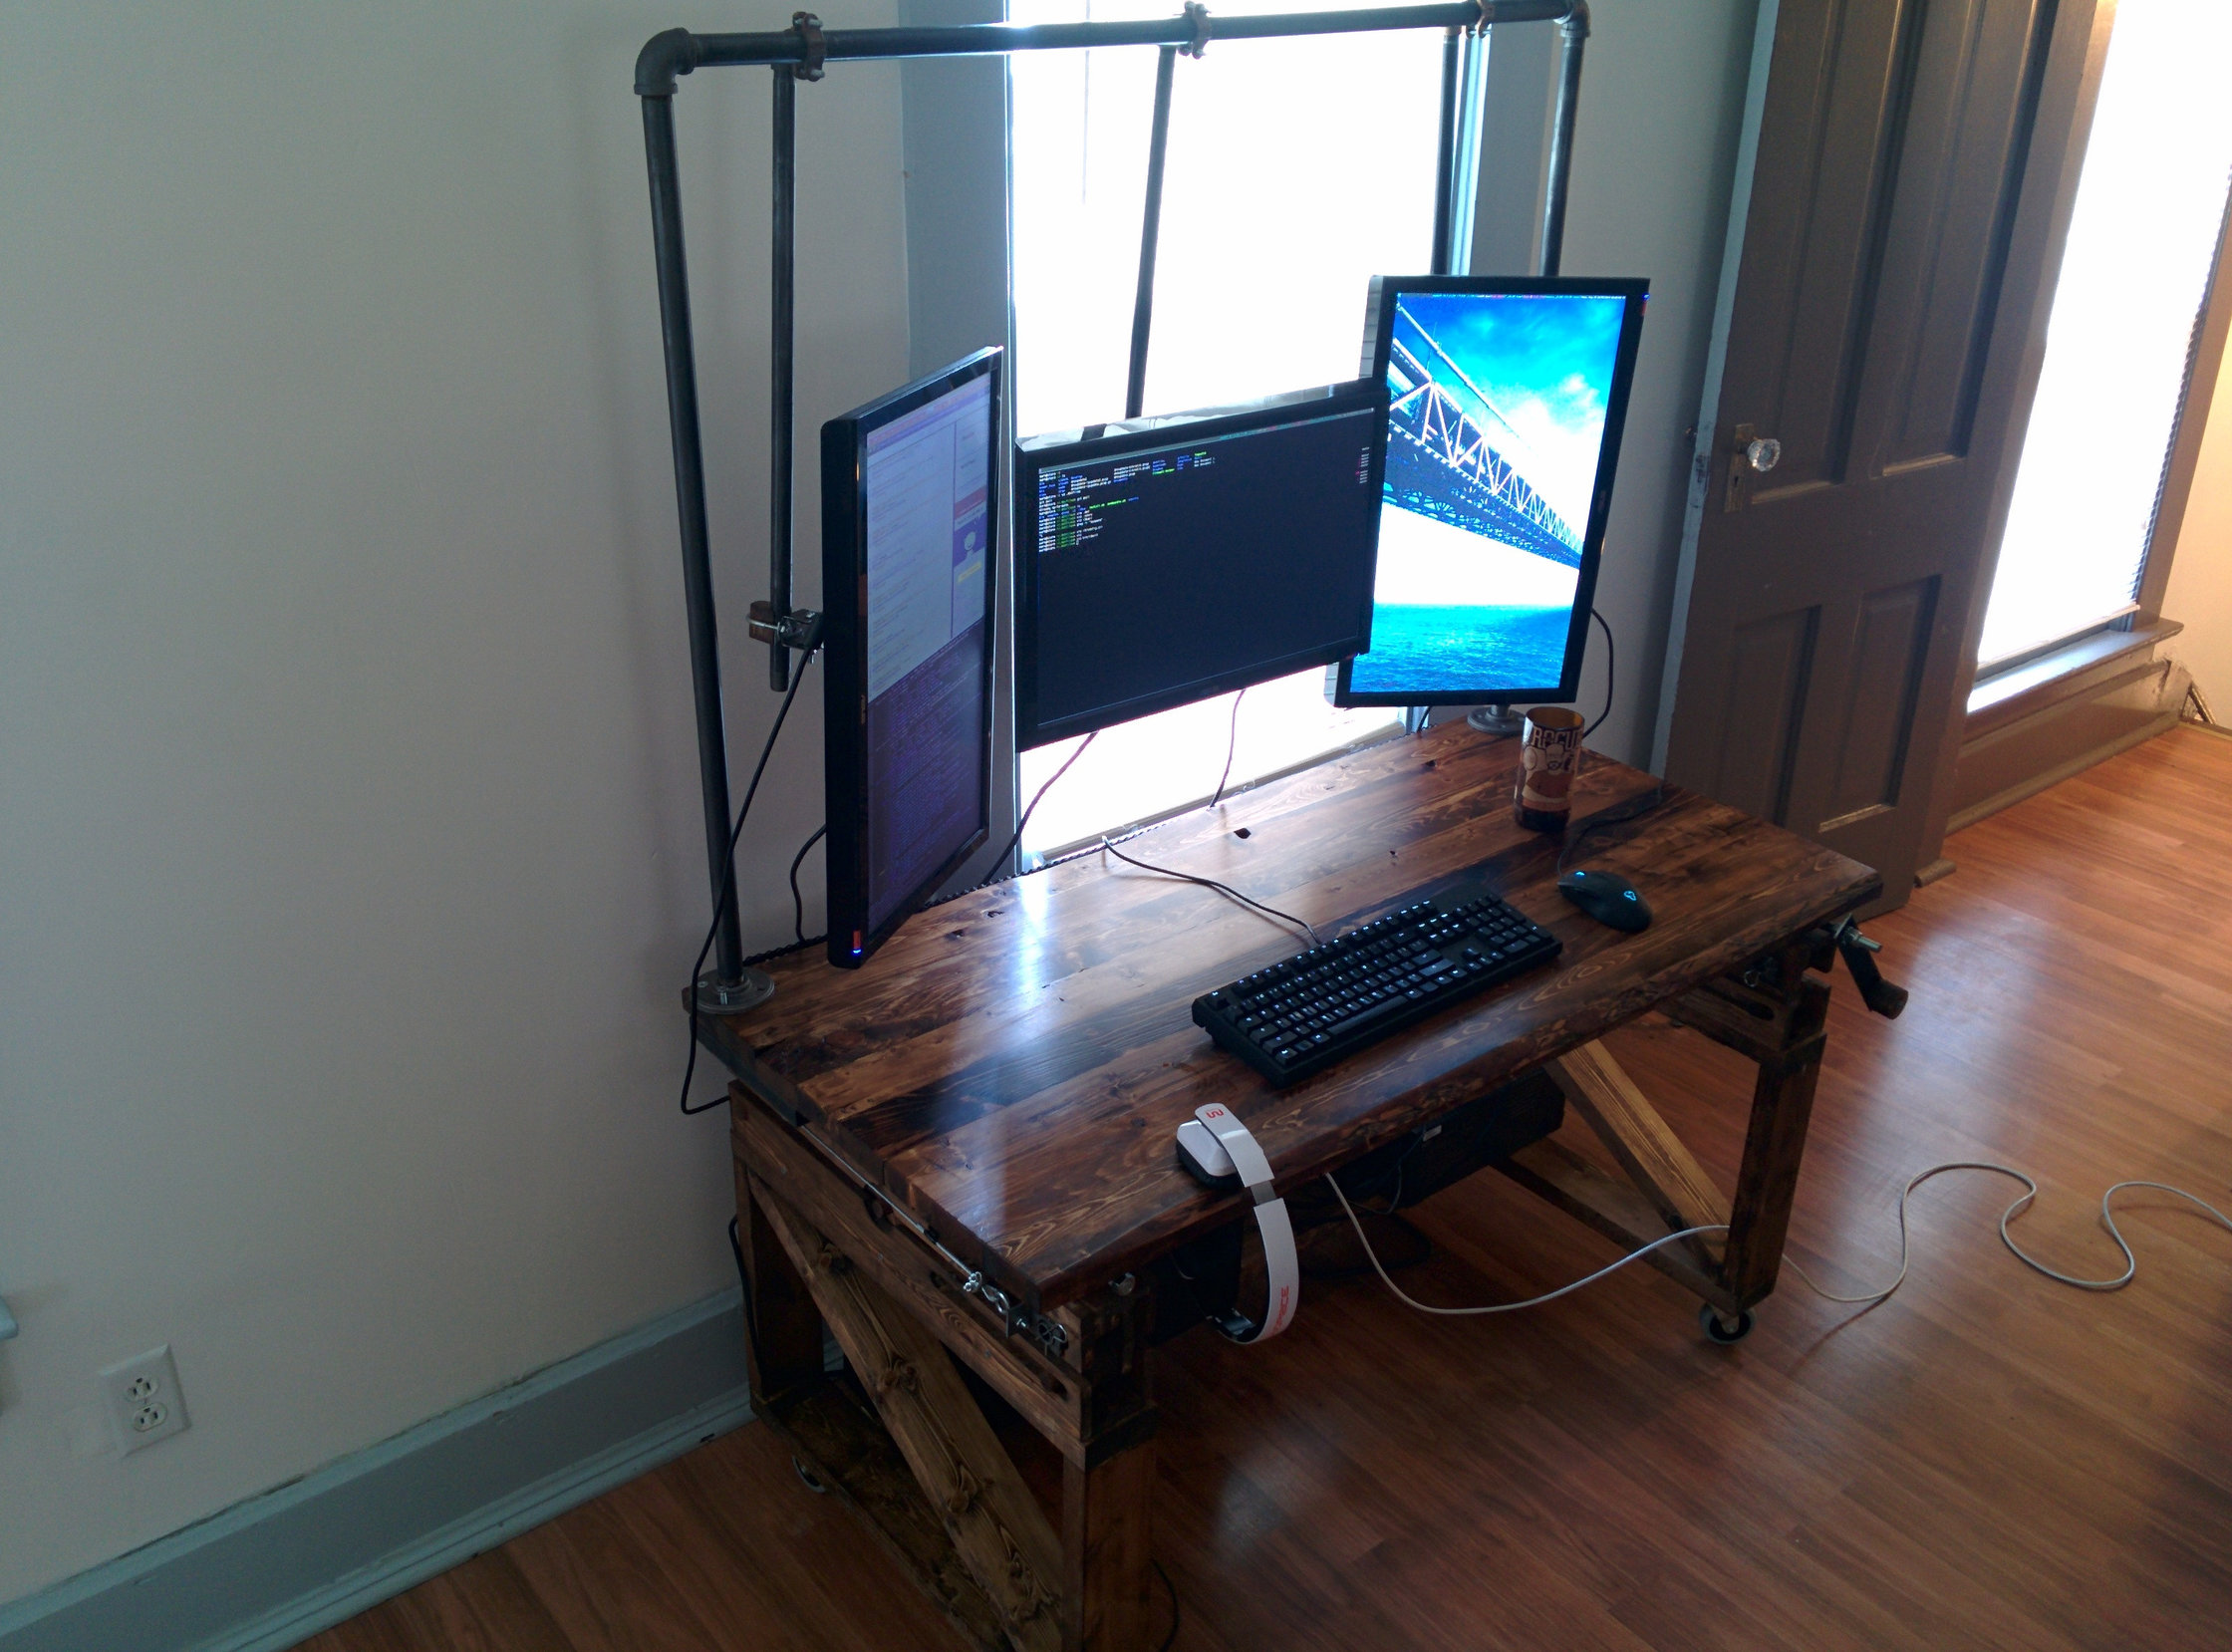
So far it’s working great. I still have to overcome some small issues, such as the fact that all my video cables are currently too short to support raising the table to standing height, as well as the chain in the rear having an insatable apetite for cables. Once my cable shipment from monoprice arrives I’ll be able to velcro tie everything down and everything should be cool.

Bonus photo of my early planning stages, I scrapped most of these ideas.
Update:
I got tired of kicking my computer tower under the desk, also the supports between the legs weren’t incredibly sturdy and after a few sit/stand intervals they were loosening up a little bit. I decided while I was upgrading the crossbeams I’d do a little upgrade.
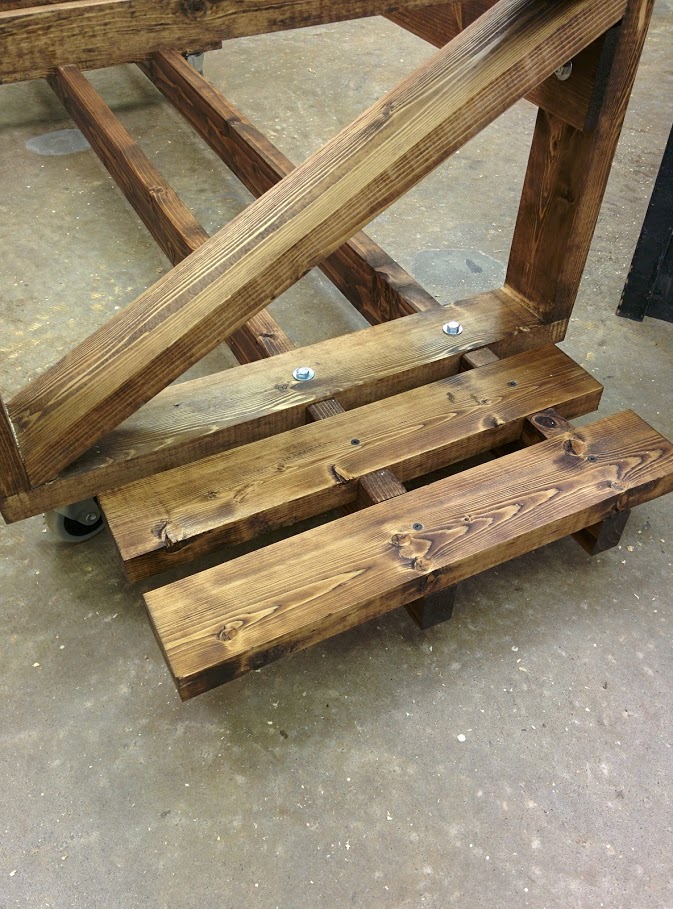
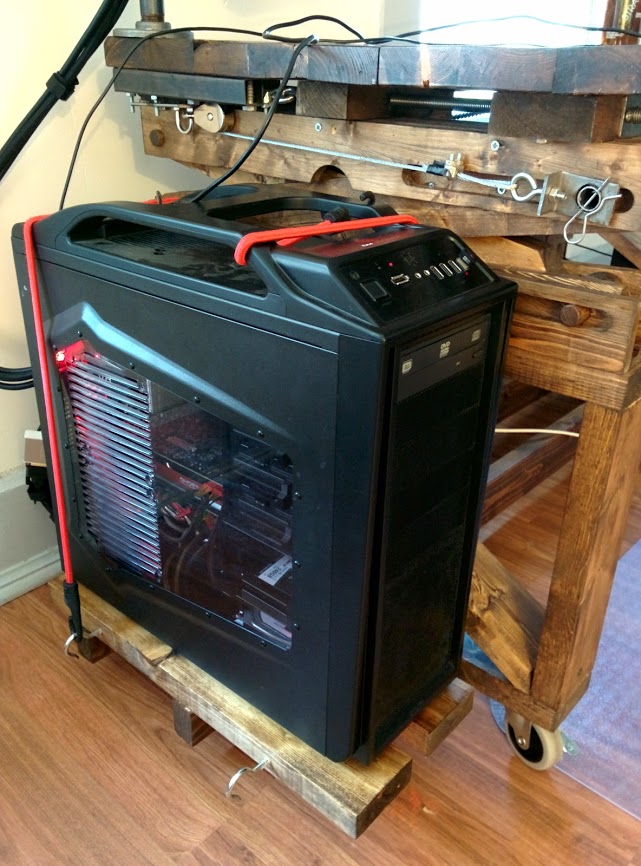
Now I have shelves on either side for my tower and UPS. I added hooks so I could bungee them down nice and tight so they don’t fall off when I’m rolling the desk around.
0